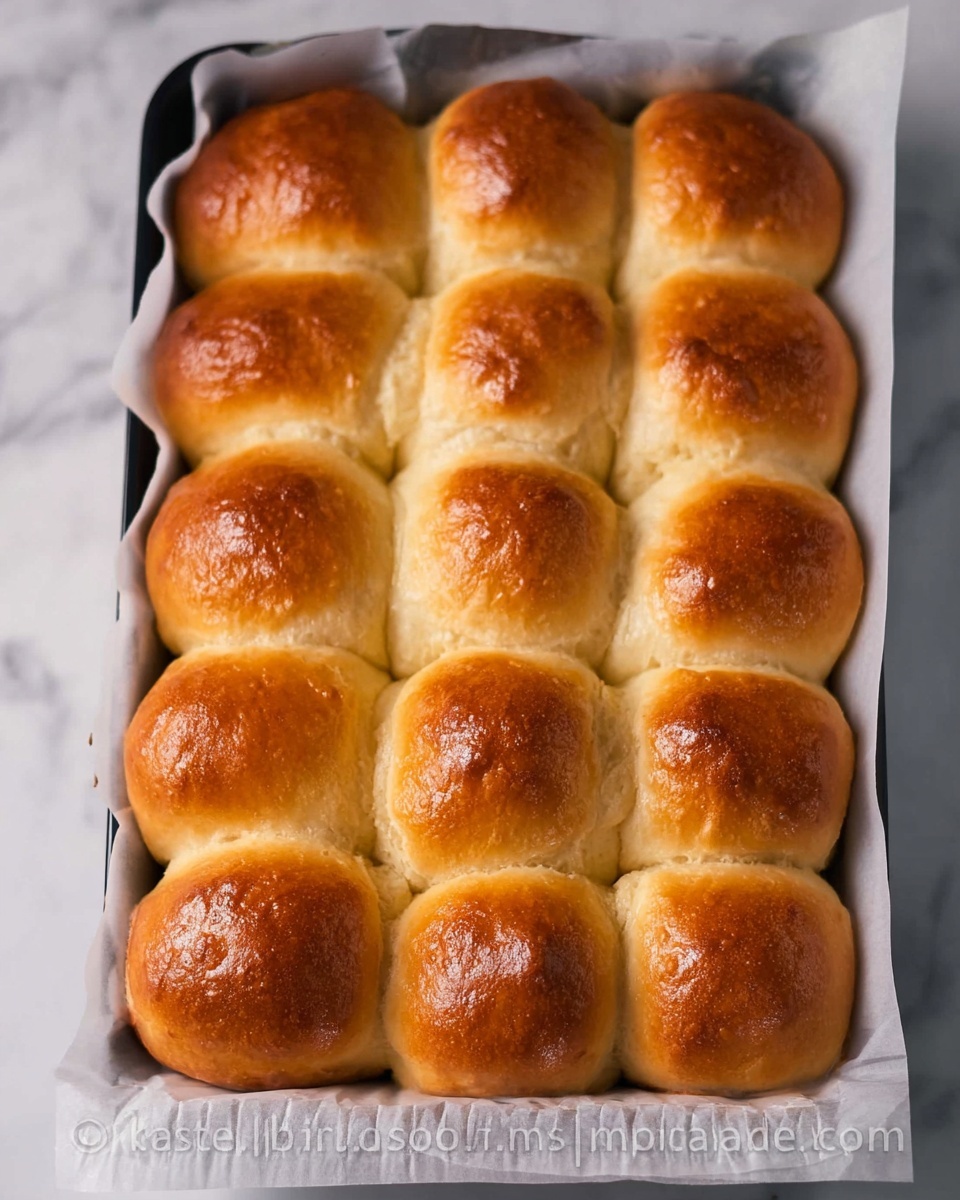
If you’ve ever wanted to bring a little taste of Eastern Europe straight into your kitchen, this Baked Piroshki Recipe with Sweet and Savory Filling Options Recipe is just the ticket. These golden little pockets of joy are soft, fluffy, and filled with either comforting savory goodness or irresistible sweet delights. Perfect for sharing at family gatherings, parties, or simply indulging in a cozy afternoon snack, this recipe will guide you through making piroshki that are as beautiful to look at as they are delicious to eat. The combination of tender dough and the variety of fillings ensures there’s something to suit every craving. Get ready to make your home smell amazing and your taste buds dance!
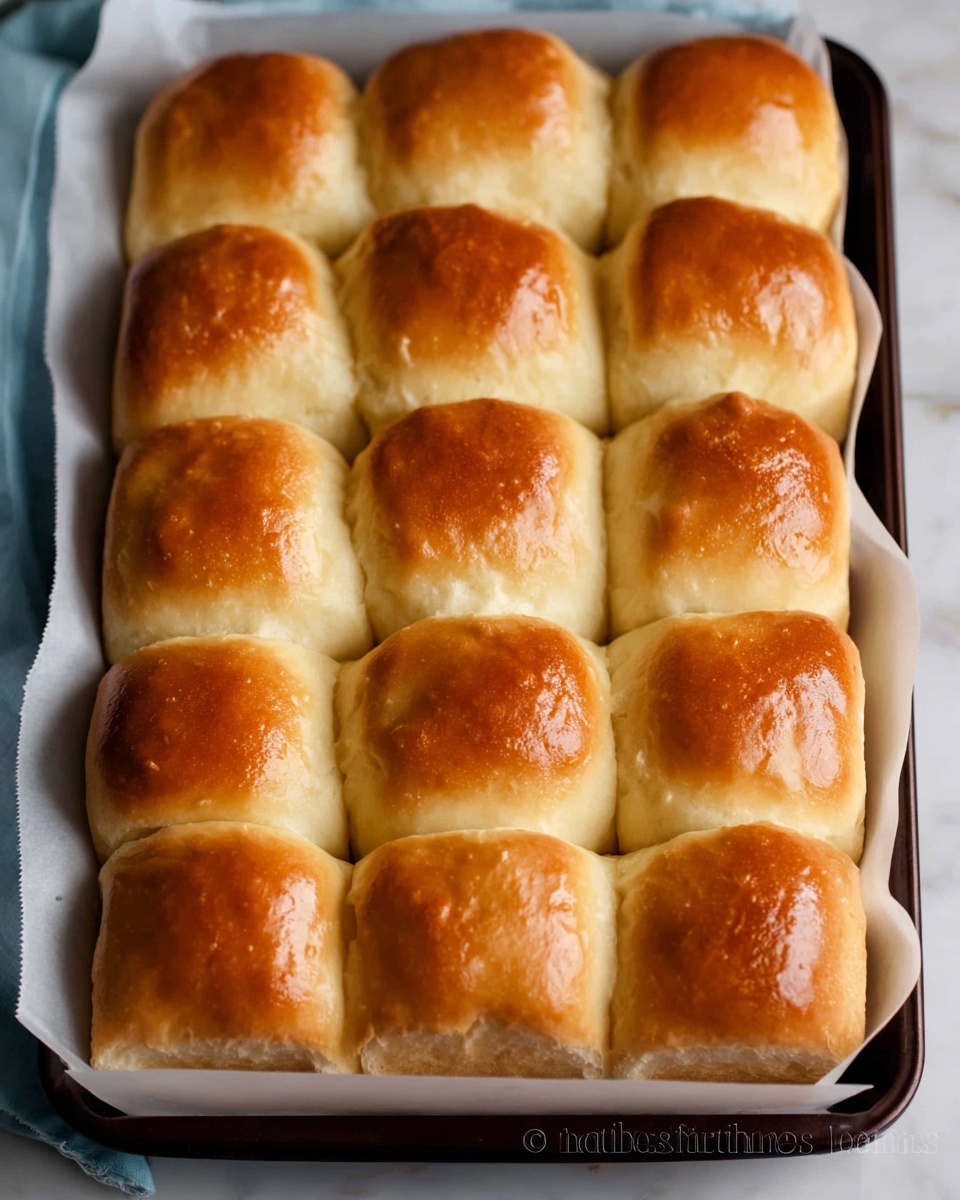
Ingredients You’ll Need
The beauty of this recipe lies in its straightforward, wholesome ingredients. Each one plays a vital role in creating the perfect piroshki: the dough’s soft texture, the subtle sweetness or saltiness of the filling, and the golden crust that seals it all in. Here’s what you’ll gather before diving into this rewarding baking adventure.
- 2 cups warm milk: This activates the yeast and creates a tender dough base.
- 1 Tbsp active dry yeast: The essential leavening agent to make the dough rise beautifully.
- 1/2 cup sugar (divided): Adds just the right touch of sweetness to the dough and can enhance sweet fillings.
- 6 cups + 2 Tbsp all-purpose flour (divided): The framework for your dough, giving structure and chewiness.
- 3 eggs: Provide richness, color, and binding power to the dough.
- 1 and 1/2 Tbsp melted butter: Adds moisture and a buttery flavor that makes every bite heavenly.
- 1 tsp salt: Balances the flavors and strengthens the dough’s gluten network.
- 1 egg (beaten for egg wash): Ensures a shiny, golden-brown finish on the baked piroshki.
How to Make Baked Piroshki Recipe with Sweet and Savory Filling Options Recipe
Step 1: Activate Your Yeast and Prepare the Dough
Begin by warming your milk until it’s just comfortably warm to the touch—it shouldn’t be hot or it could kill the yeast. Stir the yeast into the warm milk along with 2 tablespoons of the sugar and let it sit for about 10 minutes. Watch for it to bloom and get frothy; this is a great sign that your yeast is alive and kicking. In a large bowl, combine the flour (starting with 1 cup), the remaining sugar, salt, eggs, and melted butter. Once your yeast mixture is frothy, pour it into the flour mixture and start kneading the dough. You’re aiming for a smooth, elastic dough that feels soft but not sticky.
Step 2: First Rise to Fluffy Perfection
Cover your kneaded dough with a clean kitchen towel or plastic wrap and let it rise in a warm spot for about 1 to 1 1/2 hours. It should nearly double in size and feel airy to the touch. This step is crucial for that light and fluffy texture that makes baked piroshki so addictive.
Step 3: Prepare Your Fillings
While the dough is rising, decide whether you want sweet or savory fillings—or why not both! Traditional savory fillings can include sautéed mushrooms with onions or a seasoned ground meat mixture, while sweet options might be a fruit jam or sweetened farmer’s cheese. Whatever you pick, make sure your fillings are prepared, cooled, and ready to go.
Step 4: Shape and Fill the Piroshki
Once the dough has doubled, punch it down to release the air and transfer it to a lightly floured surface. Divide the dough into small balls—this recipe yields about 40 piroshki, so aim for equal sizes for even baking. Flatten each ball into a small circle, spoon a generous amount of your chosen filling into the center, and carefully fold the edges up, pinching to seal completely. Take your time here to avoid any leaks during baking.
Step 5: Second Rise and Egg Wash
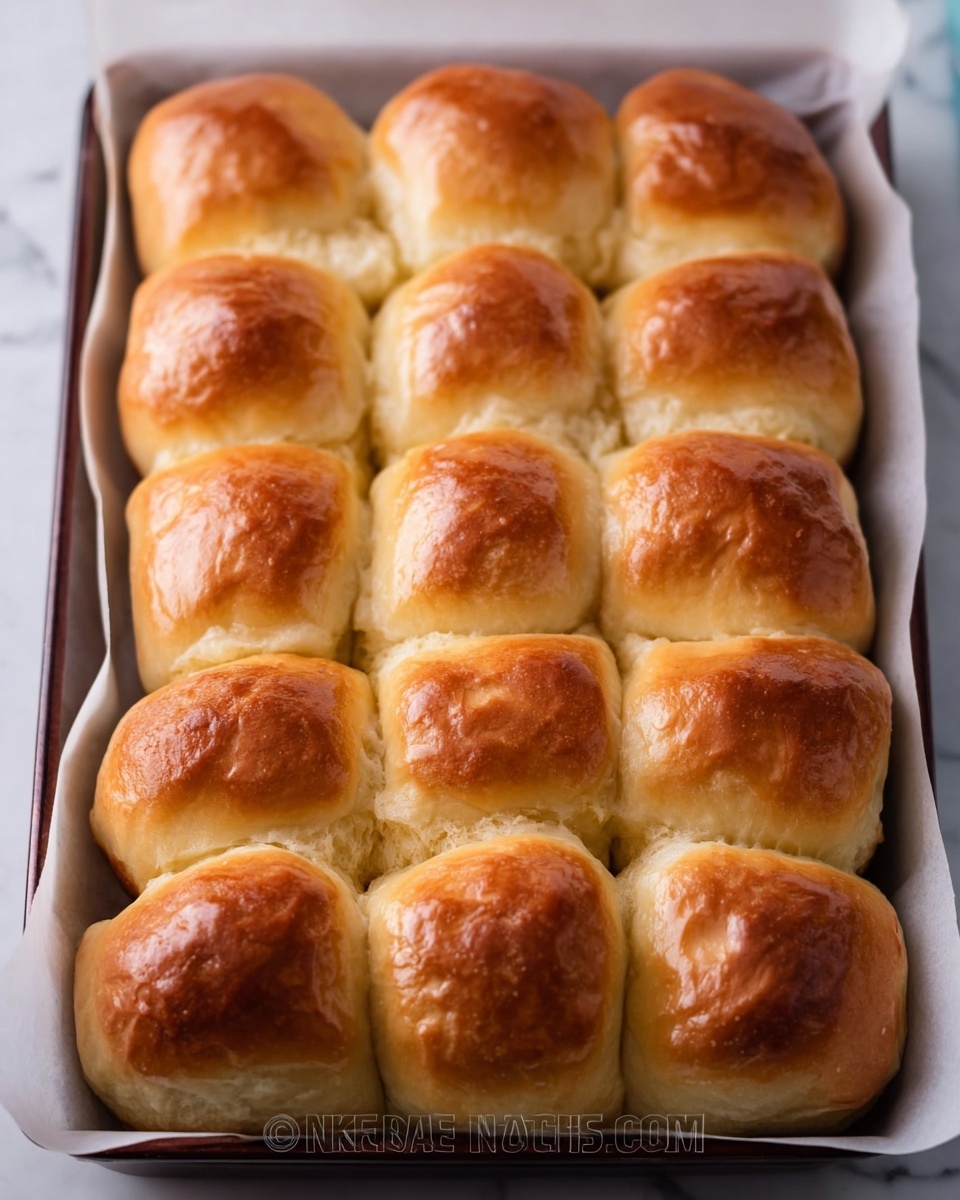
Place each stuffed piroshki on a baking sheet lined with parchment paper, leaving enough space for them to rise a bit more. Cover them loosely with a towel and let them rest for about 30 minutes to puff up slightly. Before baking, generously brush each piroshki with the beaten egg—this will give you that irresistible shiny, golden crust once baked.
Step 6: Bake to Golden Brown Perfection
Preheat your oven to 375°F (190°C). Pop the baking sheets into the oven and bake for about 20 minutes or until the piroshki are stunningly golden and smell absolutely mouthwatering. Let them cool a few minutes before digging in, but don’t wait too long—they’re best enjoyed warm!
How to Serve Baked Piroshki Recipe with Sweet and Savory Filling Options Recipe
Garnishes
For a fresh touch, sprinkle some finely chopped fresh herbs like dill or parsley on your savory piroshki. Sweet versions can be accented with a light dusting of powdered sugar or a drizzle of honey for extra charm. These little finishing touches can seriously elevate the presentation and flavor experience.
Side Dishes
Piroshki shine brightest as the star of your meal, but consider pairing savory ones with a crisp green salad, pickled vegetables, or a warm bowl of borscht. Sweet piroshki make a lovely companion to a simple cup of tea or coffee, perfect for a cozy dessert or afternoon snack.
Creative Ways to Present
If you’re hosting a brunch or party, set up a piroshki “bar” with a variety of fillings displayed in small bowls and let guests pick their favorites to stuff their warm dough pockets. You can also bake them in fun shapes—like twists or half-moons—for an eye-catching twist that invites curiosity and conversation around the table.
Make Ahead and Storage
Storing Leftovers
Leftover piroshki can be stored in an airtight container at room temperature for up to two days. For longer freshness, pop them in the refrigerator where they’ll keep nicely for about 4 days. Always make sure they’re fully cooled before storing to avoid sogginess.
Freezing
These piroshki freeze wonderfully! Freeze them either before baking (arranged on a sheet until firm, then transferred to a freezer bag) or after baking. To freeze baked piroshki, allow them to cool completely, then store them in an airtight container or freezer bag for up to 3 months.
Reheating
Reheat frozen or refrigerated piroshki in a preheated oven at 350°F (175°C) for about 10-15 minutes until warmed through and crisp on the outside. Microwaving is faster but can make the dough soft or soggy, so the oven is best to revive that golden crust.
FAQs
Can I use whole wheat flour instead of all-purpose flour?
Yes, but keep in mind that whole wheat flour can make the dough denser and less airy. You might want to substitute only part of the flour with whole wheat to maintain a light texture.
How do I prevent the piroshki from bursting during baking?
Make sure to pinch the dough edges very tightly to seal in the filling. Also, avoid overfilling and ensure the dough is rolled evenly to prevent thin spots where leaks can form.
Can I prepare the dough in a stand mixer?
Absolutely! Using the dough hook attachment makes kneading much easier and ensures a nice, even dough. Just mix on medium speed until the dough is smooth and elastic.
What are some popular savory fillings for piroshki?
Classic savory fillings include ground beef with onions, sautéed mushrooms, mashed potatoes with herbs, or cabbage and carrots cooked with spices. Feel free to experiment with your favorite seasonings!
Are these piroshki suitable for freezing before baking?
Definitely. Freezing before baking can save time. Let the dough balls freeze until firm, transfer to freezer bags, and bake straight from frozen—just add a few extra minutes to the baking time.
Final Thoughts
This Baked Piroshki Recipe with Sweet and Savory Filling Options Recipe is truly a labor of love that rewards you with warm, aromatic delights in every bite. Whether you choose sweet jams or hearty meat fillings, these piroshki offer a wonderful way to explore flavors and share something special with friends and family. I can’t encourage you enough to give them a try—you might just find your next favorite comfort food!
Print
Baked Piroshki Recipe with Sweet and Savory Filling Options Recipe
- Prep Time: 180 minutes
- Cook Time: 20 minutes
- Total Time: 200 minutes
- Yield: 40 baked piroshki
- Category: Bread
- Method: Baking
- Cuisine: Russian
Description
This Baked Piroshki recipe offers two delicious filling options—sweet or savory—perfect for any occasion. These Russian-style stuffed buns are soft, fluffy, and baked to golden perfection, making a delightful treat for family and friends. The recipe includes a yeast dough base that can be filled with sweet jam or a savory potato meat mixture, catering to diverse tastes.
Ingredients
Dough:
- 2 cups warm milk
- 1 Tbsp active dry yeast
- 1/4 cup sugar (from divided 1/2 cup)
- 6 cups + 2 Tbsp all-purpose flour (divided into 1 cup and 5 cups + 2 Tbsp)
- 3 eggs
- 1 and 1/2 Tbsp melted butter
- 1 tsp salt
- 1 beaten egg (for egg wash)
Sweet Filling Option:
- Jam or fruit preserves (approx. 1 cup for filling 40 piroshkis)
Savory Filling Option:
- 2 lbs potatoes (boiled and mashed)
- 1 onion (finely chopped)
- 1/2 lb cooked ground meat (beef or pork)
- Salt and pepper to taste
- 1 Tbsp vegetable oil (for sautéing)
Instructions
- Activate Yeast: In a large mixing bowl, combine warm milk, active dry yeast, and 1/4 cup sugar. Let it sit for about 10 minutes until the mixture becomes frothy, indicating the yeast is activated.
- Prepare Dough: Add 1 cup of flour, eggs, melted butter, and salt to the yeast mixture. Mix until combined. Gradually incorporate the remaining 5 cups + 2 Tbsp flour, kneading to form a soft, elastic dough. Cover with a clean towel and let it rise in a warm place for about 1 to 1.5 hours until it doubles in size.
- Prepare Filling: For savory filling, sauté onions in vegetable oil until translucent. Mix cooked ground meat, sautéed onions, mashed potatoes, salt, and pepper in a bowl. For sweet filling, prepare your choice of jam or fruit preserves.
- Shape Piroshki: Punch down the risen dough and divide it into 40 equal pieces. Roll each piece into a small circle. Place a spoonful of your chosen filling in the center of each dough circle. Fold the dough over and pinch the edges securely to seal.
- Second Rise: Place the shaped piroshki seam-side down on parchment-lined baking trays. Brush the tops with beaten egg to create a golden crust. Allow them to rise for another 20-30 minutes.
- Bake: Preheat your oven to 375°F (190°C). Bake the piroshki for 20 minutes or until they are golden brown and cooked through. Remove from the oven and let cool slightly before serving.
Notes
- Piroshki dough can be made ahead and refrigerated overnight for enhanced flavor.
- Ensure fillings are cooled before stuffing to prevent dough sogginess.
- Use an egg wash for a shiny, golden crust; milk wash can be used for a softer finish.
- Store baked piroshki in an airtight container; they can be reheated in a warm oven or microwave.
- Feel free to experiment with other fillings like mushrooms, cabbage, or cheese.

