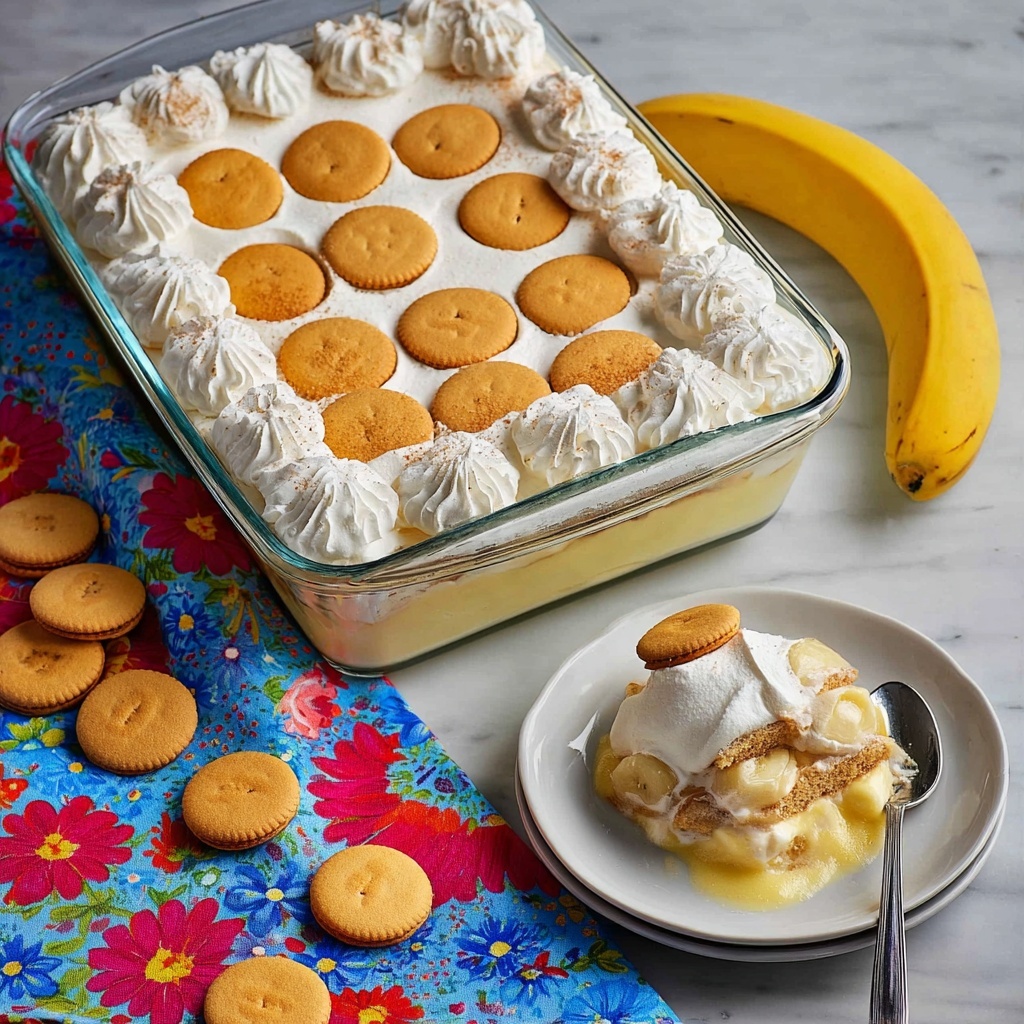
If you have a sweet tooth and a love for classic Southern desserts, this Nilla Wafer Banana Pudding Recipe will quickly become your new favorite. It’s the perfect balance of creamy vanilla pudding, rich cheesecake-like layers, tender banana slices, and the nostalgic crunch of Nilla wafers. Every bite melts in your mouth, delivering textures and flavors that feel like a warm, comforting hug. Whether you’re making it for a family gathering or a casual get-together, this recipe offers an irresistible twist on a beloved dessert that’s sure to wow everyone at the table.
Ingredients You’ll Need
This recipe is delightfully simple yet thoughtfully crafted with a handful of pantry staples that combine to create incredible flavor and texture. Each ingredient plays a special role, from the silky pudding base to the creamy cheesecake layer, and of course the star, the classic Nilla wafers that bring that perfect crunch and sweetness.
- Instant vanilla pudding mix (2 packets, 3.4 oz each): The foundation of this dessert, adding bright vanilla flavor and creamy texture when set with cold milk.
- Cold milk (4 cups): Essential to whisk with the pudding mix, creating a luscious and smooth filling.
- Cream cheese (8 ounces, softened): Adds a rich, tangy creaminess that transforms the pudding into a decadent cheesecake-like layer.
- Powdered sugar (1/3 cup): Sweetens and balances the tang of the cream cheese while blending perfectly into the creamy mixture.
- Vanilla extract (1 teaspoon): Enhances every flavor in the dish with warm, inviting vanilla notes.
- Whipped topping (8 ounces, thawed): Lightens the cheesecake layer and finishes the dessert with luscious fluffiness.
- Vanilla wafer cookies (11 ounces): The crunchy, buttery base and topping that give banana pudding its iconic texture contrast.
- Bananas (4 large): Fresh and sweet, sliced thick enough to have presence but soft enough to melt into the pudding layers.
How to Make Nilla Wafer Banana Pudding Recipe
Step 1: Prepare the Vanilla Pudding
Start by whisking together the instant vanilla pudding mix with cold milk in a medium bowl. It’s important to let this mixture chill and thicken in the refrigerator until it sets—it’ll become the creamy backbone of your dessert.
Step 2: Make the Cream Cheese Mixture
While the pudding chills, beat the softened cream cheese with powdered sugar and vanilla extract until silky smooth. You’ll reserve a bit of the whipped topping to decorate later, then fold the rest into this cream cheese mixture to create a luscious, fluffy cheesecake-like layer that will amplify every spoonful.
Step 3: Layer the Vanilla Wafers
Grab your 9×13 glass dish and layer a single row of the vanilla wafers at the bottom. These cookies create a crunchy foundation that will soften slightly once the pudding and bananas are added—a textural delight!
Step 4: Add the Banana Slices
Peel and slice the bananas into half-inch rounds. Lay these slices carefully over the pudding-soaked wafer layer. The bananas add fruity sweetness and a bit of fresh natural flavor that balances the richness beautifully.
Step 5: Spread the Cheesecake Layer
Dollop the creamy cheesecake mixture over the bananas. Then gently spread it out with a spatula until the layer is smooth and even. This step creates a luxurious middle layer that is every bit as dreamy as it sounds.
Step 6: Top with More Wafers
Cover the cheesecake layer with another even layer of vanilla wafer cookies. This top crust will soften over time but still maintain some crunch to contrast with the creamy layers beneath.
Step 7: Pipe the Reserved Whipped Topping
Spoon the reserved whipped topping into a small zip-top bag and snip a corner off to pipe decorative dollops on the top of the pudding. This adds a pretty finishing touch and an extra burst of creamy sweetness in each bite.
Step 8: Chill or Serve
Choose to serve the pudding immediately if you love a bit more crisp from the wafers or cover and refrigerate it for a few hours so the flavors meld and the wafers soften slightly for a more traditional banana pudding texture.
How to Serve Nilla Wafer Banana Pudding Recipe
Garnishes
To elevate your Nilla Wafer Banana Pudding Recipe, sprinkle crushed vanilla wafers or even a hint of cinnamon on top for a cozy note. Fresh banana slices or a few mint leaves can also add a pop of color and freshness, making it as beautiful as it is delicious.
Side Dishes
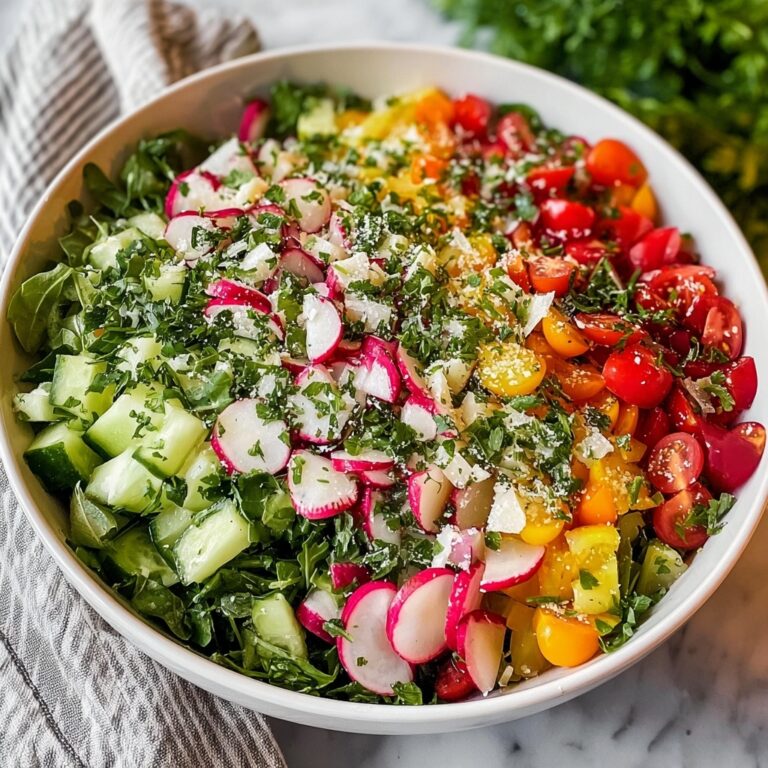
This dessert stands out perfectly on its own, but if you’re serving it at a gathering, consider light and refreshing sides like a crisp green salad with citrus vinaigrette or simple fruit skewers. These help balance the richness and keep the meal feeling fresh and satisfying.
Creative Ways to Present
For a fun twist on the traditional presentation, serve your banana pudding in individual glass jars or cute mini trifle bowls. This makes it feel extra special and allows guests to enjoy the layers up close. You can also experiment by adding layers of caramel drizzle or crushed toffee for extra indulgence.
Make Ahead and Storage
Storing Leftovers
Nilla wafer banana pudding keeps beautifully in the fridge for up to 3 days when covered tightly with plastic wrap or stored in an airtight container. The flavors will continue to meld, and the wafers soften just a bit more, making each bite wonderfully smooth and creamy.
Freezing
Freezing is not recommended for this pudding since bananas and the whipped topping do not freeze well—they can become watery or grainy after thawing. For best results, enjoy it fresh or refrigerated.
Reheating
This dessert is best served cold or at room temperature. Reheating will affect the texture and flavor, so stick to chilling the pudding in the fridge before serving rather than warming it up.
FAQs
Can I use homemade vanilla pudding instead of instant?
Absolutely! Homemade vanilla pudding works wonderfully if you prefer to make everything from scratch. Just be sure to chill it thoroughly so it sets nicely when layered.
How ripe should the bananas be?
Choose bananas that are ripe but still firm with just a few brown spots. They’ll be sweet and flavorful but hold their shape well in the pudding without turning mushy.
Can I make this dessert vegan?
Yes, you can! Swap the instant pudding for a dairy-free version, use vegan cream cheese, and select a plant-based whipped topping along with vegan vanilla wafers to create a delicious dairy-free Nilla Wafer Banana Pudding Recipe.
Why do I need to reserve some whipped topping?
Reserving some whipped topping allows you to pipe decorative dollops on the top of your dessert, adding an elegant visual appeal and an extra layer of fluffy creaminess.
Is it better to serve this immediately or chilled?
Serving immediately lets the wafers stay crisp, while chilling gives the pudding time to meld together and the wafers soften for a more classic banana pudding texture. Both ways are delicious, so it depends on your preference!
Final Thoughts
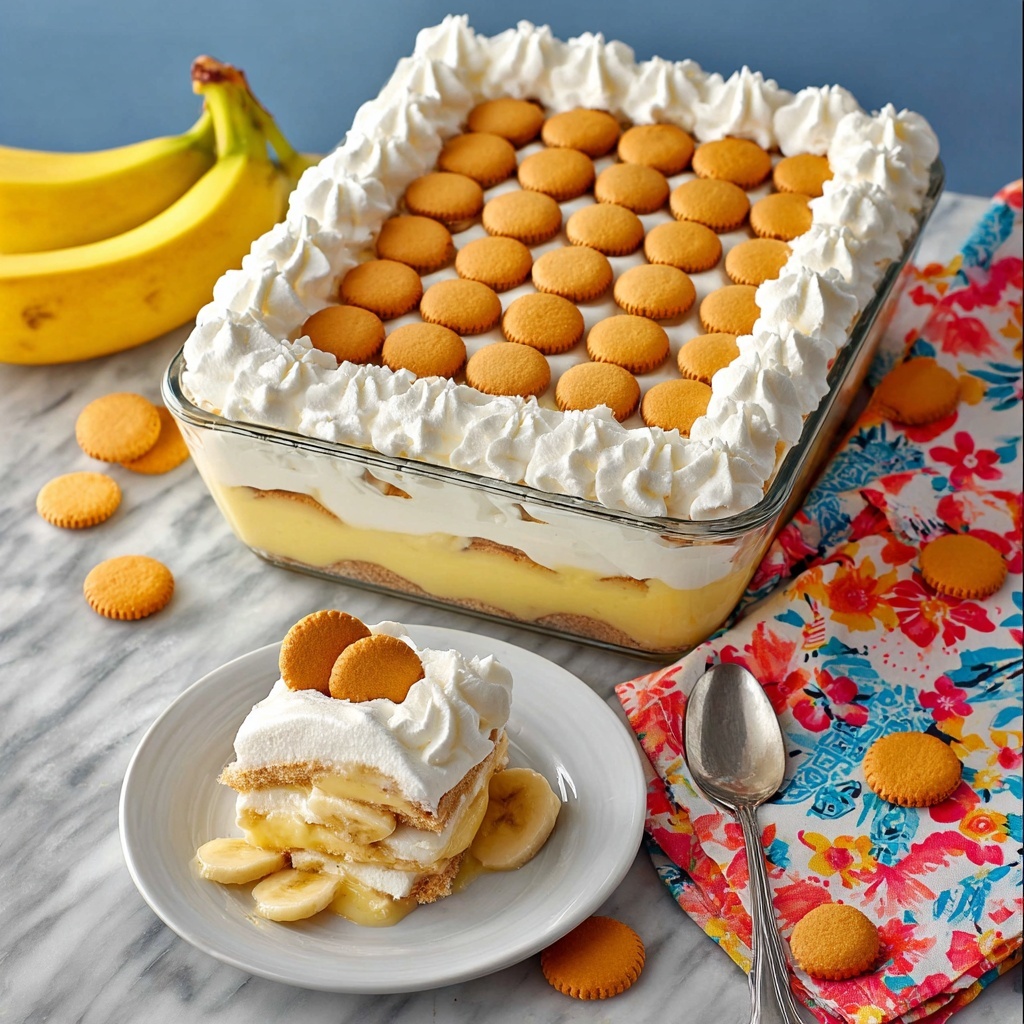
This Nilla Wafer Banana Pudding Recipe is one of those magical desserts that feels both nostalgic and fresh, creamy yet light, and beautifully layered with flavors that just sing. It’s perfect for any occasion and promises smiles with every spoonful. Never hesitate to whip up this crowd-pleaser in your kitchen – it’s a sweet, soothing hug everyone deserves!
Print
Nilla Wafer Banana Pudding Recipe
- Prep Time: 25 minutes
- Cook Time: 0 minutes
- Total Time: 25 minutes
- Yield: 12 servings
- Category: Dessert
- Method: No-Cook
- Cuisine: American
Description
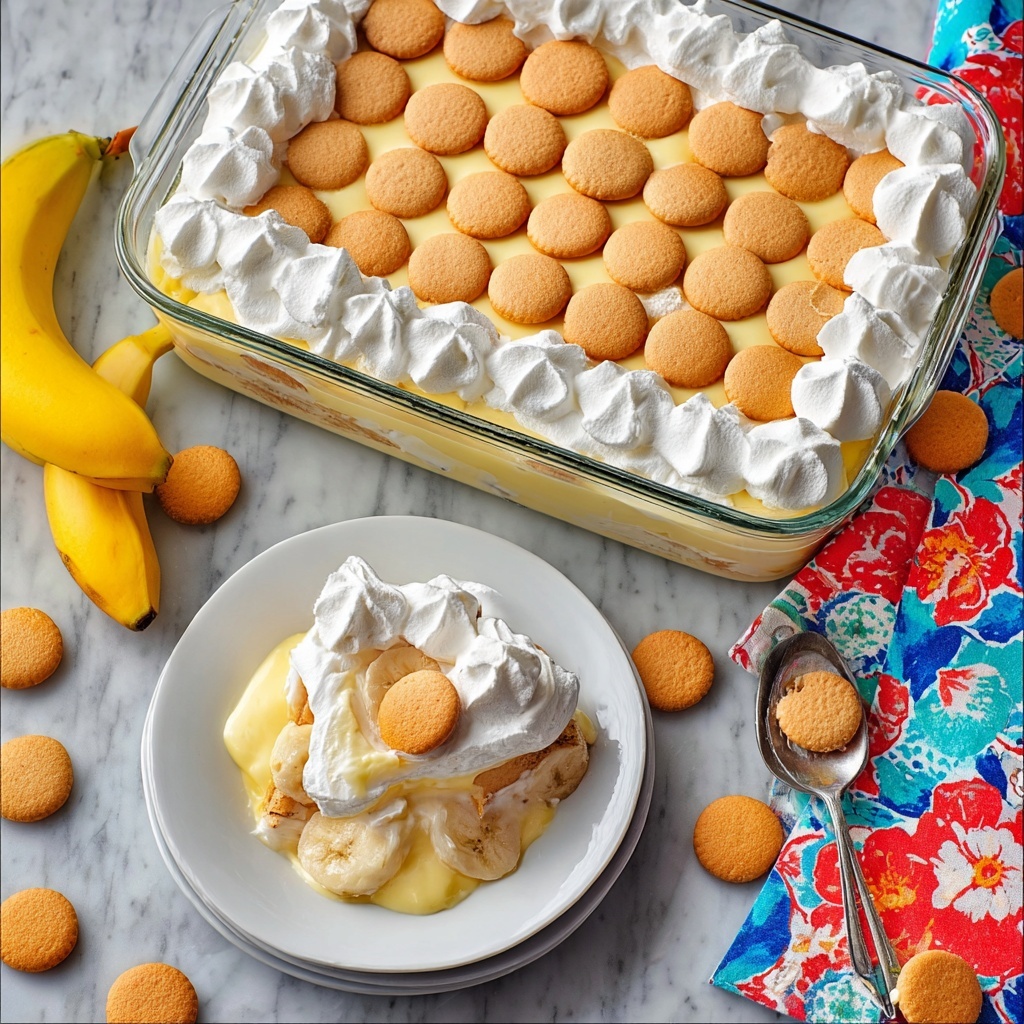
This classic Nilla Wafer Banana Pudding is a creamy, dreamy dessert perfect for any occasion. Layers of smooth vanilla pudding, fresh banana slices, and crunchy vanilla wafer cookies come together with a luscious cream cheese and whipped topping mixture for a delightful treat that requires no baking.
Ingredients
Pudding Mixture
- 2 (3.4 ounces each) instant vanilla pudding mix
- 4 cups cold milk
Cream Cheese Mixture
- 8 ounces cream cheese, softened
- 1/3 cup powdered sugar
- 1 teaspoon vanilla extract
- 8 ounces whipped topping, thawed (divided)
Other Ingredients
- 11 ounces vanilla wafer cookies
- 4 large bananas
Instructions
- Prepare the pudding: In a medium mixing bowl, whisk together the instant vanilla pudding mix and cold milk until well combined. Cover and refrigerate until the pudding thickens, about 5 minutes.
- Make the cream cheese layer: In a large mixing bowl, beat the softened cream cheese with powdered sugar and vanilla extract until smooth. Reserve 3/4 cup of the whipped topping and set aside. Beat the remaining whipped topping into the cream cheese mixture until creamy and smooth.
- Layer the wafers: Line the bottom of a 3-quart 9×13 inch glass dish with a single layer of vanilla wafer cookies.
- Add pudding layer: Pour the thickened vanilla pudding evenly over the layer of vanilla wafers, using a spatula to spread it gently and evenly.
- Add banana slices: Peel the bananas and slice them into ½-inch thick rounds. Arrange the banana slices over the pudding layer.
- Top with cream cheese mixture: Spoon dollops of the cream cheese and whipped topping mixture over the banana layer. Use a spatula to gently spread until the dollops meet and form an even layer over all the bananas.
- Second wafer layer: Evenly layer the remaining vanilla wafer cookies over the cream cheese layer.
- Decorate with whipped topping: Place the reserved whipped topping into a small zip-top bag and cut a corner to create a piping bag. Pipe the whipped topping decoratively over the top layer of vanilla wafers.
- Chill before serving: Serve immediately for a crisp texture or cover and refrigerate for several hours to allow the cookies to soften for a creamy, pudding-like consistency.
Notes
- This dessert tastes best after chilling for at least 2 hours to let the flavors meld and the wafers soften.
- Use ripe bananas for optimal sweetness and texture.
- For a lighter version, use reduced-fat cream cheese and whipped topping options.
- Keep the dessert refrigerated to maintain freshness and texture.
- Leftovers can be stored covered in the refrigerator for up to 3 days.

