
If you have ever craved that hearty, comforting bowl of Chili that warms you from the inside out, then you are in for a real treat with this Wendy’s Copycat Chili Recipe. This classic chili mirrors the beloved flavors of the original fast-food favorite, boasting a perfect balance of tender ground beef, rich tomatoes, and a blend of spices that makes every spoonful irresistible. Whether you’re cooking for a crowd or just a cozy night in, this recipe delivers an effortless yet deeply satisfying meal that feels like a warm hug on a chilly day.
Ingredients You’ll Need
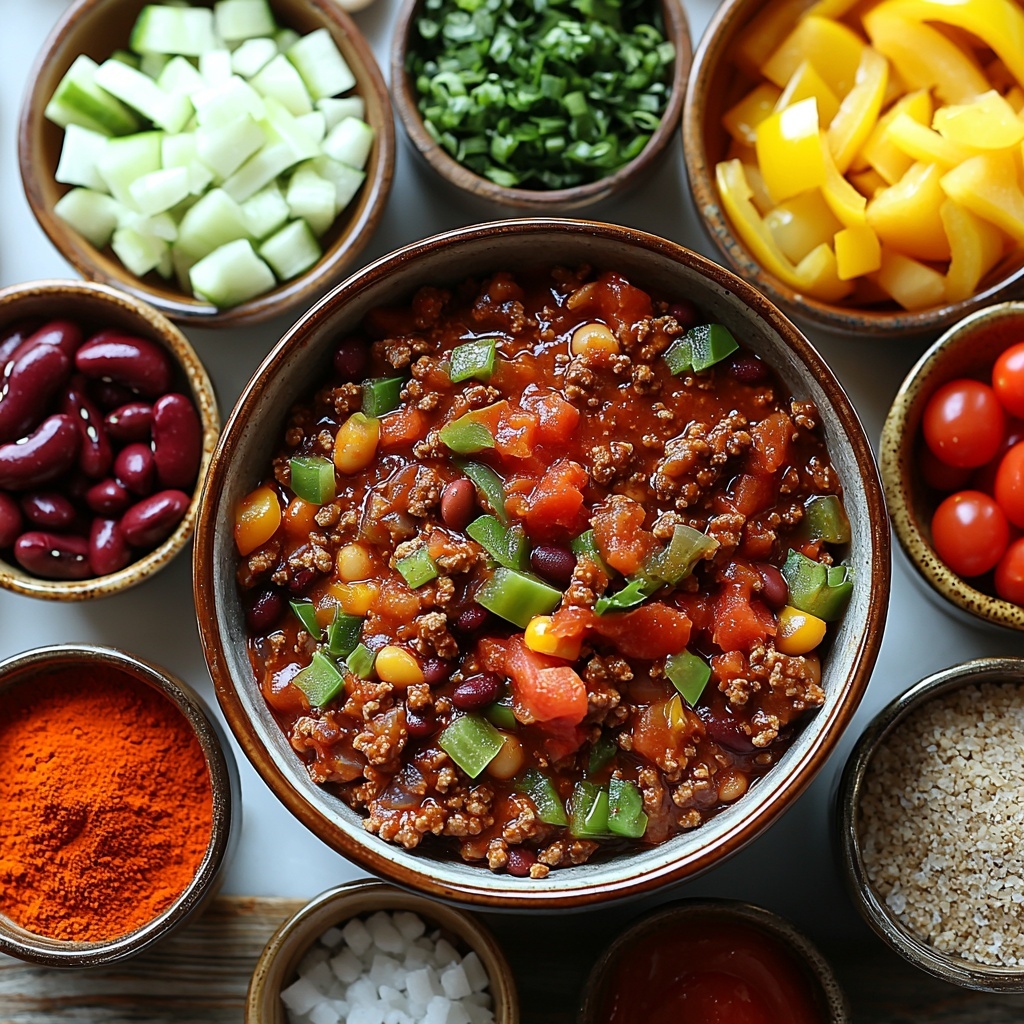
Getting started on this chili is delightfully simple. Each ingredient is carefully chosen to build layers of flavor and texture that make this chili shine, from the savory beef to the vibrant veggies and hearty beans. Let’s gather everything to create a magical pot of comfort.
- 1 ½ pounds ground beef: The hearty base that adds richness and protein to the chili.
- 1 can (15 oz) kidney beans, drained and rinsed: For a creamy texture and classic chili authenticity.
- 1 can (15 oz) pinto beans, drained and rinsed: Adds an extra layer of smoothness and flavor.
- 1 can (28 oz) crushed tomatoes: The thick and tangy tomato base that brings everything together.
- 1 can (15 oz) tomato sauce: Enhances the tomatoey goodness and thickens the chili.
- 1 cup chopped onion: Adds sweetness and depth as it cooks down.
- 1 cup chopped celery: Brings a subtle crunch and fresh flavor boost.
- 1 cup chopped green bell pepper: Provides a mild peppery taste and vibrant color.
- 2 tablespoons chili powder: The star spice that delivers the signature chili kick.
- 1 tablespoon ground cumin: Gives earthiness and warmth that complements the chili powder.
- 1 teaspoon garlic powder: Adds a lovely hint of garlic without overpowering.
- 1 teaspoon black pepper: For subtle heat and complexity.
- 1 teaspoon salt (or to taste): Essential to balance and enhance all the flavors.
- 1 tablespoon sugar: A small touch of sweetness to round out acidity from tomatoes.
- 1 cup water or beef broth: Helps meld the ingredients while cooking, keeping it juicy.
How to Make Wendy’s Copycat Chili Recipe
Step 1: Brown the Beef
Start by heating a large pot over medium-high heat and add your ground beef. Break it apart as it cooks to ensure a nice, even brown without clumps. This browning is crucial because it builds a deep flavor foundation. Be sure to drain any excess fat to avoid a greasy chili.
Step 2: Sauté the Vegetables
Next, toss in the chopped onion, celery, and green bell pepper. Sauté these veggies along with the beef for about 5 to 6 minutes until they soften and start to release their sweetness. This layering of cooked vegetables provides fantastic texture and helps round out the chili’s flavor profile.
Step 3: Toast the Spices
Sprinkle in your chili powder, ground cumin, garlic powder, black pepper, and salt. Stir everything together and let the spices cook for about one minute. This step is key for toasting the spices and waking up their full, aromatic potential, which makes a world of difference in your chili’s final flavor.
Step 4: Add Tomatoes and Beans
Pour in the crushed tomatoes and tomato sauce, then add your drained kidney beans and pinto beans. Mix everything thoroughly so that the beans and tomato goodness get evenly distributed throughout the pot. This combination is what makes your chili both meaty and hearty with a delightful bean variety.
Step 5: Stir in Liquid and Sugar
Add one cup of water or beef broth and the tablespoon of sugar. The liquid helps everything simmer perfectly, while the sugar balances the acidity of the tomatoes without being sweet. Bring this mixture to a gentle boil before moving on to the next step.
Step 6: Simmer to Perfection
Reduce the heat and let the chili simmer uncovered for 60 to 70 minutes. Stir occasionally to prevent sticking and allow the flavors to develop beautifully together. This slow simmer is what transforms your chili from good to unforgettable, giving it that thick, rich texture that people crave.
Step 7: Adjust Seasoning and Serve
Finally, taste your chili and tweak the seasoning as needed. Sometimes a pinch more salt or a dash more chili powder helps tailor it to your liking. Serve your masterpiece hot, and consider adding toppings like shredded cheese, sour cream, or chopped green onions for that extra touch of deliciousness.
How to Serve Wendy’s Copycat Chili Recipe
Garnishes
Chili is all about toppings that add texture and contrast. Try shredded cheddar, a dollop of sour cream, diced green onions, or even a sprinkle of crushed tortilla chips. These garnishes transform each bite into something special and customizable to your taste.
Side Dishes
This chili pairs wonderfully with crusty bread for sopping up every last bit, or classic cornbread that adds a sweet counterpoint. For a lighter option, consider serving it with a fresh green salad or steamed vegetables to round out your meal.
Creative Ways to Present
Want to impress? Serve the chili over baked potatoes or use it as a topping for nachos. For game day, a chili bar format lets everyone fix their own bowl with various toppings and sides. It’s a fun and interactive way to enjoy this classic recipe.
Make Ahead and Storage
Storing Leftovers
Leftover chili stores beautifully in an airtight container in the refrigerator for up to four days. The flavors continue to meld and deepen, so it often tastes even better the next day.
Freezing
For long-term storage, this chili freezes really well. Portion it into freezer-safe containers or bags, leaving some space for expansion. It can be frozen for up to three months and thawed in the fridge overnight before reheating.
Reheating
Reheat the chili gently on the stove over medium-low heat, stirring occasionally to prevent sticking. You can also microwave individual portions, adding a splash of water or broth if it seems too thick. Reheating brings back that fresh-from-the-pot warmth in no time.
FAQs
Can I use ground turkey instead of beef?
Absolutely! Ground turkey is a leaner option that still works well in this Wendy’s Copycat Chili Recipe. Just brown it carefully and consider adding a bit of extra seasoning or broth to maintain moisture.
Do I have to soak the beans before adding?
No soaking is required for this recipe because it uses canned beans. Just make sure to drain and rinse them well for the best taste and texture.
Is the chili spicy?
This chili has a mild to moderate heat level that’s very approachable. If you love it spicier, you can easily add cayenne pepper or chopped jalapeños during the cooking process.
Can I make this in a slow cooker?
Yes, after browning the beef and sautéing the veggies, you can transfer everything to a slow cooker and cook on low for 6 to 8 hours. Just add the beans and tomatoes, and adjust seasoning toward the end.
What’s the best way to thicken the chili if it’s too thin?
If your chili ends up a bit thin, simmer it uncovered a bit longer to reduce the liquid. Alternatively, stirring in a small spoonful of cornmeal or masa harina can help thicken it up beautifully.
Final Thoughts
This Wendy’s Copycat Chili Recipe is the perfect blend of simplicity and comforting flavor that’s bound to become a regular in your kitchen. It’s a delicious way to enjoy that classic chili experience right at home, with plenty of room for your own personal touches. Give it a try, and I promise it will warm your soul as much as it fills your belly.
Print
Wendy’s Copycat Chili Recipe
- Prep Time: 15 minutes
- Cook Time: 1 hour 10 minutes
- Total Time: 1 hour 25 minutes
- Yield: 6 servings
- Category: Main Dish
- Method: Stovetop
- Cuisine: American
Description
This Wendy’s Copycat Chili is a hearty, flavorful homemade version of the famous fast-food chili. Made with ground beef, kidney and pinto beans, crushed tomatoes, and a blend of classic chili spices, it is simmered to perfection for over an hour to develop rich depth and warmth. Perfect for a comforting meal served on its own or as a tasty topping for baked potatoes or fries.
Ingredients
Meat and Beans
- 1 ½ pounds ground beef
- 1 can (15 oz) kidney beans, drained and rinsed
- 1 can (15 oz) pinto beans, drained and rinsed
Vegetables
- 1 cup chopped onion
- 1 cup chopped celery
- 1 cup chopped green bell pepper
Tomato Base
- 1 can (28 oz) crushed tomatoes
- 1 can (15 oz) tomato sauce
Spices and Seasonings
- 2 tablespoons chili powder
- 1 tablespoon ground cumin
- 1 teaspoon garlic powder
- 1 teaspoon black pepper
- 1 teaspoon salt (or to taste)
- 1 tablespoon sugar
Liquids
- 1 cup water or beef broth
Instructions
- Brown the Ground Beef: In a large pot over medium-high heat, brown the ground beef, breaking it up as it cooks. Once fully browned, drain any excess fat to create a lean base.
- Sauté Vegetables: Add the chopped onion, celery, and green bell pepper to the beef in the pot. Sauté them together for about 5 to 6 minutes until the vegetables soften and become fragrant.
- Toast Spices: Stir in the chili powder, ground cumin, garlic powder, black pepper, and salt. Continue cooking for 1 minute to toast the spices and enhance their flavors.
- Add Tomato and Beans: Pour in the crushed tomatoes, tomato sauce, kidney beans, and pinto beans. Mix thoroughly to combine all ingredients evenly.
- Add Liquid and Sugar: Stir in the water or beef broth along with the sugar. Bring the mixture to a gentle boil over medium heat.
- Simmer the Chili: Reduce the heat to low and let the chili simmer uncovered for 60 to 70 minutes. Stir occasionally to prevent sticking and to allow the flavors to meld fully.
- Final Seasoning and Serve: Taste the chili and adjust seasoning if needed. Serve hot, optionally topped with shredded cheese, sour cream, or chopped green onions for added flavor and texture.
Notes
- For a spicier chili, add a pinch of cayenne pepper or some chopped jalapeños when sautéing the vegetables.
- Using beef broth instead of water adds extra richness and depth to the chili.
- Simmering uncovered helps thicken the chili by allowing excess liquid to evaporate.
- Leftover chili tastes even better the next day as flavors continue to develop.
- This chili can be stored in the refrigerator for up to 4 days or frozen for up to 3 months.


