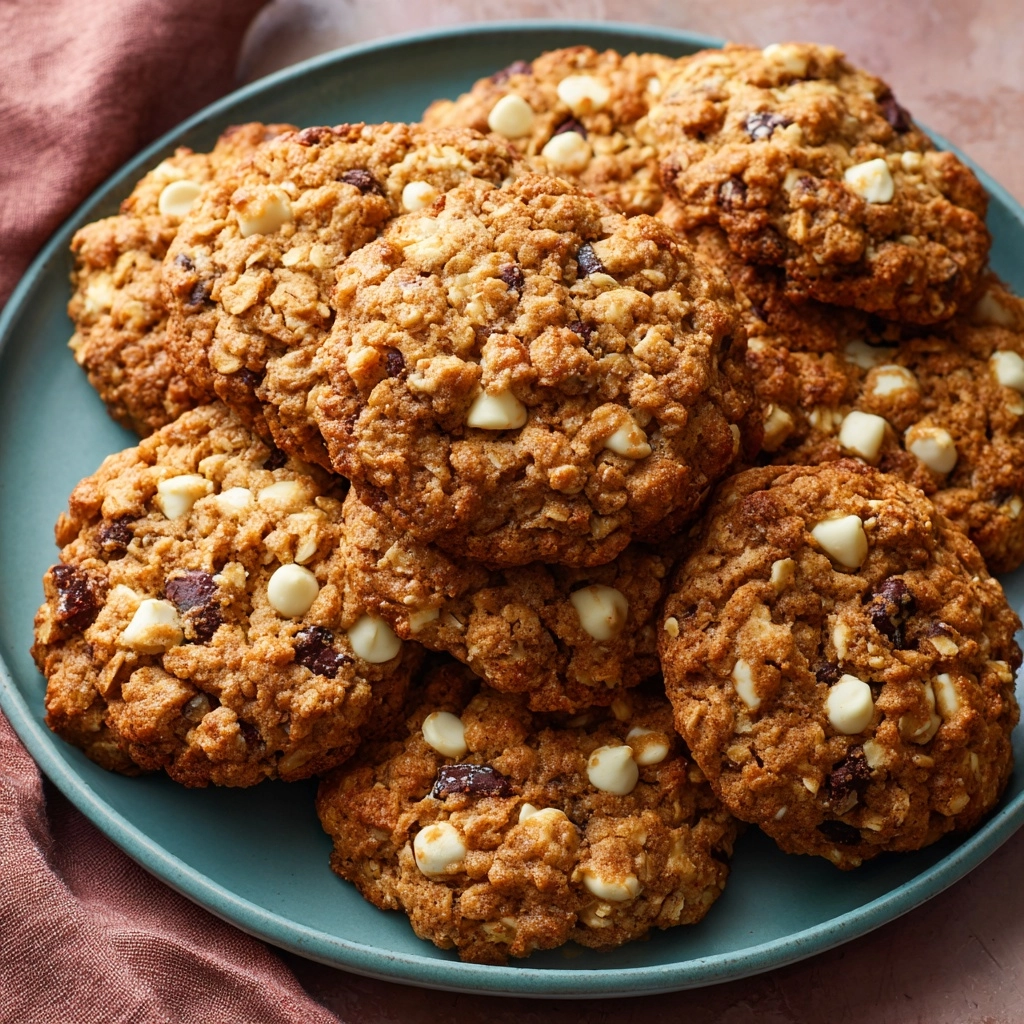
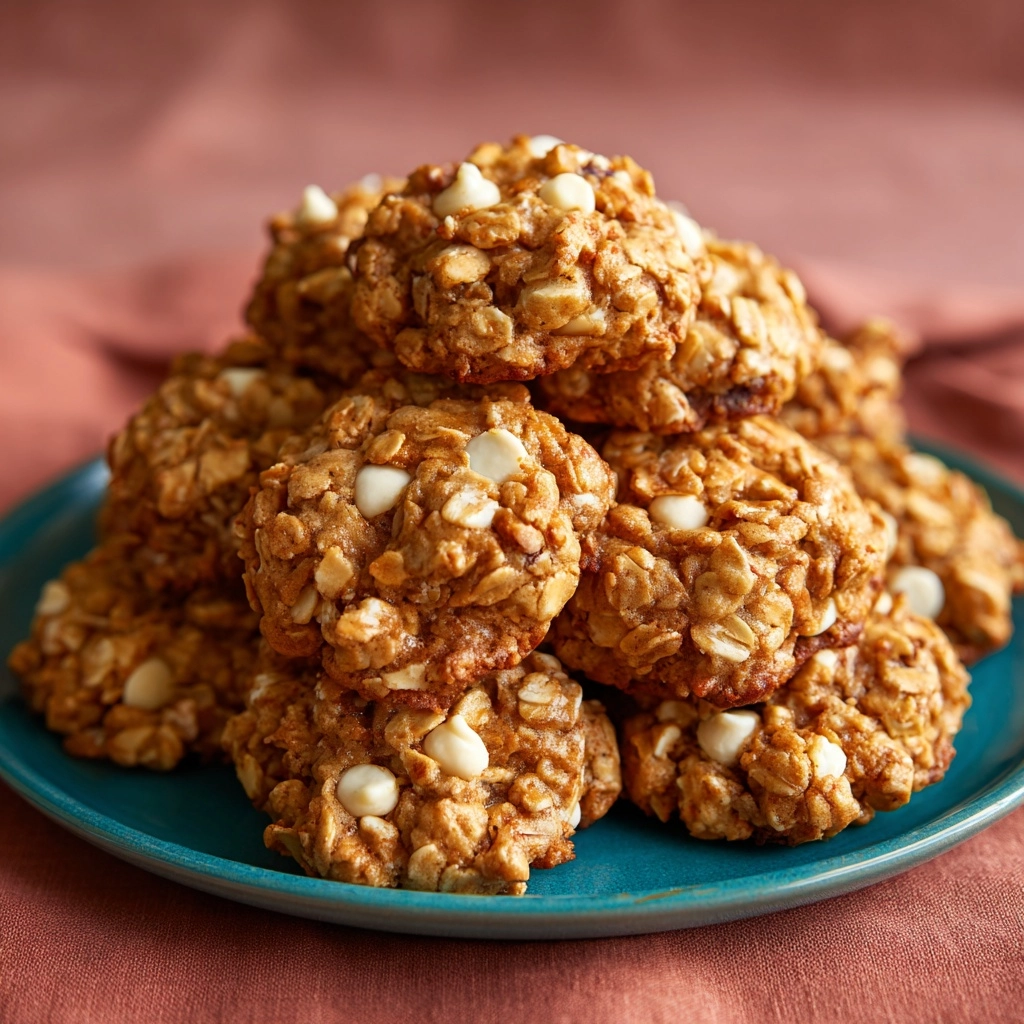
If you’re on the hunt for a fun, no-fuss treat, you have to try these Title : No Bake Avalanche Cookies. Imagine rich, creamy white chocolate mingling with luscious peanut butter, crispy rice cereal, pillowy marshmallows, and a sprinkle of mini chocolate chips—all without ever turning on the oven! This crowd-pleasing cookie is a snap to whip up for any occasion and has quickly become a beloved staple in my kitchen for sweet cravings and impromptu gatherings alike.
Ingredients You’ll Need
-
Ingredients:
- 2 cups white chocolate chips
- 1/2 cup creamy peanut butter
- 2 1/2 cups crispy rice cereal
- 1 cup mini marshmallows
- 1/2 cup mini chocolate chips
How to Make Title : No Bake Avalanche Cookies
Step 1: Melt the White Chocolate
Grab a large, microwave-safe bowl and pour in the white chocolate chips. Microwave in 30-second intervals, stirring well each time, until all the chips are silky smooth and melted. Be patient—gentle heat is key to preventing the chocolate from seizing up, and stirring in between helps distribute the heat evenly.
Step 2: Blend in Peanut Butter
Add the creamy peanut butter to your bowl of melted chocolate. Stir thoroughly until the mixture is luscious and fully combined, creating the irresistible base for your Title : No Bake Avalanche Cookies.
Step 3: Fold in Crispy Rice Cereal
Scoop in the crispy rice cereal and gently fold it through the mixture. Make sure every grain is coated, but be gentle so you don’t crush the cereal. This is where that iconic light, crispy texture is born!
Step 4: Stir in Mini Marshmallows
Now, toss the mini marshmallows into the bowl and fold them in until just combined. You want to keep their fluffy shape intact, so avoid overmixing—those little pockets of gooey sweetness are the secret surprise in each cookie.
Step 5: Cool and Add Chocolate Chips
Give your mixture a few minutes to cool. Once it’s just warm (not hot), sprinkle in the mini chocolate chips and give a final gentle stir. This helps keep the chips from melting into the mix so you get perfect pops of chocolate.
Step 6: Shape and Set the Cookies
Drop heaping tablespoons of the mixture onto a parchment-lined baking sheet to form rustic, chunky cookies. Let them set at room temperature for 30 to 45 minutes, or pop them in the fridge if you’re a little impatient. Once they’re firm, your Title : No Bake Avalanche Cookies are ready to share—or savor all by yourself.
How to Serve Title : No Bake Avalanche Cookies

Garnishes
For extra wow, sprinkle each cookie with a pinch of flaky sea salt just before they’re set—this brings out the flavors and looks gourmet. A light dusting of powdered sugar or some extra mini chocolate chips on top also adds a festive touch, especially for celebrations.
Side Dishes
Pair your Title : No Bake Avalanche Cookies with a cold glass of milk or a creamy latte for the ultimate comfort treat. If you’re serving these at a party, a platter of fresh berries or a fruit salad makes a wonderful, colorful contrast to the cookies’ sweetness.
Creative Ways to Present
Stack cookies in clear cellophane bags tied with ribbon for edible gifts, or nestle them in cupcake liners on a dessert stand for a gorgeous party display. They’re also perfect as part of a cookie swap or a cheerful lunchbox treat!
Make Ahead and Storage
Storing Leftovers
Keep your Title : No Bake Avalanche Cookies fresh by storing them in an airtight container at room temperature. They’ll stay tasty for up to five days—though in my experience, they disappear much sooner!
Freezing
If you want to make a big batch ahead of time, these cookies freeze beautifully. Arrange them in layers with parchment paper in between, seal tightly, and freeze for up to two months. Just let them come to room temperature before serving for the best texture.
Reheating
No need to reheat these cookies, but if you like a slightly softer bite, you can leave them out at room temperature for a few minutes if they’ve just come from the fridge or freezer. They’ll return to their perfect chewy-crisp balance in no time!
FAQs
Can I use dark or milk chocolate instead of white chocolate?
Absolutely! Dark or milk chocolate chips will give your Title : No Bake Avalanche Cookies a whole new layer of flavor and richness, though the cookies will lose their iconic snow-capped look. Try a mix for a fun twist!
What’s the best way to make them nut-free?
For a nut-free version, swap out the peanut butter for sunflower seed butter or creamy almond butter (be sure to check for allergies). The result is just as decadent with its own unique flavor spin.
Can I use regular-sized marshmallows?
Mini marshmallows work best for even distribution and fun texture, but if you only have large ones on hand, simply chop them into smaller pieces before adding to the mix for similar results.
How do I keep the chocolate chips from melting?
Let the mixture cool down a bit after adding the marshmallows, but before folding in the mini chocolate chips. This way, they’ll hold their shape and give you delightful little chocolate bursts in every bite.
Are Title : No Bake Avalanche Cookies gluten-free?
They can be! Make sure you use certified gluten-free crispy rice cereal and check your other ingredients’ labels. With those simple swaps, this recipe is a wonderful gluten-free treat.
Final Thoughts
There’s something absolutely charming about whipping up a batch of Title : No Bake Avalanche Cookies—no oven, no stress, just pure sweet satisfaction. Once you try these cookies, you’ll find yourself making them for everything from family movie night to holiday cookie platters. Grab your ingredients and dive in; I guarantee these no bake beauties will become a fast favorite in your home, too!
Print
Title : No Bake Avalanche Cookies Recipe
- Prep Time: 15 minutes
- Cook Time: 0 minutes
- Total Time: 45 minutes (including cooling)
- Yield: 24 cookies
- Category: Dessert
- Method: No Bake
- Cuisine: American
- Diet: Vegetarian
Description
These No Bake Avalanche Cookies are a delightful treat that combines the sweetness of white chocolate with the nuttiness of peanut butter, crispy rice cereal, marshmallows, and mini chocolate chips. Easy to make and perfect for satisfying your sweet tooth!
Ingredients
Ingredients:
- 2 cups white chocolate chips
- 1/2 cup creamy peanut butter
- 2 1/2 cups crispy rice cereal
- 1 cup mini marshmallows
- 1/2 cup mini chocolate chips
Instructions
- Melt White Chocolate: In a large microwave-safe bowl, melt the white chocolate chips in 30-second intervals, stirring between each, until smooth and fully melted.
- Add Peanut Butter: Stir in the peanut butter until well combined.
- Mix in Cereal: Gently fold in the crispy rice cereal until evenly coated, then add the mini marshmallows and stir just until incorporated.
- Add Chocolate Chips: Let the mixture cool slightly, then fold in the mini chocolate chips so they don’t melt.
- Form Cookies: Drop heaping tablespoons of the mixture onto a parchment-lined baking sheet. Let the cookies set at room temperature for about 30 to 45 minutes, or refrigerate for quicker setting.
- Storage: Once firm, store in an airtight container.
Notes
- Avoid overmixing once marshmallows and chocolate chips are added to maintain their texture.
- You can use almond or sunflower butter for a nut-free version.
Nutrition
- Serving Size: 1 cookie
- Calories: 140
- Sugar: 13g
- Sodium: 50mg
- Fat: 8g
- Saturated Fat: 3g
- Unsaturated Fat: 4g
- Trans Fat: 0g
- Carbohydrates: 17g
- Fiber: 0g
- Protein: 2g
- Cholesterol: 2mg


