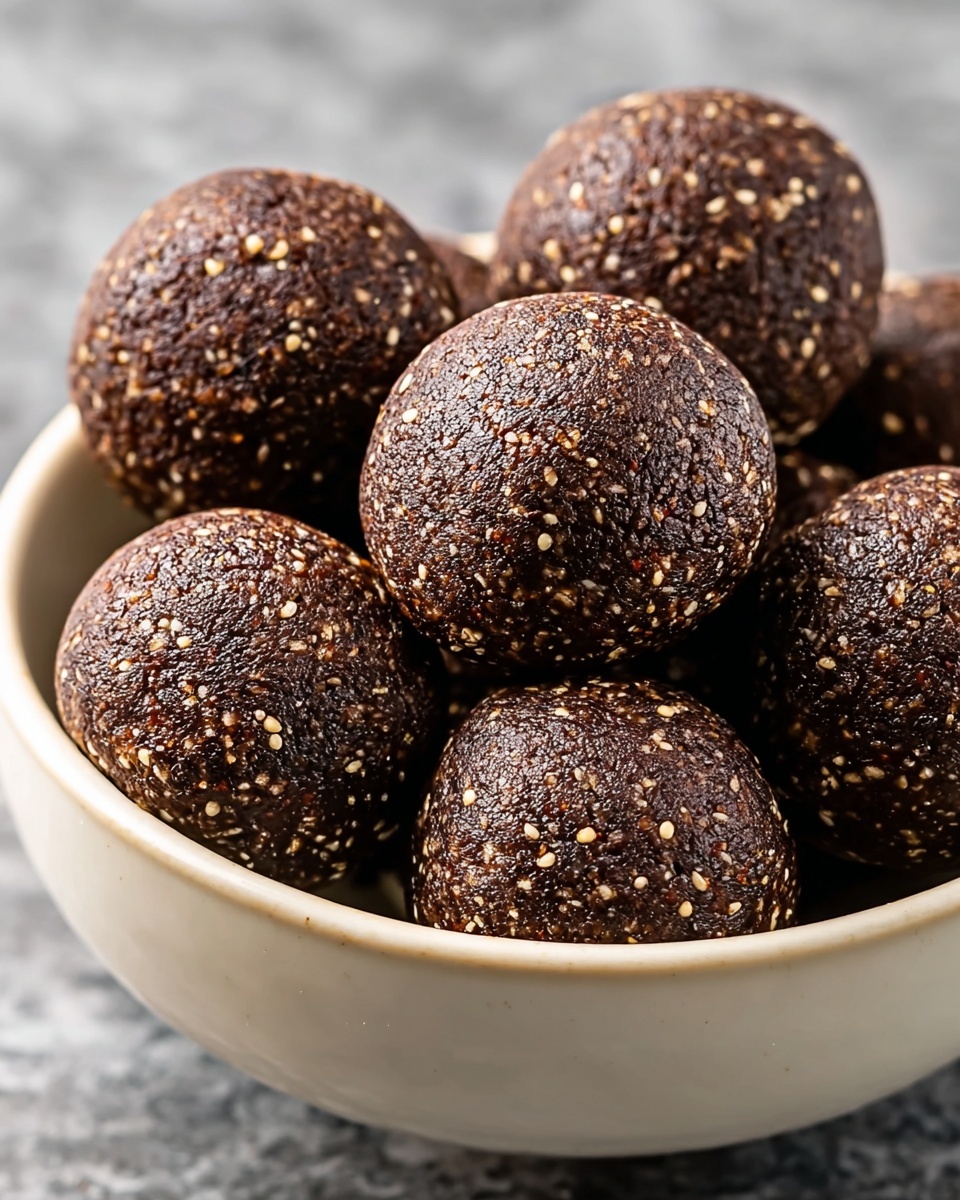
If you’re on the hunt for a bite of comfort with a nourishing twist, look no further than the Wholesome Chocolate Bliss Balls Recipe. These little gems bring together rich chocolate, wholesome ingredients, and a delightful energy boost—all rolled into bite-sized pieces that are perfect for a quick snack or a guilt-free treat. Whether you want to indulge your sweet tooth or fuel your day with something tasty and healthy, this recipe is a total winner.
Ingredients You’ll Need
What makes the Wholesome Chocolate Bliss Balls Recipe so special is how simple the ingredients are, yet how they all play a crucial role in building the perfect balance of flavor, texture, and nutrition. Each component was carefully chosen to ensure that every bite is satisfyingly rich and wholesome.
- Medjool Dates: Naturally sweet and sticky, they bind everything together while adding a caramel-like flavor.
- Raw Cacao Powder: Packed with antioxidants and giving the deep chocolate taste you crave without artificial additives.
- Almonds: Provide crunch and healthy fats, elevating texture and keeping you energized.
- Shredded Coconut: Adds a tropical hint and a contrasting chewiness that perfectly complements the chocolate.
- Chia Seeds: Tiny nutritional powerhouses that contribute omega-3s and fiber, boosting the overall wholesomeness.
- Vanilla Extract: Enhances the overall flavor complexity and gives a touch of warmth.
- Honey or Maple Syrup: Just a drizzle to lift the sweetness without overpowering the natural flavors.
How to Make Wholesome Chocolate Bliss Balls Recipe
Step 1: Prep Your Ingredients
Start by pitting your Medjool dates if not already done. This little step is essential since the sweetness from dates is the backbone of your bliss balls. If the dates feel firm, soak them in warm water for 10 minutes to soften; this makes blending them into a smooth mixture much easier.
Step 2: Blend the Base
Pop the almonds into your food processor and pulse until they’re roughly chopped—think coarse crumbs, not powder. Add the softened dates to the almonds and pulse again until the mixture starts to come together, sticky and well combined. This is where the magic begins, turning raw ingredients into a luscious, chocolatey dough.
Step 3: Incorporate the Chocolate and Superfoods
Sprinkle in the cacao powder, shredded coconut, chia seeds, and a splash of vanilla extract. Give it another few pulses until everything’s evenly distributed. The mixture should be thick, slightly sticky, and hold together when pressed—perfect for rolling into balls. If it feels too dry, add a teaspoon or two of honey or maple syrup to help it bind.
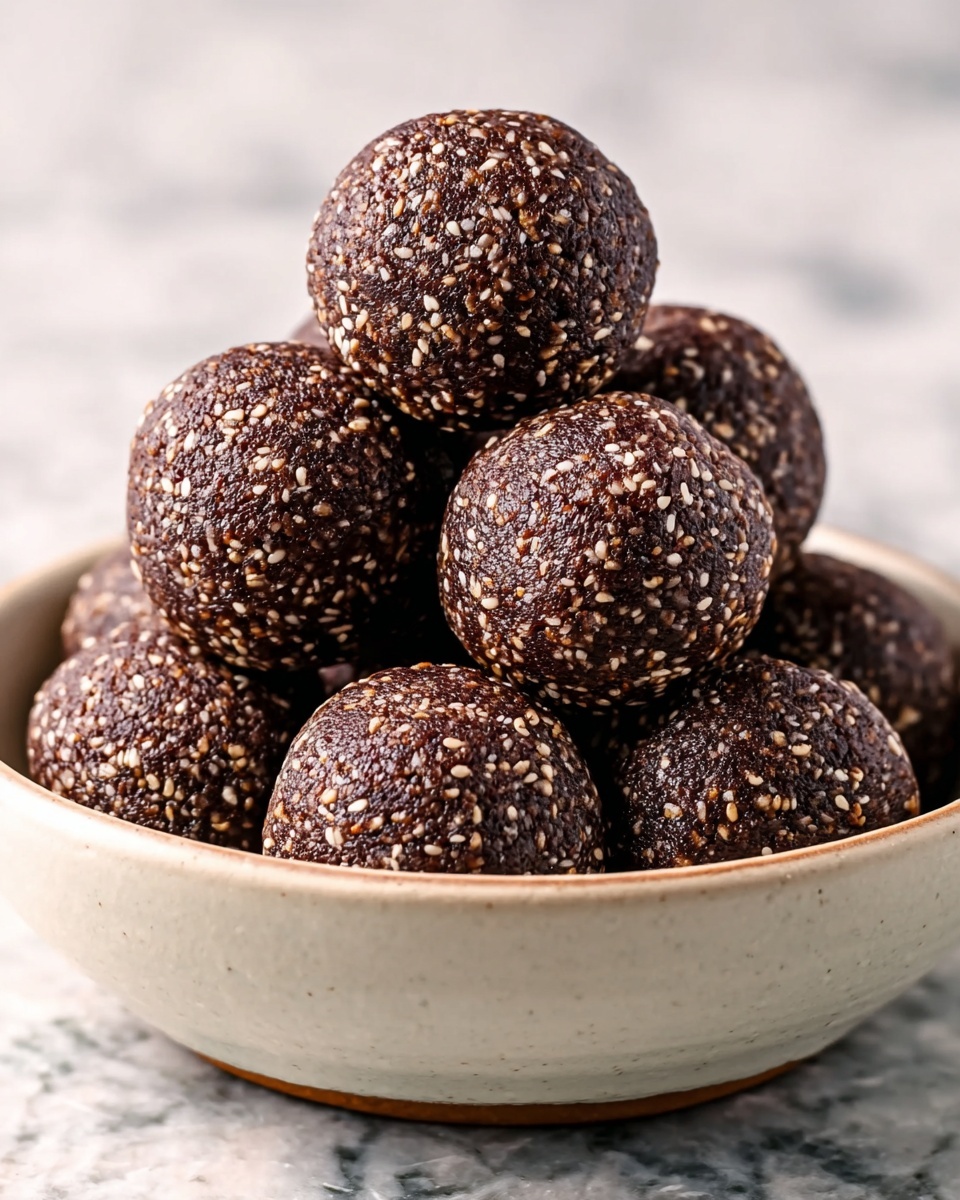
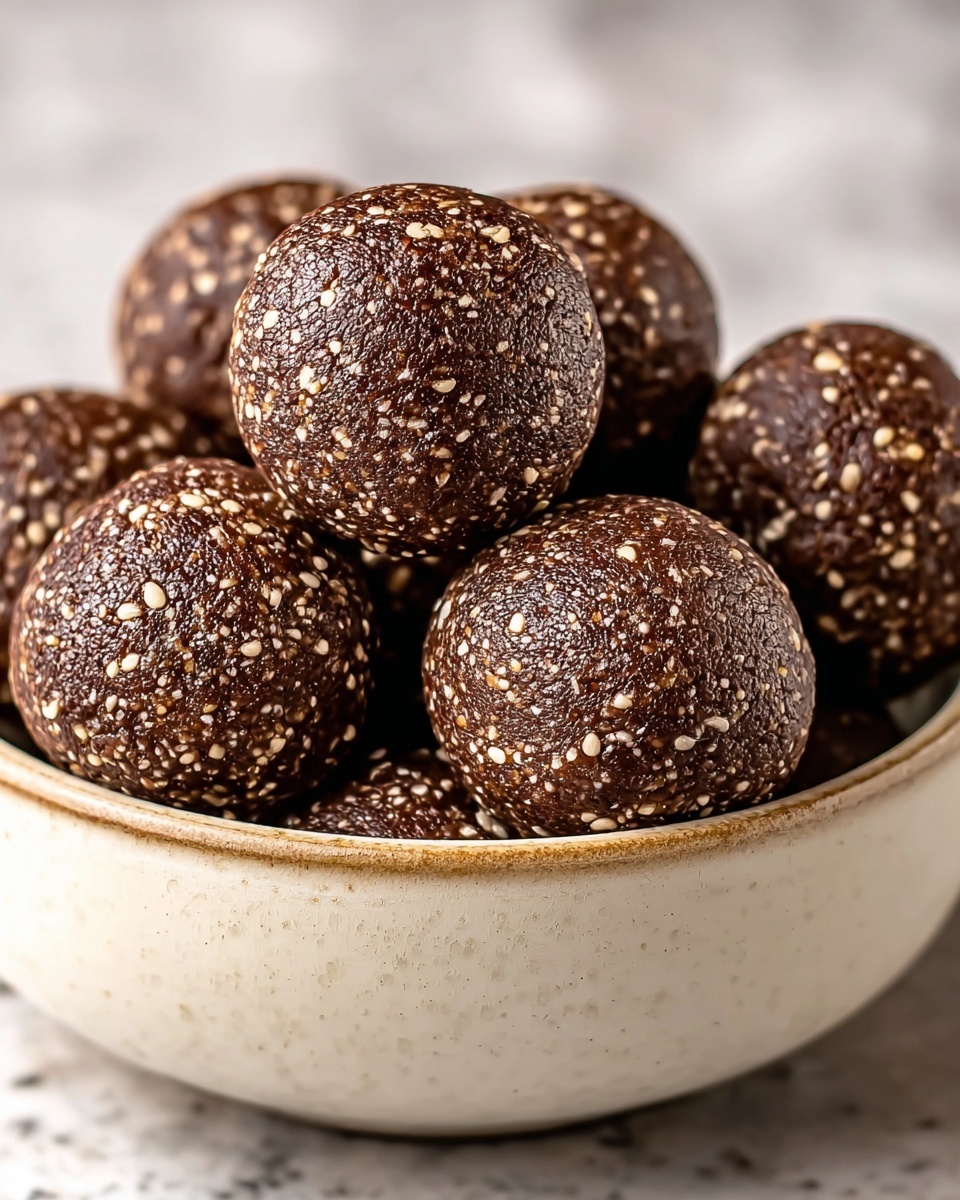
Step 4: Shape Your Bliss Balls
Using your hands, scoop out walnut-sized portions and roll them between your palms to form smooth, uniform balls. Don’t be shy here—rolling by hand is fun and connects you with the process. For an extra touch, you can roll them in extra shredded coconut or cacao powder for a pretty finish.
Step 5: Chill and Set
Place the bliss balls on a parchment-lined tray and pop them into the fridge for at least 30 minutes. This step helps firm them up and meld the flavors, turning them into perfectly biteable treats. If you’re impatient, a quick freeze for 10 minutes does the trick too.
How to Serve Wholesome Chocolate Bliss Balls Recipe
Garnishes
These bliss balls are beautiful on their own but feel free to dress them up. Sprinkling with finely chopped nuts, a dusting of extra cacao powder, or even a drizzle of melted dark chocolate takes their appeal to another level. Fresh mint leaves on the side add a refreshing contrast and a pop of green color.
Side Dishes
Pair your Wholesome Chocolate Bliss Balls Recipe with a cup of hot herbal tea or a chilled glass of almond milk. Their rich flavor and dense texture make them excellent alongside lighter drinks and simple fruit slices to balance out the indulgence. They also make a stellar addition to a healthy snack platter with fresh berries, nuts, and cheese.
Creative Ways to Present
Looking to impress friends or family? Arrange your bliss balls in colorful paper cups or serve them on a rustic wooden board speckled with edible flowers for a charming presentation. You could also stack them into a neat pyramid or scatter them around a bowl of fresh fruit to make your snack table more inviting.
Make Ahead and Storage
Storing Leftovers
These bliss balls store beautifully in an airtight container in the fridge for up to a week. Keeping them chilled helps maintain their shape and texture while preserving their fresh, wholesome flavors. They’re great for quick grabs whenever a snack attack hits.
Freezing
If you want to keep your Wholesome Chocolate Bliss Balls Recipe around longer, freezing is the perfect option. Place them in a single layer on a baking tray to freeze individually, then transfer to a sealed container or freezer bag. Frozen bliss balls last up to 3 months and can be thawed quickly at room temperature.
Reheating
Since these bliss balls are best enjoyed cool or at room temperature, reheating isn’t necessary. If they are too firm from refrigeration or freezing, simply let them sit at room temperature for 10 minutes before enjoying their soft, chewy goodness.
FAQs
Can I use other nuts besides almonds?
Absolutely! Walnuts, cashews, or pecans make wonderful substitutes and will add their unique flavor twists to your bliss balls. Just adjust the chopping time if needed so the texture stays just right.
Are these bliss balls vegan-friendly?
You can make them vegan easily by swapping honey for maple syrup or agave nectar. The rest of the ingredients are naturally plant-based, so it’s a delicious vegan-friendly treat.
How long do these bliss balls last?
In the fridge, they last up to one week, but if you freeze them, you can safely keep them for three months without losing quality or flavor.
Can I add protein powder to the recipe?
Yes, you can! Adding a scoop of your favorite protein powder can boost the nutritional profile. Just mix it in with the cacao powder for an extra energy punch without compromising the taste.
Is it necessary to soak the dates?
Soaking dates isn’t always mandatory but is highly recommended if they feel dry or firm. Soft dates blend more easily and contribute to a creamier texture in your bliss balls.
Final Thoughts
Making the Wholesome Chocolate Bliss Balls Recipe is like giving yourself a little gift of health and happiness rolled into one bite. With their rich chocolate flavor and nourishing ingredients, these bliss balls are sure to become a favorite treat that you’ll reach for time and again. So go ahead, whip up a batch, share them with loved ones, or tuck them away for your own delicious moments. You won’t regret it!
Print
Wholesome Chocolate Bliss Balls Recipe
- Prep Time: 10 minutes
- Cook Time: 20 minutes
- Total Time: 30 minutes
- Yield: 4 servings
- Category: Main Course
- Method: Stovetop
- Cuisine: Italian-Inspired
- Diet: Vegetarian
Description
This Creamy Sun-Dried Tomato Fettuccine is a quick and delicious Italian-inspired main course featuring tender pasta tossed in a rich, flavorful sun-dried tomato cream sauce with garlic, Parmesan, and fresh herbs. Perfect for a comforting weeknight meal, it can be easily customized with added protein or lighter cream options.
Ingredients
Pasta and Sauce
- 12 ounces fettuccine pasta
- 1 tablespoon olive oil
- 3 cloves garlic, minced
- 1/2 cup sun-dried tomatoes in oil, drained and chopped
- 1 cup heavy cream
- 1/2 cup grated Parmesan cheese
- 1/2 teaspoon salt
- 1/4 teaspoon black pepper
- 1/4 teaspoon crushed red pepper flakes (optional)
Optional Add-ins
- 2 cups baby spinach (optional)
- 1/4 cup chopped fresh basil (optional)
- Extra Parmesan for serving
Instructions
- Cook the pasta: Bring a large pot of salted water to a boil and cook the fettuccine according to package directions until al dente. Reserve 1/2 cup of the pasta cooking water, then drain the pasta and set it aside.
- Sauté aromatics and tomatoes: In a large skillet over medium heat, heat the olive oil. Add the minced garlic and sauté for 1 minute until fragrant, careful not to burn it. Add the chopped sun-dried tomatoes and cook for another 1 to 2 minutes to release their flavor.
- Prepare the sauce: Pour in the heavy cream and bring the mixture to a gentle simmer. Stir in the grated Parmesan cheese, salt, black pepper, and crushed red pepper flakes (if using). Let it simmer for 2 to 3 minutes until the sauce thickens slightly.
- Toss pasta with sauce: Add the cooked fettuccine to the skillet and toss well to coat with the cream sauce. If the sauce is too thick, add the reserved pasta water a little at a time until you reach your desired consistency.
- Add greens and herbs: Stir in the baby spinach and cook just until wilted. Remove from heat and sprinkle with the chopped fresh basil.
- Serve: Plate the pasta hot and garnish with extra Parmesan cheese as desired. Enjoy immediately.
Notes
- For added protein, toss in grilled chicken, shrimp, or sautéed mushrooms.
- You can substitute half-and-half for a lighter, less rich sauce.
- Use jarred sun-dried tomatoes packed in oil for the best flavor and texture.
- Reserve some pasta water to adjust the sauce consistency as needed.


