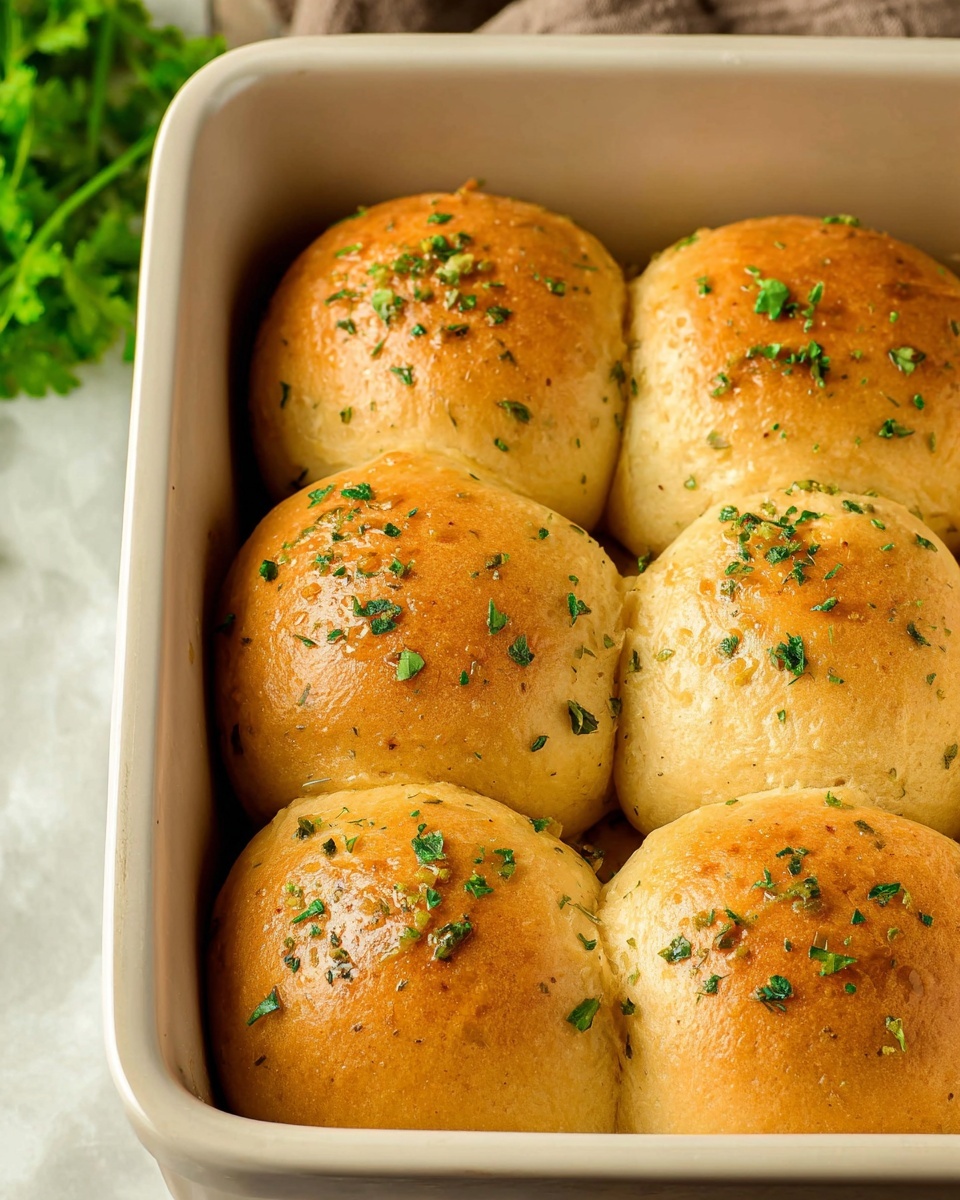
If you’re searching for a comforting, fluffy bread that feels like a warm hug from the inside out, you’ve got to try this Sour Cream Dinner Rolls Recipe. These rolls are wonderfully soft and slightly tangy thanks to the sour cream, with a touch of honey that adds just the right hint of sweetness. Imagine buttery, golden-brown tops kissed with garlic butter—perfect for sopping up your favorite soups or serving alongside a hearty dinner. This recipe turns simple pantry staples into a side dish that’s far from ordinary and will quickly become a family favorite.
Ingredients You’ll Need
Getting the perfect roll is all about quality ingredients that work together beautifully. These simple elements each add something special, creating a texture and flavor that feels indulgent yet effortless.
- 1 cup sour cream: Adds moisture and a tender crumb with a delightful tang.
- 1 tablespoon honey: Provides a subtle sweetness that balances the sour cream.
- 0.25 oz packet instant yeast (2¼ teaspoons): The magic starter that makes the rolls rise and become fluffy.
- 2½ cups Bisquick baking mix: Gives structure and a light, soft texture without complicated flour measuring.
- 2 tablespoons unsalted butter (melted): Brushed on top for richness and a golden finish.
- ½ teaspoon garlic powder: Infuses the butter with a savory kick to enhance every bite.
How to Make Sour Cream Dinner Rolls Recipe
Step 1: Warm and Activate Your Yeast
Start by warming the sour cream gently in the microwave just until it clocks between 110°F and 115°F—perfect for waking up the yeast without killing it. Stir in the honey and instant yeast, blending everything together until it’s smooth. This step kickstarts that lovely rise that will make your rolls airy and light.
Step 2: Mix and Knead the Dough
Add your Bisquick baking mix to the yeast mixture and stir until a sticky dough forms. Don’t worry if it feels a little tacky—that’s exactly how it should be. You can then either stretch and fold it gently right in the bowl or turn it out onto a floured surface and knead for 3 to 4 minutes until silky smooth and elastic. This kneading helps develop the dough’s structure for perfectly soft rolls.
Step 3: Shape and Let Rise
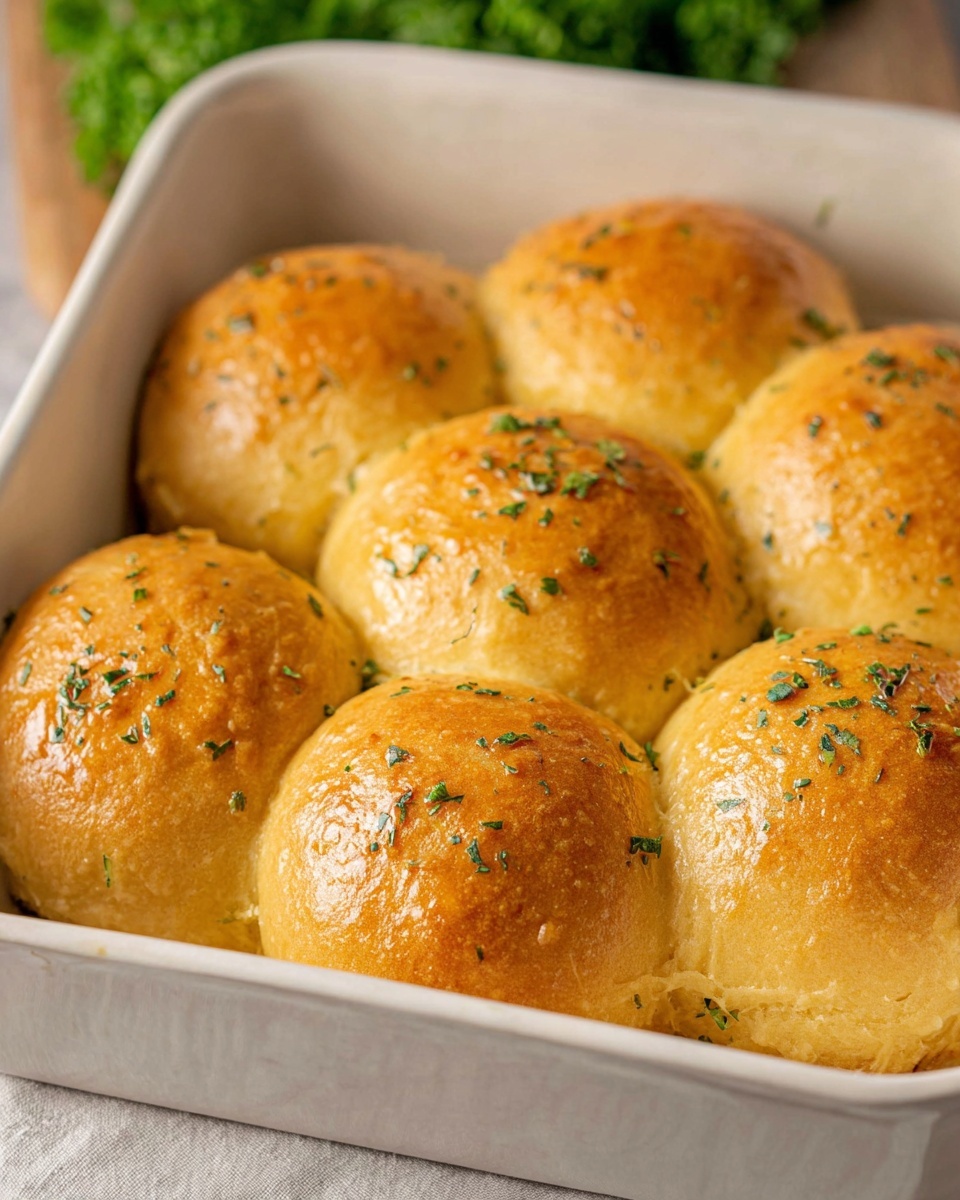
Lightly spray an 8-inch square pan to prevent sticking. Divide your dough into 12 equal parts, shaping each into a neat little ball. Nestle these close together in your baking pan and cover loosely with a towel. The dough should rise in a warm place until it doubles in size—about 30 minutes. This rise is when the magic happens, puffing up your rolls into pillow-like perfection.
Step 4: Bake to Golden Perfection
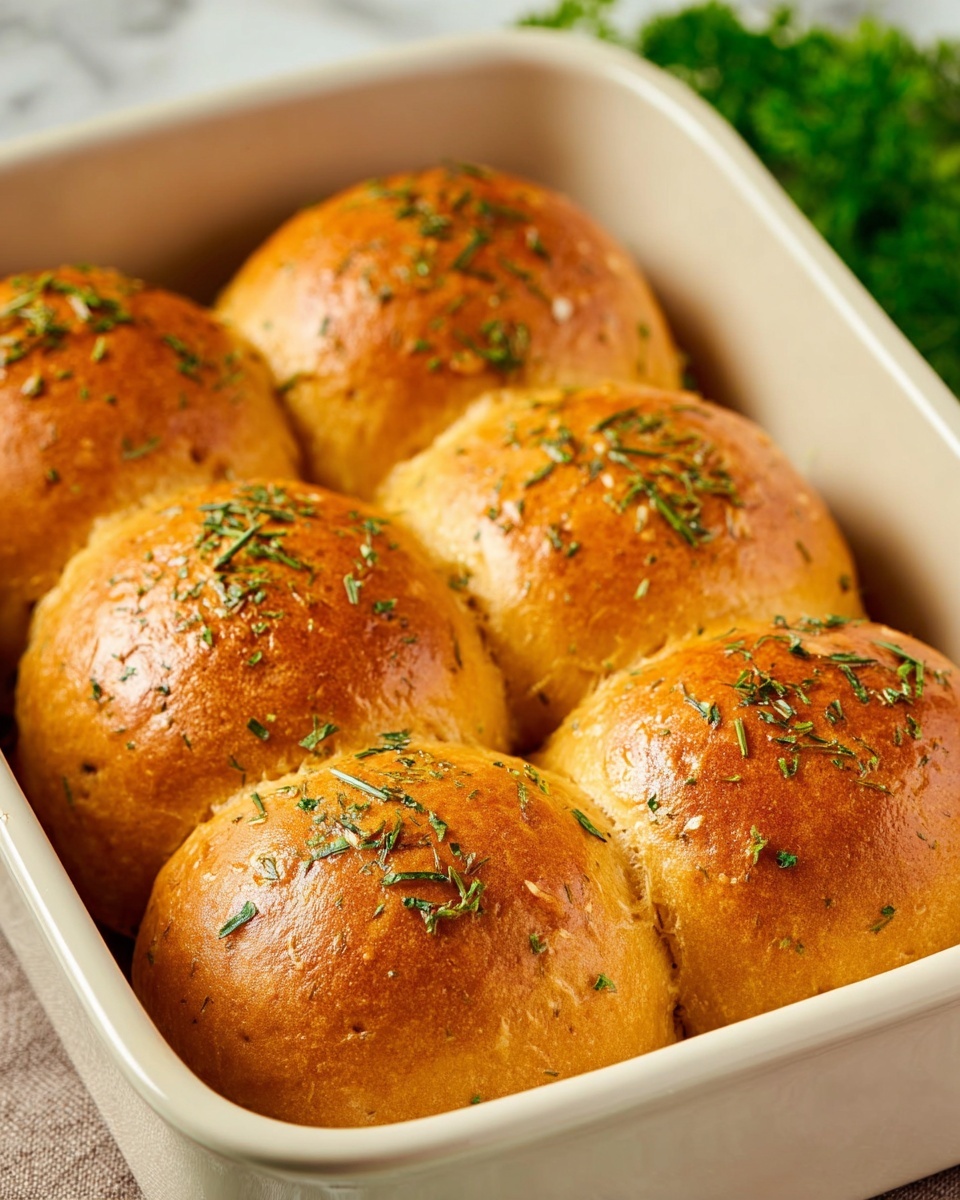
While your rolls are happily rising, preheat your oven to 350°F. When ready, bake those doughy pillows uncovered for 15 to 20 minutes until their tops turn a gorgeous golden brown. This creates a slight crust that gives way to a soft inside, making those rolls irresistible.
Step 5: Finish with Garlic Butter
While the rolls bake, combine the garlic powder with melted butter for a flavorful glaze. As soon as your rolls come out of the oven and are still warm, brush the garlic butter all over the tops. The butter seeps into the warm bread, creating a savory, shiny finish you’ll want to devour immediately.
How to Serve Sour Cream Dinner Rolls Recipe
Garnishes
For a little something extra, sprinkle freshly chopped parsley or chives over the garlic butter glaze. It adds a pop of color and a fresh flavor that pairs beautifully with the rich, soft rolls. A touch of flaky sea salt on top can also enhance the flavor and provide a subtle crunch.
Side Dishes
These rolls are incredibly versatile. Serve them alongside hearty stews, creamy soups, or roasted chicken dinners. They’re perfect for soaking up gravies or sauces, turning any meal into a cozy feast. Because of their tender crumb, they also pair wonderfully with breakfast spreads like eggs and bacon.
Creative Ways to Present
Transform your rolls into mini sandwiches by slicing them horizontally and filling them with ham and cheese or a dollop of chicken salad. For a crowd-pleasing appetizer, serve them warm with a variety of flavored butters, like herb or honey cinnamon. You can even toast leftover rolls and use them as the base for savory bruschetta.
Make Ahead and Storage
Storing Leftovers
Leftover rolls keep well at room temperature when stored in an airtight container or wrapped tightly in plastic wrap. They’ll stay fresh and soft for up to 2 days, making them ideal for quick snacks or dinner accompaniments.
Freezing
You can freeze these rolls either before or after baking. For dough, shape the rolls and freeze on a tray, then transfer to a bag; thaw and allow to rise before baking. For baked rolls, wrap them tightly and freeze in an airtight container for up to 3 months. This way, you’re never caught without a batch of homemade rolls ready to enjoy.
Reheating
To bring your rolls back to life, warm them in a 300°F oven for about 10 minutes, wrapped loosely in foil to maintain moisture. Microwaving works too—just wrap a roll in a damp paper towel and heat for 15 to 20 seconds to restore softness.
FAQs
Can I use regular flour instead of Bisquick?
Yes, but Bisquick contains leavening and fat, so if you substitute regular flour, you’ll need to add baking powder and salt plus adjust the fat content to maintain the texture. Using Bisquick keeps this recipe simple and foolproof.
Is sour cream essential in this recipe?
Absolutely! Sour cream adds moisture and a slight tang that tenderizes the dough, creating those soft, fluffy rolls that everyone loves. Skipping it would change the flavor and texture significantly.
How do I know when the rolls are fully baked?
The tops should be golden brown and spring back slightly when touched. You can also test by inserting a toothpick; it should come out clean. The baking time of 15 to 20 minutes usually gets it just right.
Can I make this dough vegan?
With a few substitutions—using a non-dairy sour cream and plant-based butter—you can make a vegan version. Just ensure your yeast is vegan-friendly and keep an eye on moisture balance for the best result.
What’s the best way to reheat leftover rolls without drying them out?
Wrapping them in foil and warming gently in the oven helps keep them soft. Alternatively, a quick microwave session with a damp paper towel prevents them from becoming tough and chewy.
Final Thoughts
There’s something truly magical about homemade rolls fresh from the oven, and this Sour Cream Dinner Rolls Recipe delivers that magic every time. Whipping up these soft, buttery, and slightly tangy rolls is easier than you might think, and the payoff is incredible. Trust me, once you try them, your dinner table won’t be complete without these warm, comforting bites. Go ahead, make a batch—they’re waiting to steal the show at your next meal!
Print
Sour Cream Dinner Rolls Recipe
- Prep Time: 15 minutes
- Cook Time: 20 minutes
- Total Time: 35 minutes plus 30 minutes rising
- Yield: 12 rolls
- Category: Bread
- Method: Baking
- Cuisine: American
Description
These soft and fluffy Sour Cream Dinner Rolls are a perfect homemade accompaniment to any meal. Made with Bisquick baking mix and enhanced with honey and garlic butter, they offer a tender crumb and a slightly sweet, savory flavor. Quick to prepare and bake, these rolls are ideal for family dinners and special occasions alike.
Ingredients
Wet Ingredients
- 1 cup sour cream
- 1 tablespoon honey
- 2 tablespoons unsalted butter (melted)
Dry Ingredients
- 0.25 oz packet instant yeast (2¼ teaspoons)
- 2½ cups Bisquick baking mix (plus more as needed)
- ½ teaspoon garlic powder
Instructions
- Warm Sour Cream and Activate Yeast: In a large microwave-safe bowl, warm the sour cream in the microwave for about 1 minute until it reaches 110°F to 115°F on an instant-read thermometer. Stir in the honey and instant yeast until well blended, allowing the yeast to begin activating.
- Form and Knead Dough: Add the Bisquick baking mix to the sour cream mixture. Stir until a sticky dough forms, adding a bit more Bisquick if needed to achieve the right consistency. Stretch and fold the dough several times in the bowl, or turn it out onto a lightly floured surface and knead for 3-4 minutes until smooth and elastic.
- Shape and Proof Rolls: Spray an 8-inch square baking pan with cooking spray. Divide the dough into 12 equal pieces, shape each into a ball, and place them in the prepared pan. Cover with a towel and let rise in a warm spot for about 30 minutes, or until doubled in size.
- Preheat Oven and Bake: Preheat the oven to 350°F while the dough rises. Uncover the rolls and bake for 15 to 20 minutes or until the tops turn golden brown.
- Prepare Garlic Butter and Serve: While the rolls bake, stir the garlic powder into the melted butter. Immediately after baking, brush the garlic butter over the warm rolls to add a savory flavor. Serve the rolls warm for the best taste and texture.
Notes
- Make sure the sour cream is warmed to the right temperature to properly activate the yeast without killing it.
- If the dough is too sticky, add Bisquick a tablespoon at a time to avoid making the rolls tough.
- Proofing the dough in a warm environment helps the rolls rise better and creates a fluffier texture.
- You can substitute garlic powder with fresh minced garlic for a stronger flavor.
- For extra softness, cover the hot rolls with a clean kitchen towel after baking to retain steam.


