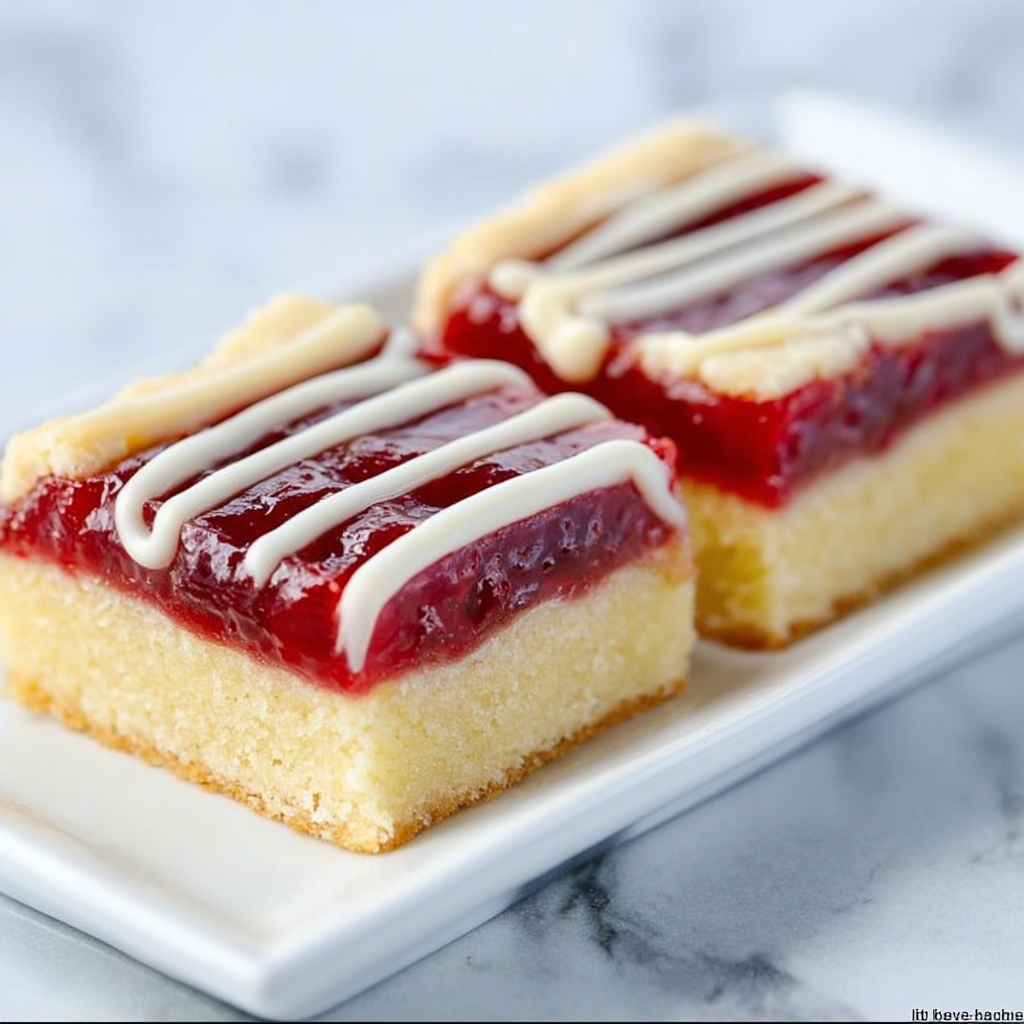
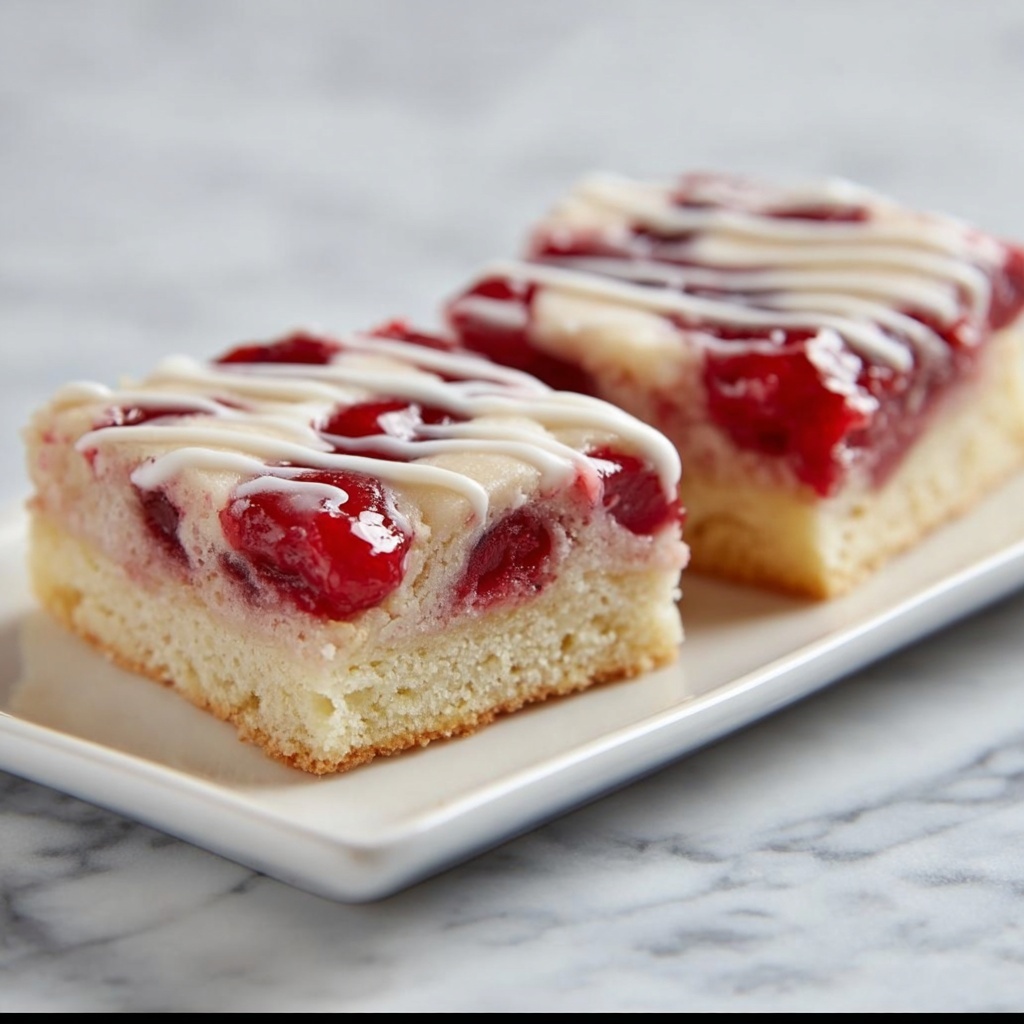
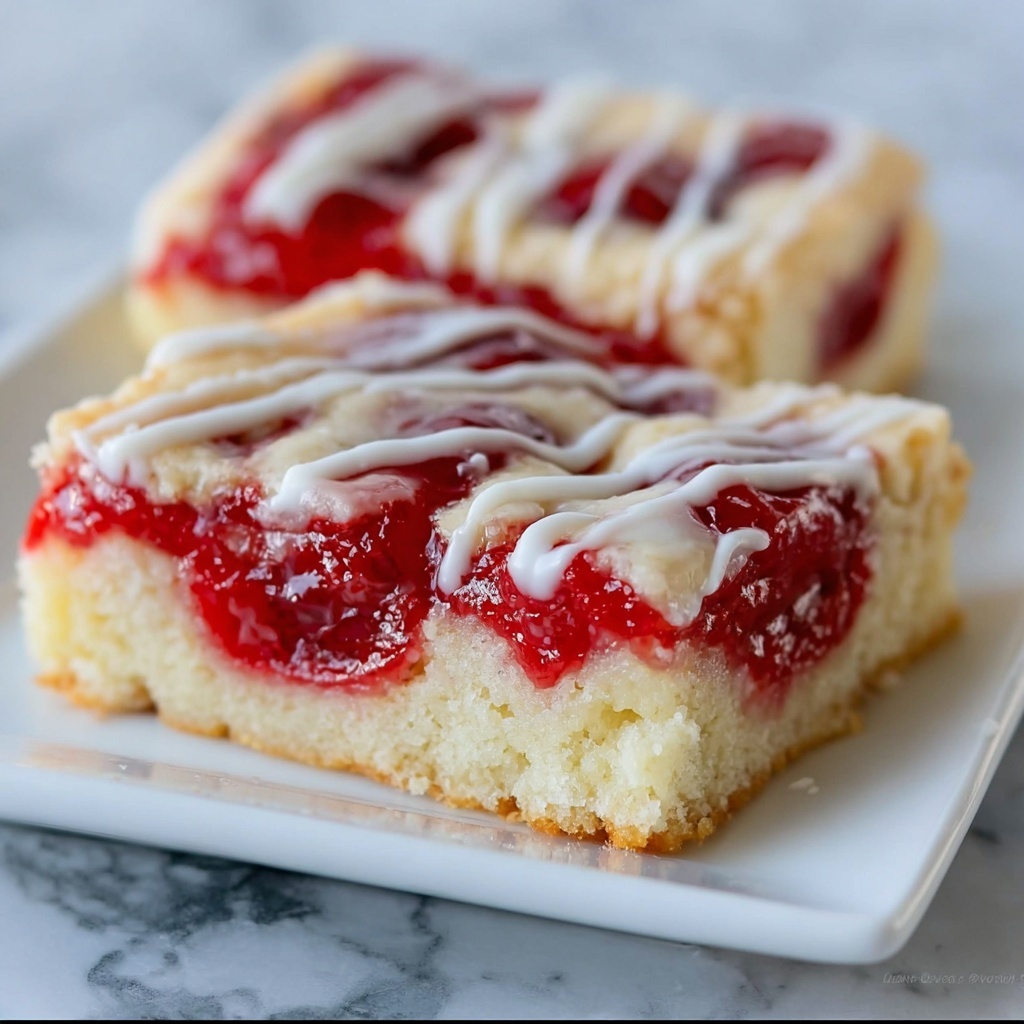
If you love the sweet and tangy flavor of cherries paired with a buttery, tender crust, then this Cherry Pie Bars Recipe is about to become your new favorite dessert. These bars capture everything you adore about classic cherry pie but in a convenient, handheld form that’s perfect for sharing or indulging all on your own. The luscious cherry pie filling is nestled between layers of soft, golden crust and finished with a smooth glaze that adds just the right touch of sweetness. Whether it’s for a family gathering, a potluck, or just a weekend treat, this recipe promises joy in every bite.
Ingredients You’ll Need
Creating the perfect Cherry Pie Bars Recipe is all about simple, quality ingredients that come together to make a delightful combination of flavors and textures. Each ingredient plays a crucial role, from the tender crust to the sweet cherry filling.
- 1 1/2 cups all-purpose flour: The base of your crust, providing structure and that wonderful buttery bite.
- 1/2 teaspoon salt: Just a pinch to balance the sweetness and enhance flavor depth.
- 1/2 cup butter (softened): Adds richness and tenderness to the dough; make sure it’s softened for easy mixing.
- 1/2 cup sugar: Sweetens the crust and helps achieve a golden color.
- 2 eggs: Bind the ingredients together and add moisture for a perfect texture.
- 1 teaspoon vanilla extract: Brings warmth and aromatic sweetness to the flavor profile.
- 1/8 teaspoon almond extract (optional): Adds a subtle nutty note that pairs beautifully with cherry—totally worth including if you have it!
- 21 ounce can of cherry pie filling: The star of the recipe, delivering that bright, fruity burst in every bite.
- 1/2 cup powdered sugar: For the glaze, to add a delicate sweetness on top.
- 1 tablespoon milk: Mixes into the powdered sugar to create the perfect drizzle consistency for the glaze.
How to Make Cherry Pie Bars Recipe
Step 1: Preheat and Prepare
First things first, heat your oven to 350°F and grease an 8×8 inch square baking pan with non-stick spray. This ensures your bars won’t stick and makes cleanup a breeze.
Step 2: Mix Dry Ingredients
In a medium bowl, whisk together the flour and salt. This simple step blends the base components evenly so your crust bakes uniformly and just right.
Step 3: Cream Butter and Sugar
In another mixing bowl, use an electric mixer to cream the softened butter and sugar until it’s light and fluffy. This whipping incorporates air that helps create a tender, melt-in-your-mouth texture.
Step 4: Add Eggs and Extracts
Beat in the eggs, vanilla extract, and optional almond extract until everything is fully combined. These ingredients enrich the dough and infuse it with lovely flavor notes.
Step 5: Combine Dry with Wet
Gently add the flour mixture to the wet ingredients, mixing just until combined. Be careful not to overmix—you want the dough tender, not tough.
Step 6: Assemble the Bars
Take about 1 ½ cups of the dough mixture and firmly press it into the bottom of your prepared baking pan to form an even crust. Spread the cherry pie filling evenly over this crust. Then, dot spoonfuls of the remaining dough over the cherry layer; these little pockets of dough will bake into a delightfully irregular top crust.
Step 7: Bake to Perfection
Place the pan in your preheated oven and bake for 30 to 35 minutes until the bars are set and the edges turn a beautiful golden brown. The aroma filling your kitchen at this point is pure magic!
Step 8: Cool and Glaze
Allow the bars to cool completely in the pan. While waiting, whisk together powdered sugar and milk until smooth to make your glaze. Drizzle this sweet topping over the bars right before slicing into 9 generous squares.
How to Serve Cherry Pie Bars Recipe
Garnishes
Add a fresh touch to your Cherry Pie Bars Recipe by sprinkling extra powdered sugar or garnishing with a few fresh cherries or a sprig of mint. This not only adds visual appeal but also accentuates the fruity flavors beautifully.
Side Dishes
Serve alongside a dollop of whipped cream or a scoop of vanilla ice cream. The creamy coolness perfectly balances the rich, fruity sweetness of the bars and turns your dessert into a delightful experience.
Creative Ways to Present
Try serving your cherry bars in colorful cupcake liners or on a decorative platter for parties. You might also consider stacking them with layers of whipped cream and cherry sauce for an indulgent parfait-style treat that will wow your guests.
Make Ahead and Storage
Storing Leftovers
Leftover Cherry Pie Bars Recipe can be stored in an airtight container at room temperature for up to two days. If you want to keep them longer, refrigerate where they’ll stay fresh for up to a week.
Freezing
You can freeze these bars for up to three months. Wrap them tightly in plastic wrap and foil before placing in a freezer-safe bag or container. Thaw overnight in the fridge before enjoying.
Reheating
To enjoy bars that taste freshly baked, warm them in the oven at 300°F for about 10 minutes or microwave individual pieces for 15 to 20 seconds. This revives their softness and brings out their delicious flavors wonderfully.
FAQs
Can I use fresh cherries instead of canned pie filling?
Absolutely! Fresh cherries can be cooked down with sugar and a bit of cornstarch to thicken, creating a homemade cherry pie filling that adds a fresh, vibrant flavor to your bars.
Is it okay to omit the almond extract?
Yes, the almond extract is optional and can be skipped if you don’t have it on hand. The bars will still taste fantastic with just vanilla extract.
Can I make these bars gluten-free?
To make a gluten-free version, substitute the all-purpose flour with a gluten-free blend that is suitable for baking. The texture might vary slightly, but the flavor will remain delightful.
How do I know when the bars are done baking?
Look for the edges turning golden brown and the center set but still slightly soft—like a cookie bar. Avoid overbaking to keep them tender and moist.
Can I double the recipe for a bigger batch?
Definitely. For a larger batch, use a 9×13 inch pan and increase the baking time to around 40 to 45 minutes, checking for doneness as it bakes.
Final Thoughts
This Cherry Pie Bars Recipe is a joyful treat packed with classic pie flavors yet simple to whip up and perfect for any occasion. I encourage you to try making these bars—it’s a cozy, delicious way to bring a slice of homemade happiness to your table. You’ll love every bite and may find yourself reaching for them again and again!
Print
Cherry Pie Bars Recipe
- Prep Time: 15 minutes
- Cook Time: 30-35 minutes
- Total Time: 45-50 minutes
- Yield: 9 servings
- Category: Dessert
- Method: Baking
- Cuisine: American
Description
These Cherry Pie Bars are a delightful twist on traditional cherry pie, combining a buttery crust with luscious cherry pie filling and a sweet glaze on top. Perfectly balanced and easy to make, they serve as a wonderful treat for any occasion.
Ingredients
Crust and Dough
- 1 1/2 cups all-purpose flour
- 1/2 teaspoon salt
- 1/2 cup butter, softened
- 1/2 cup sugar
- 2 eggs
- 1 teaspoon vanilla extract
- 1/8 teaspoon almond extract (optional)
Filling and Glaze
- 21 ounce can of cherry pie filling
- 1/2 cup powdered sugar
- 1 tablespoon milk
Instructions
- Prepare Oven and Pan: Preheat your oven to 350°F (175°C). Grease an 8×8 inch square baking pan thoroughly with non-stick cooking spray to prevent the bars from sticking.
- Mix Dry Ingredients: In a medium bowl, whisk together the all-purpose flour and salt until evenly combined. Set this mixture aside for later use.
- Cream Butter and Sugar: Using an electric mixer, beat the softened butter and sugar in a medium mixing bowl until the mixture is light and fluffy. This process usually takes a few minutes and ensures a tender crust.
- Add Eggs and Extracts: Beat in the eggs, vanilla extract, and almond extract (if using) into the creamed butter and sugar until fully incorporated and smooth.
- Combine Dry and Wet Ingredients: Gradually add the flour mixture to the wet ingredients and mix just until combined, being careful not to overmix, which can toughen the bars.
- Assemble Bars: Scoop about 1 ½ cups of the dough into the prepared baking pan. Press it evenly to form a compact bottom crust. Spread the cherry pie filling evenly over this crust. Using the remaining dough, dollop it over the cherry filling in small portions, leaving some filling visible.
- Bake: Place the pan in the preheated oven and bake the cherry bars for 30 to 35 minutes. You’ll know they are ready when the top dough pieces are set and start turning golden brown around the edges.
- Cool and Glaze: Once baked, allow the cherry bars to cool completely in the pan to set properly. After cooling, prepare the glaze by mixing powdered sugar and milk until smooth. Drizzle the glaze generously over the cherry bars.
- Serve: Cut the cherry pie bars into 9 equal squares and serve as a sweet dessert or snack.
Notes
- For a stronger almond flavor, increase almond extract to 1/4 teaspoon if desired.
- You can substitute cherry pie filling with another fruit filling such as blueberry or apple for variation.
- Make sure to cool bars completely before glazing to prevent the glaze from melting off.
- Store any leftovers in an airtight container at room temperature for up to 3 days or refrigerated for up to a week.
- If preferred, add a sprinkle of coarse sugar on top before baking for extra crunch.

