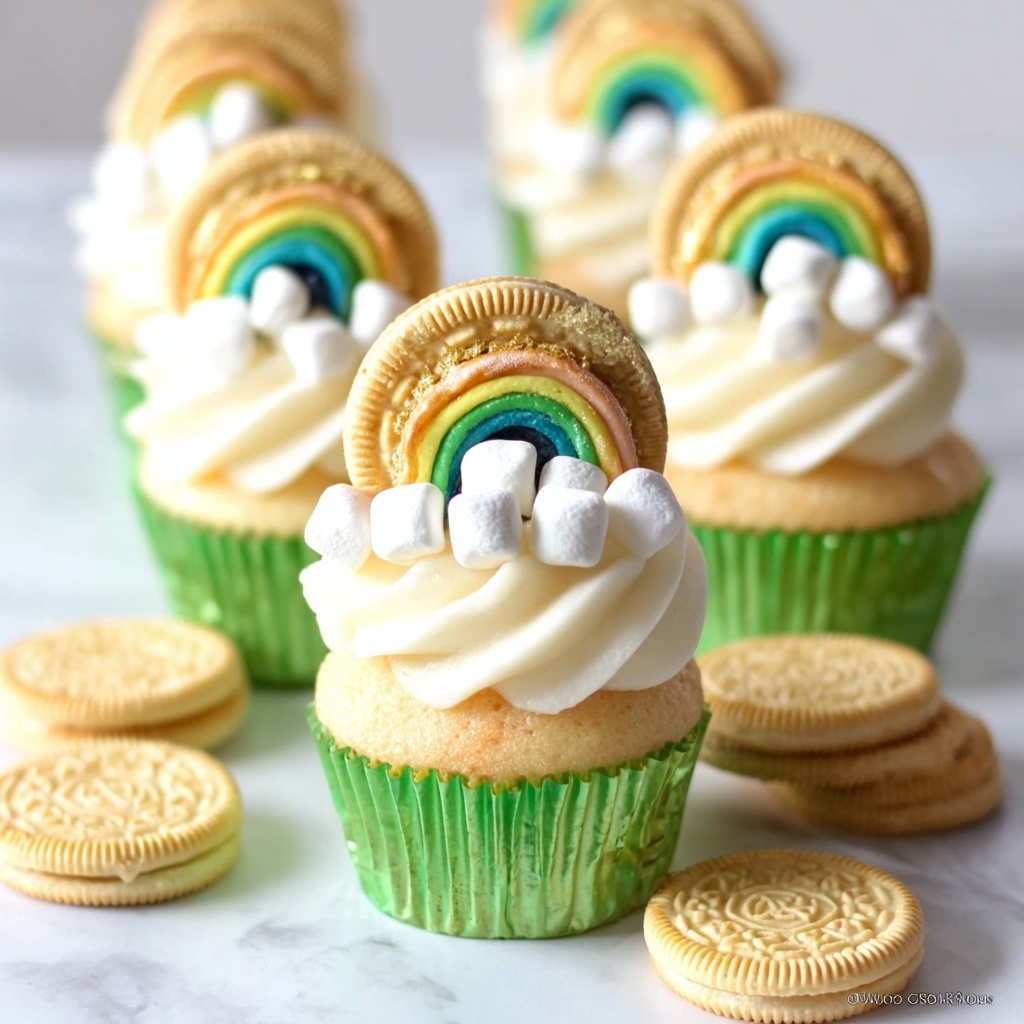
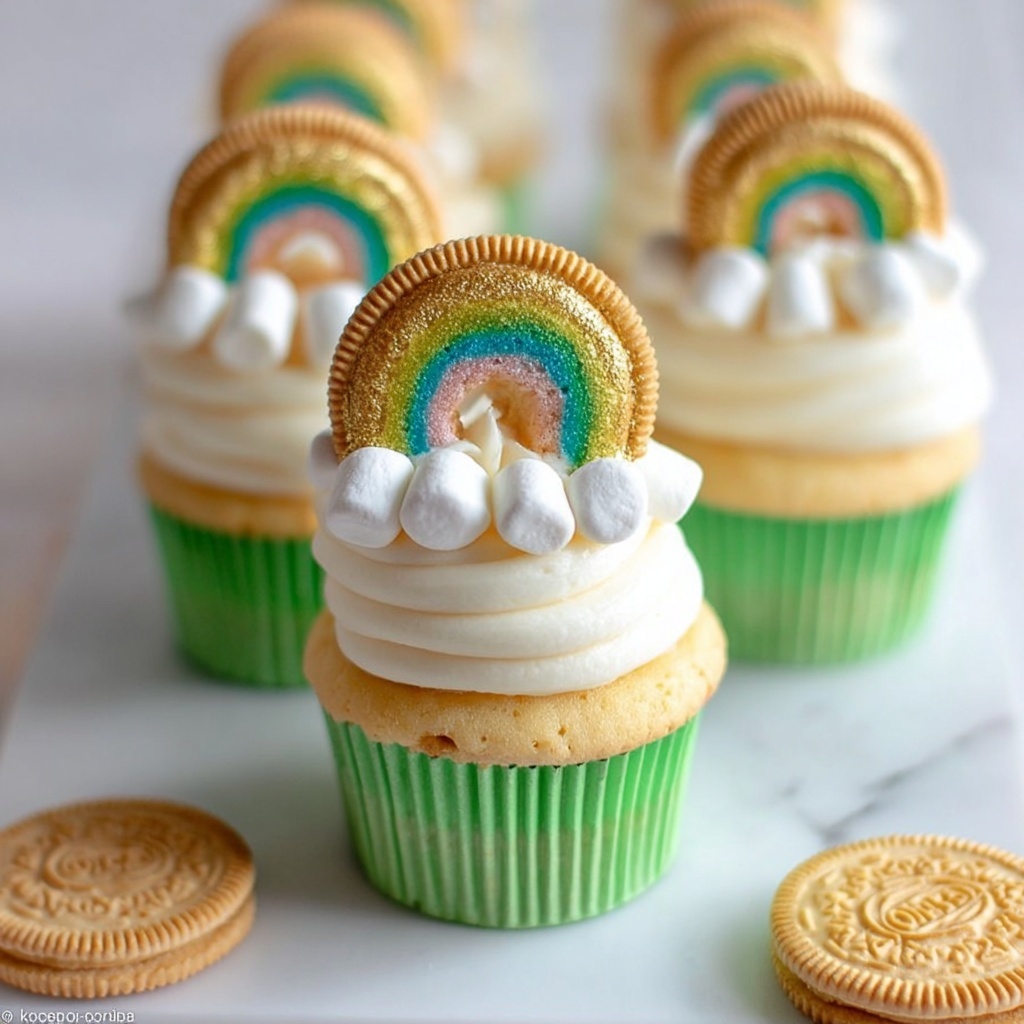
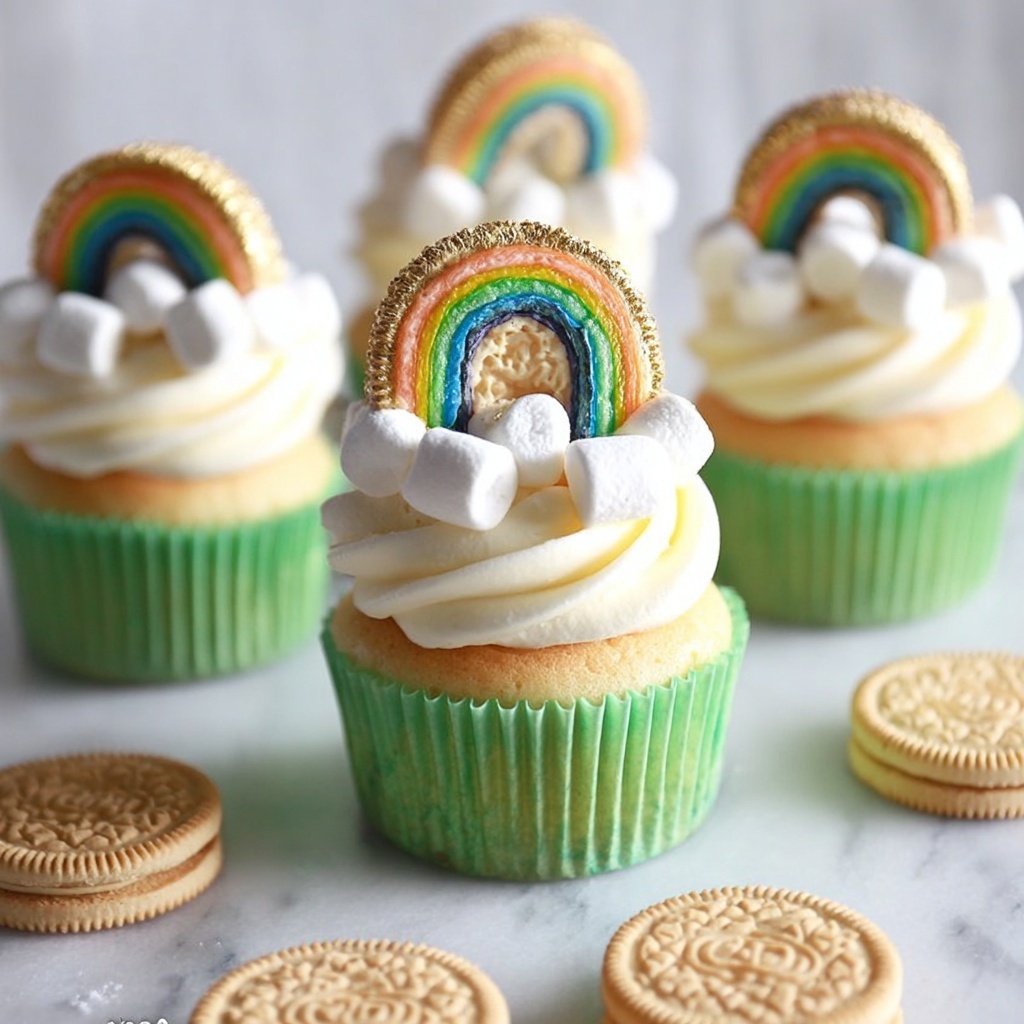
If you’re looking to add some festive fun and delicious sweetness to your St. Patrick’s Day celebrations, this Easy St. Patrick’s Day Cupcakes Recipe is an absolute must-try. These cupcakes combine fluffy white cake with creamy icing and colorful, whimsical decorations that bring the magic of the holiday right to your fingertips. Whether you’re baking for a party, a classroom treat, or simply craving something joyful and tasty, these cupcakes are simple to make and sure to impress everyone with their charming look and fantastic flavor.
Ingredients You’ll Need
This recipe keeps things wonderfully straightforward with easy-to-find ingredients that come together effortlessly. Each component plays a key role in creating the perfect texture, sweetness, and vibrant colors that make these cupcakes so special.
- White Cake Mix: The base for light, fluffy cupcakes that bake up beautifully every time.
- White Icing: Provides a smooth, creamy topping that’s perfect for piping and decorating.
- Extreme Air Heads: These add a fun, colorful “rainbow” effect and a chewy texture contrast.
- Mini Marshmallows: Soft and puffy, they form the fluffy clouds in your cupcake decoration.
- Golden Oreos: Perfect to paint with gold mist for a shiny candy pot effect.
- Gold Mist Food Paint: Adds the shimmering touch that makes the Oreos look like treasure.
- Toothpicks: Essential for securing decorations and assembling the cupcake topper.
- Green Cupcake Liners: Inject a festive pop of color and keep your cupcakes looking fresh.
How to Make Easy St. Patrick’s Day Cupcakes Recipe
Step 1: Prepare the Batter
Begin by preparing your white cake mix exactly according to the instructions on the box. This is the heart of your cupcakes, so mixing it well ensures a fluffy and tender crumb that’s irresistible.
Step 2: Line Your Cupcake Pan
Place green cupcake liners into your pan. Not only does this add to the St. Patrick’s Day vibe, but it also makes removing cupcakes a breeze and keeps everything neat.
Step 3: Fill and Bake
Fill each liner halfway with the batter, making sure to leave room for the cupcakes to rise. Bake according to the cake mix directions, and get ready for that warm, sweet aroma to fill your kitchen.
Step 4: Cool Completely
Once your cupcakes have baked to golden perfection, let them cool fully before decorating. You don’t want your icing to melt off, so patience here will pay off beautifully.
Step 5: Pipe the Icing
Fill a piping bag fitted with your favorite piping tip with white icing. Starting from the center of each cupcake, pipe outward and upward to create soft, swirling clouds of creamy frosting.
Step 6: Add Gold Mist to Oreos
Using your gold mist food paint, carefully paint each Golden Oreo for a dazzling pot-of-gold effect. Allow the paint to dry completely before the next step to avoid smudging.
Step 7: Attach Oreos to Toothpicks
Skewer each painted Oreo through the center with a toothpick. These will serve as your fabulous treasure pots tucked at the back of the cupcake clouds.
Step 8: Add Marshmallow Clouds
Thread four mini marshmallows onto a toothpick and set them gently atop the cupcake over the icing. This creates the fluffy clouds that hold the rainbow in place.
Step 9: Shape the Rainbow with Air Heads
Cut your Extreme Air Heads into thirds and join two pieces by curving them between the marshmallow clouds. This charming rainbow arc completes the festive look perfectly.
Step 10: Serve and Enjoy!
Your Easy St. Patrick’s Day Cupcakes are now ready to dazzle. Serve them proudly and watch smiles appear with every bite.
How to Serve Easy St. Patrick’s Day Cupcakes Recipe
Garnishes
While these cupcakes are already bursting with decoration, feel free to sprinkle some edible glitter or add a few green sugar crystals for extra sparkle. A light dusting of powdered sugar can mimic a frosty morning for a whimsical touch.
Side Dishes
These cupcakes pair well with simple sides like a fresh fruit platter or a creamy mint-flavored coffee or hot chocolate. The freshness of fruits balances the sweetness, and the warm drinks complement the cozy vibe of the cupcakes.
Creative Ways to Present
Try arranging your cupcakes on a large serving tray with fake gold coins scattered around to enhance the treasure theme. You could also display them in a multi-tiered stand wrapped with green ribbons or shamrocks to give your party table an extra festive pop.
Make Ahead and Storage
Storing Leftovers
Once decorated, store leftover cupcakes in an airtight container at room temperature for up to two days to keep them moist and fresh. Avoid refrigeration if possible, as it can dry out the cake and stiffen the icing.
Freezing
If you want to make these cupcakes ahead of time, bake and cool them completely, then freeze undecorated cupcakes in a single layer on a baking sheet. Once frozen, place them in a sealed bag or container for up to three months. Decorate after thawing for best results.
Reheating
To enjoy cupcakes that were frozen, allow them to thaw at room temperature for about an hour. If you like warm cupcakes, gently microwave for 10-15 seconds before adding icing and decorations.
FAQs
Can I use homemade cake mix instead of store-bought?
Absolutely! A homemade white cake batter works wonderfully here and gives you full control over ingredients. Just make sure your batter is neither too dense nor too runny for best results.
What if I can’t find Extreme Air Heads?
No worries! You can substitute with any chewy, colorful candy strips or even fruit roll-ups. The key is having a flexible, vibrant candy to shape your rainbow.
How do I prevent the gold mist from smudging?
Make sure to paint the Golden Oreos on a plate or parchment paper and let them dry completely before handling. Avoid touching the painted surface until fully set for that perfect shine.
Are these cupcakes kid-friendly?
Definitely! The colorful decorations and sweet flavors make these cupcakes a hit with kids. Just supervise the use of toothpicks during decorating and serving for safety.
Can I make this recipe gluten-free?
Yes, swap out your white cake mix for a gluten-free version and double-check that all decorated candies are gluten-free. Your cupcakes will still be just as festive and delicious!
Final Thoughts
Trying out this Easy St. Patrick’s Day Cupcakes Recipe is like inviting the lucky charm right into your kitchen. These little treats bring so much joy, not only through their sweet, fluffy taste but also with how festive and fun they look. I promise once you make these, they’ll become a centerpiece of your celebrations year after year. So grab your ingredients, put on your favorite St. Paddy’s Day playlist, and get baking—you’re going to love every moment of it!
Print
Easy St. Patrick’s Day Cupcakes Recipe
- Prep Time: 20 minutes
- Cook Time: 20 minutes
- Total Time: 40 minutes
- Yield: 16 cupcakes
- Category: Dessert
- Method: Baking
- Cuisine: American
Description
Celebrate St. Patrick’s Day with these fun and festive Easy St. Patrick’s Day Cupcakes. Featuring green cupcake liners, golden Oreo ‘coins’, marshmallow ‘clouds’, and colorful Airheads rainbows, these cupcakes are perfect for a holiday party or family treat. Made with a white cake mix and decorated with white icing, these cupcakes are easy to prepare and delightfully festive.
Ingredients
Cake Batter
- 1 box White Cake Mix (plus ingredients needed as per box instructions)
Decorations
- 1 container White Icing
- 1 package Extreme Air Heads candy
- 1 bag Mini Marshmallows
- 1 package Golden Oreos
- Gold Mist Food Paint (cake decorating section)
- Toothpicks
- Green Cupcake Liners
Instructions
- Prepare Cake Batter: Start by preparing the cupcake batter according to the instructions on the white cake mix box, ensuring you follow the specified ratios and mixing steps for a smooth batter.
- Line Cupcake Pan: Line a cupcake baking pan with green cupcake liners to add a festive touch to your cupcakes.
- Fill and Bake: Fill each cupcake liner halfway with the prepared batter and bake them according to the time and temperature indicated on the cake mix box.
- Cool Cupcakes: After baking, allow the cupcakes to cool completely to room temperature to ensure the icing and decorations do not melt or slide off.
- Prepare Icing: Fill a piping bag fitted with your preferred piping tip with the white icing, getting ready to decorate.
- Pipe Icing: Starting in the middle of each cooled cupcake, pipe the white icing outward and upward to create a nice swirl or decorative pattern.
- Paint Golden Oreos: Using gold mist food paint, carefully paint each Golden Oreo cookie to create shiny ‘coins’ representing pots of gold.
- Insert Oreo Coins: Once the gold paint is dry, insert a toothpick through the center of each painted Oreo and place it towards the back edge of each cupcake for visual appeal.
- Add Marshmallow Clouds: Thread four mini marshmallows onto a toothpick and position this on top of the cupcake near the Oreo ‘coin’ to represent fluffy clouds.
- Prepare Rainbow Candy: Cut the Extreme Air Heads candy into thirds. Take two sections and curve them between the marshmallow clouds on each cupcake to create a colorful rainbow effect.
- Final Presentation: Adjust any decorations as needed, then serve your festive St. Patrick’s Day cupcakes and enjoy the fun combination of flavors and textures!
Notes
- Allow cupcakes to cool completely before icing to prevent melting.
- Use a small brush to apply gold mist food paint for more precision on Oreos.
- For best results, decorate cupcakes just before serving to keep marshmallows fresh.
- Extreme Air Heads candy can be substituted with similar chewy rainbow candy if unavailable.
