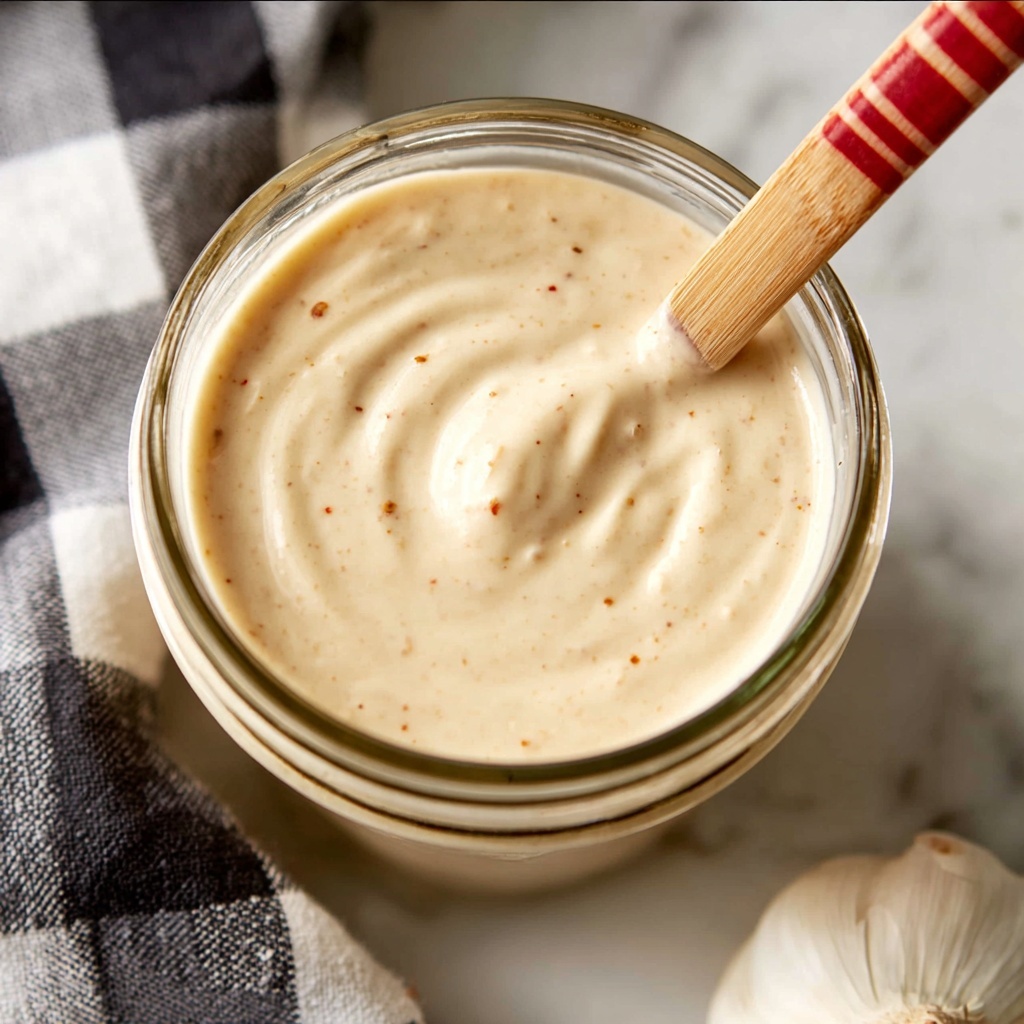
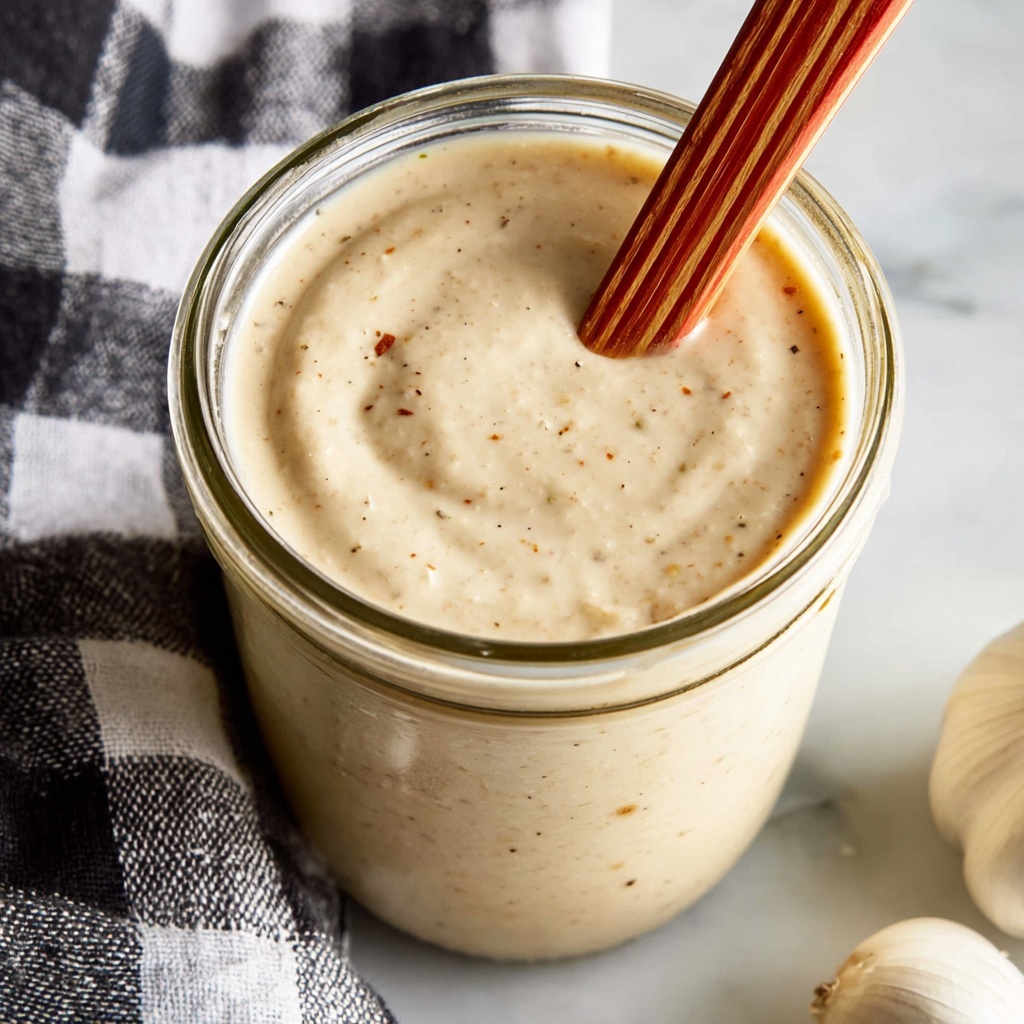
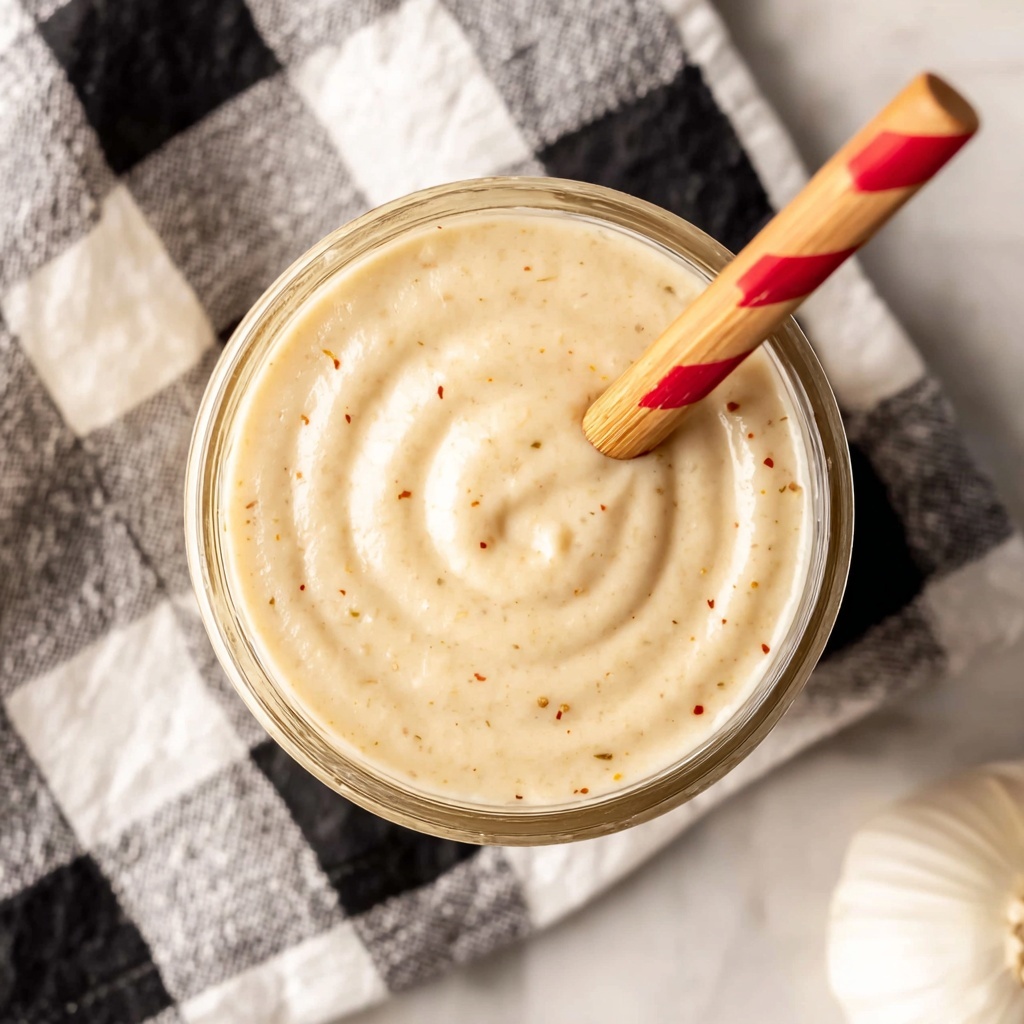
If you love a condiment that brings a burst of flavor with creamy texture and a garlicky punch, then this Garlic Aioli Recipe is about to become your new kitchen hero. This velvety sauce pairs beautifully with everything from grilled meats to fresh vegetables, making it an irresistible addition to your culinary repertoire. The magic lies in roasting whole heads of garlic until caramelized and tender, then blending them seamlessly into a tangy, slightly spicy mayo base. Whether you’re serving it as a dip, a spread, or a drizzle, this Garlic Aioli Recipe elevates ordinary dishes into unforgettable bites that keep everyone reaching for more.
Ingredients You’ll Need
Gathering simple, wholesome ingredients is the secret to a spectacular aioli. Every component plays a crucial part in balancing creaminess, tang, heat, and depth of flavor to create an unbeatable garlic sauce.
- Whole heads garlic: Roasting the garlic transforms raw sharpness into sweet, buttery softness, essential for that luscious aioli base.
- Olive oil: Just a touch to enrich the garlic while roasting and contribute a fruity undertone.
- Mayonnaise: Provides the creamy texture and mild richness; feel free to use homemade or quality store-bought.
- Fresh lemon juice: Offers bright acidity that cuts through the richness and lifts the flavors beautifully.
- Worcestershire sauce: Adds an unexpected umami depth that rounds out the taste complexity.
- Ground cayenne pepper: A pinch adds just the right hint of heat to keep things exciting.
How to Make Garlic Aioli Recipe
Step 1: Roast the Garlic
Preheat your oven to 400°F. Start by trimming the tops off the garlic heads, exposing the cloves just enough to let the heat work its magic without drying them out. Rub the garlic lightly to peel away all but one layer of skin, revealing soft cloves perfectly primed to caramelize.
Step 2: Prepare for Baking
Drizzle each head of garlic with an olive oil teaspoon and season generously with kosher salt and freshly ground black pepper. Wrapping the garlic heads in foil traps steam as they bake and ensures they become tender and golden rather than burnt or dry.
Step 3: Roast Until Golden
Place the foil-wrapped garlic in a small baking dish to catch any drips, then roast for 50 to 60 minutes until the cloves are delectably soft and caramelized. The kitchen will start to fill with the most mouthwatering garlicky aroma that hints at the flavor to come.
Step 4: Mash the Roasted Garlic
Once the garlic heads have cooled enough to handle, unwrap and mash the cloves with a fork. Discard any tough bits or papery skin left behind, leaving only the silky mash to blend into your aioli.
Step 5: Mix the Aioli
In a bowl, whisk together mayonnaise, fresh lemon juice, Worcestershire sauce, cayenne pepper, and your roasted garlic mash. Stir until fully incorporated and the sauce is smooth and homogenous. This step is where simple ingredients transform into something magical.
Step 6: Chill to Develop Flavor
For best results, refrigerate the Garlic Aioli Recipe for at least 30 minutes to allow the flavors to meld and deepen, ideally up to 48 hours. The wait lets the garlic and seasonings mellow and integrate beautifully with the creamy base.
How to Serve Garlic Aioli Recipe
Garnishes
Sprinkle chopped fresh herbs like parsley, chives, or tarragon on top to add a pop of color and an extra fresh flavor dimension that complements the richness of the aioli. A few flakes of smoked paprika can also enhance the visual appeal and introduce a subtle smoky hint.
Side Dishes
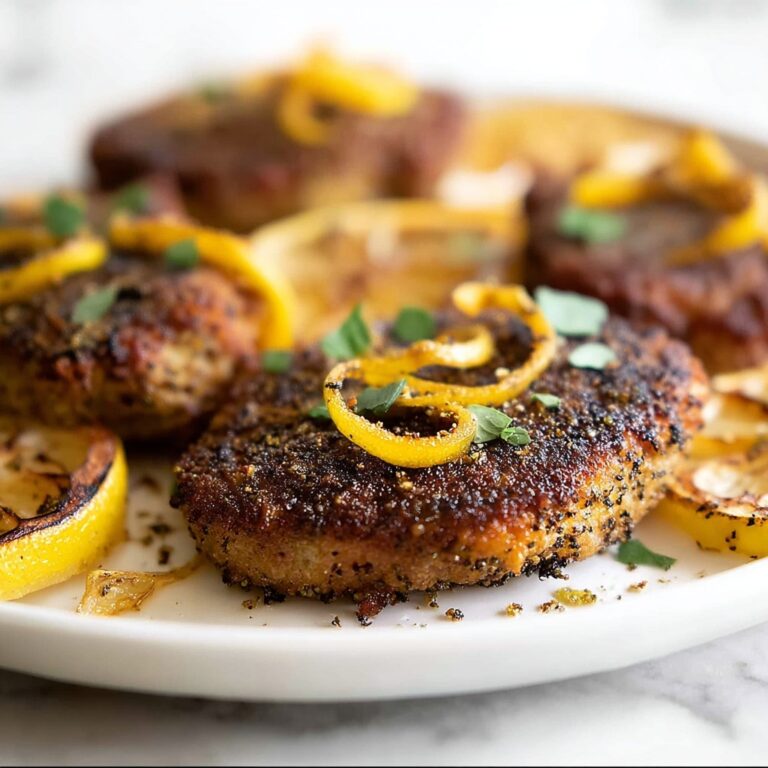
This Garlic Aioli Recipe shines when paired with crispy fries, roasted vegetables, grilled seafood, or even slathered on a sandwich. Its creamy garlic punch elevates everyday bites, making simple dishes feel gourmet and celebratory.
Creative Ways to Present
Get playful by serving this aioli in mini ramekins alongside an assortment of crudités for a party platter. Use it as a luxurious dip for calamari, or dollop over burgers and tacos for a flavor boost. Its versatility means you can explore countless delicious presentations that wow your guests.
Make Ahead and Storage
Storing Leftovers
Keep any leftover Garlic Aioli Recipe in an airtight container in the refrigerator. It will stay fresh and flavorful for up to one week, giving you plenty of opportunities to add its garlicky goodness to your meals throughout the week.
Freezing
While freezing is possible, the texture may change slightly on thawing due to the mayonnaise base. If you do freeze it, store in a freezer-safe container and consume within one month for best quality. Thaw it overnight in the refrigerator for use.
Reheating
Since this aioli is best served cold or at room temperature, reheating is not recommended. Instead, simply let chilled aioli come to room temperature before serving to enjoy its full flavor and creamy texture.
FAQs
Can I make garlic aioli without mayonnaise?
Yes! Traditional aioli is made with just garlic, olive oil, and sometimes egg yolk. However, mayonnaise makes this recipe quicker and creamier. You can substitute with homemade aioli if you prefer a more classic version.
How long does garlic aioli last in the fridge?
Stored in an airtight container, the aioli will keep well for up to one week. Always check for any off smells or changes in texture before using leftovers.
Is it possible to adjust the heat level in this Garlic Aioli Recipe?
Absolutely! You can easily tweak the cayenne pepper amount to suit your spice preference, or even add a dash of hot sauce for extra kick.
Can I use roasted garlic from a jar?
While fresh roasted garlic gives the best flavor and texture, jarred roasted garlic can be a convenient shortcut. Just be sure to adjust the amount to taste since jarred versions may be more concentrated or have added oils.
What are some dishes that pair especially well with garlic aioli?
Think crispy fries, roasted potatoes, grilled chicken or fish, veggie sticks, sandwiches, and even eggs. This sauce adds a fabulous garlicky creaminess that enhances a wide variety of dishes.
Final Thoughts
There is something undeniably satisfying about mastering a Garlic Aioli Recipe that you can whip up quickly with pantry staples and simple roasting techniques. Its creamy texture, golden roasted garlic flavor, and hint of heat make it an all-star condiment for countless meals. I encourage you to try making this sauce at home; it’s sure to become a beloved staple in your kitchen and a favorite dip for family and friends alike.
Print
Garlic Aioli Recipe
- Prep Time: 5 minutes
- Cook Time: 60 minutes
- Total Time: 1 hour 5 minutes
- Yield: 12 tablespoons (approximately 12 servings of 1 tablespoon each)
- Category: Sauce
- Method: Baking
- Cuisine: American
- Diet: Low Fat
Description
This Garlic Aioli recipe features rich, roasted garlic blended into a creamy base of mayonnaise, lemon juice, and spices. Perfect as a flavorful dip, spread, or sauce, its silky texture and deep roasted garlic aroma elevate sandwiches, burgers, and roasted vegetables. Roasting the garlic softens its pungency and adds a sweet, mellow complexity to this classic condiment.
Ingredients
Roasted Garlic
- 2 whole heads garlic
- 2 teaspoons olive oil (divided: 1 teaspoon per head)
- Kosher salt, to taste
- Freshly ground black pepper, to taste
Aioli Base
- ½ cup mayonnaise (store bought or homemade)
- 1½ tablespoons fresh lemon juice (from about ½ lemon)
- 1 teaspoon Worcestershire sauce
- ⅛ teaspoon ground cayenne pepper
Instructions
- Preheat Oven: Preheat your oven to 400°F (200°C) to prepare the garlic for roasting.
- Prepare Garlic Heads: Trim off about ½ inch from the top of each garlic head to expose the cloves slightly. Rub the garlic heads with your fingers to remove all but one layer of skin around the cloves, making roasting more effective.
- Season Garlic: Drizzle 1 teaspoon of olive oil over each garlic head, then sprinkle with kosher salt and freshly ground black pepper to taste for seasoning.
- Wrap Garlic: Wrap each garlic head tightly in aluminum foil and place them in a small baking dish to catch any juices that might leak during roasting.
- Roast Garlic: Bake the wrapped garlic heads in the preheated oven for 50 to 60 minutes or until the garlic cloves are soft, golden brown, and fragrant.
- Cool and Mash: Remove the garlic from the oven, unwrap, and let cool until safe to handle (about 10 minutes). Then mash the roasted cloves with a fork, discarding any hard or tough bits.
- Mix Aioli: In a small bowl, whisk together the mayonnaise, fresh lemon juice, Worcestershire sauce, ground cayenne pepper, and the mashed roasted garlic until the mixture is smooth and well combined.
- Chill: Refrigerate the prepared aioli for at least 30 minutes, and up to 48 hours, to allow the flavors to meld before serving.
Notes
- Ensure garlic is fully roasted to mellow its sharpness and enhance sweetness.
- Worcestershire sauce adds umami depth; omit to keep vegetarian or substitute with soy sauce.
- Adjust cayenne pepper to taste or omit for milder flavor.
- Store aioli in an airtight container refrigerated for up to 3 days.
- Use as a dip for fries, spread for sandwiches, or sauce for grilled meats and veggies.


