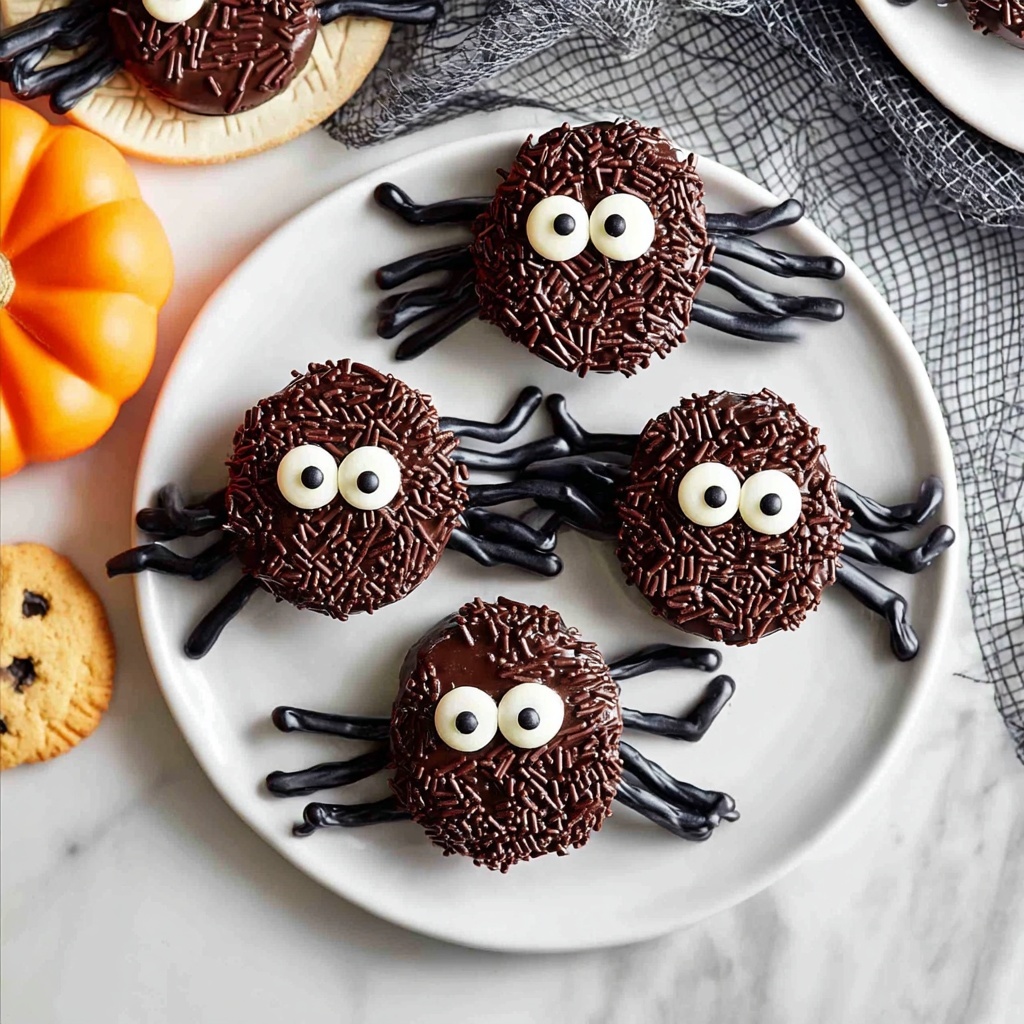
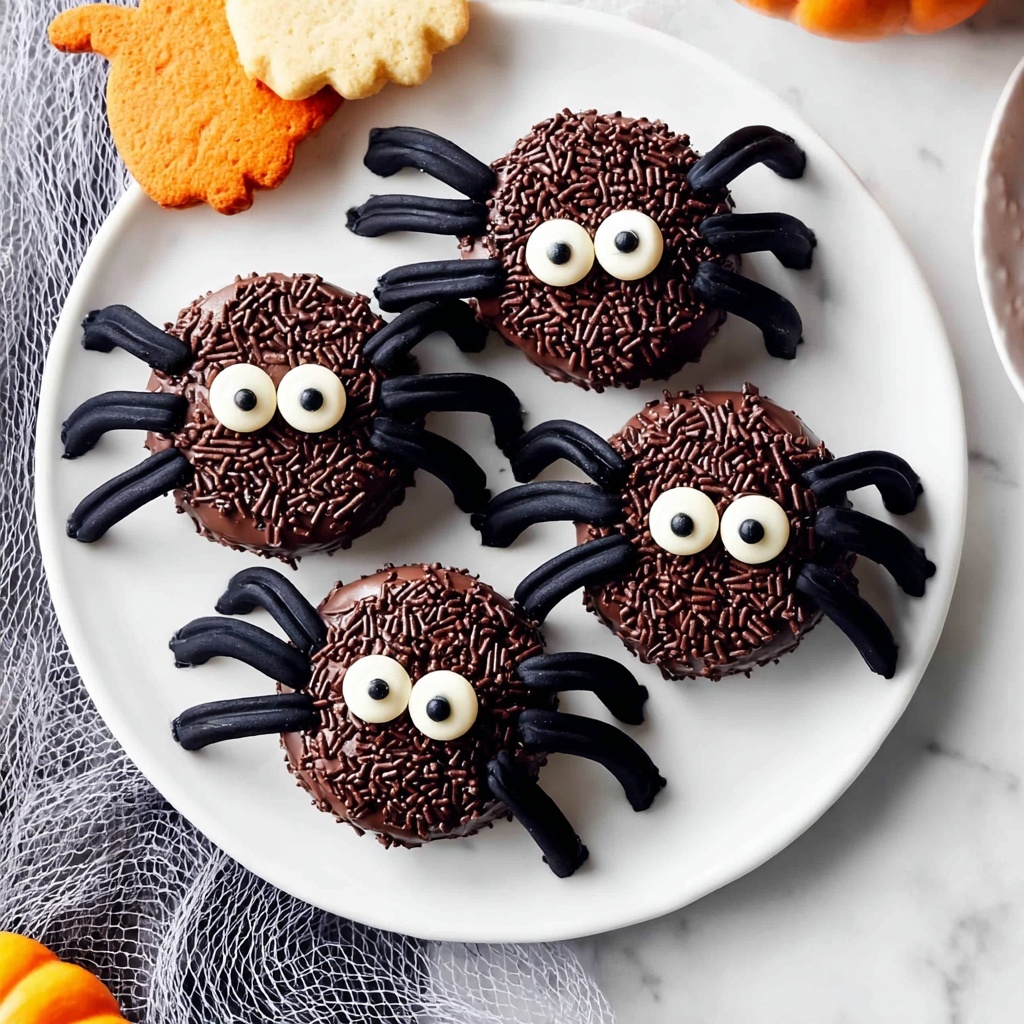
If you’re looking to delight friends and family with a quirky, fun, and absolutely irresistible treat, the Hairy Spider Decorated Oreos Recipe is your new go-to! These spooky-cute cookies take classic Oreos and transform them with a dash of melted chocolate, licorice spider legs, and playful candy eyes to create edible little critters that steal the show every time. Perfect for Halloween or anytime you want a conversation-starting sweet snack, this recipe combines simple ingredients and fun assembly into an experience that’s as entertaining as it is delicious.

Ingredients You’ll Need
You don’t need a long list of fancy ingredients to make the Hairy Spider Decorated Oreos Recipe come alive. Each component is essential, working together to give you that perfect mix of crunchy, creamy, chewy, and dark-chocolatey goodness that makes these cookies unforgettable.
- Licorice wheels: These provide the perfect chewy texture for spider legs and add a playful look that stands out.
- Oreo cookies (14oz regular or 15oz double stuf): The classic foundation for this recipe, offering a crispy chocolate cookie and creamy filling combo.
- Dark chocolate for melting or dark candy melts (12 oz): This melted chocolate acts as the glue and delicious coating, giving rich flavor and helping all pieces stick together.
- Edible candy eyes (60 pieces): The whimsical finishing touch that instantly brings your spiders to life with a dose of personality.
- Chocolate sprinkles (1 cup): Sprinkled over the melted chocolate, these add texture and a “hairy” effect to the spider bodies.
How to Make Hairy Spider Decorated Oreos Recipe
Step 1: Prepare the Licorice Legs
The magic starts with the licorice legs. Cut each licorice wheel in half, then gently peel off four thin strands from each half. By slicing each strand lengthwise, you create the skinny, spidery legs that make these treats so delightfully creepy. Taking your time here makes the difference between easy-to-handle legs and breakage later on.
Step 2: Add Legs to the Oreo
Carefully twist apart each Oreo cookie to reveal the creamy center. Place one half down on baking parchment, then dip the ends of each licorice leg in melted chocolate. Attach the legs onto this Oreo half, arranging them to resemble a spider’s legs. Once all the legs are in place, sandwich the other cookie half on top, making sure everything holds snugly together as the chocolate sets.
Step 3: Decorate the Spider Body
Take a spoonful of melted dark chocolate and spread it generously over the top of the assembled Oreo spider, allowing some to drip slightly over the edges for that natural, “hairy” look. Quickly press two candy eyes into the chocolate, giving each spider its unique expression. While the chocolate is still wet, sprinkle chocolate sprinkles over the top to create texture and add to the creepy crawly effect.
Step 4: Let the Spiders Set and Dry
Wait about 15 minutes to let your decorated Oreos firm up slightly, then carefully transfer them using an offset spatula onto a clean sheet of baking parchment. Allow the spiders to dry fully, preferably for several hours or overnight. This ensures the chocolate hardens completely, making them easy to handle and perfect for gift-giving or party trays.
How to Serve Hairy Spider Decorated Oreos Recipe
Garnishes
Add a little extra whimsy by serving these spider Oreos on a bed of shredded coconut dyed green for “grass” or black for a haunting haunted-house vibe. You can also scatter some mini marshmallows or candy pumpkins around to enhance the festive atmosphere without overwhelming the spiders themselves.
Side Dishes
These decorated Oreos pair wonderfully with warm drinks like spiced hot chocolate, a rich pumpkin latte, or even a chilled glass of milk. For a more adult crowd, a coffee station or mulled wine table alongside the spiders will bring a fun contrast that lets your guests customize their treats even more.
Creative Ways to Present
Try arranging the Hairy Spider Decorated Oreos Recipe on themed platters, using cupcake liners shaped like spiderwebs or placing spider-shaped toothpicks nearby for added flair. If you’re hosting a kids’ party, let little ones assemble their own spiders as a fun activity. The playful presentation is just as important as the taste—it makes every bite memorable.
Make Ahead and Storage
Storing Leftovers
Once fully dried, store your hairy spider Oreos in a single layer inside an airtight container at room temperature. This keeps the chocolate crisp and the licorice legs chewy but intact, allowing you to enjoy these treats fresh for up to one week.
Freezing
If you want to prepare a batch in advance, you can freeze the decorated Oreos by placing them in a rigid container with parchment paper between layers. Freeze for up to a month and thaw at room temperature before serving to maintain the best texture and flavor.
Reheating
These Oreos don’t require reheating, but if you find the chocolate has dulled in shine after storage, a very brief blast (just a few seconds) in a warm spot or under gentle sunlight can refresh their appearance. Avoid excessive heat to keep the candy eyes and sprinkles intact.
FAQs
Can I use other types of licorice for the spider legs?
Absolutely! While red or black licorice wheels are classic, you can experiment with different flavors or even colored licorice strands to customize your spiders. Just be sure the licorice is pliable enough to cut and handle easily.
What type of chocolate is best for melting?
Dark chocolate or dark candy melts work best because they give a rich, slightly bitter contrast to the sweet Oreo and licorice. They also harden nicely for structural support. Avoid milk chocolate as it can be softer and less sturdy.
Can I make these without candy eyes?
You can substitute candy eyes with small white chocolate dots or edible paint if you prefer. They’re key to the spider’s personality, so don’t skip them entirely unless you want quite a different look.
How do I keep the licorice legs from falling off?
Dipping the ends in melted chocolate acts as a natural glue. Be sure to press the legs firmly onto the Oreo half before sandwiching the cookies back together. Let the chocolate dry completely to secure the legs in place.
Is this recipe kid-friendly for making together?
Definitely! The Hairy Spider Decorated Oreos Recipe is a fantastic hands-on activity for kids, especially with adult supervision during the chocolate melting and spreading portions. Kids love crafting the legs and decorating the spiders, making it a memorable cooking experience.
Final Thoughts
There’s nothing quite like the joy of creating these cute yet creepy spiders with the Hairy Spider Decorated Oreos Recipe. Fun to make, delightful to eat, and guaranteed to impress, it’s a sweet treat that’s perfect for all ages and occasions. So gather your ingredients, rally your favorite helpers, and dive into one of the most charming cookie projects you’ll ever try!
Print
Hairy Spider Decorated Oreos Recipe
- Prep Time: 15 minutes
- Cook Time: 0 minutes
- Total Time: 15 minutes plus drying time (3–12 hours)
- Yield: 30 cookies
- Category: Dessert
- Method: No-Cook
- Cuisine: American
Description
These Hairy Spider Decorated Oreos are a fun and spooky treat perfect for Halloween or any creepy-themed party. Featuring Oreo cookies transformed with licorice legs, melted dark chocolate, candy eyes, and chocolate sprinkles, these no-bake treats are easy to assemble and delight both kids and adults alike.
Ingredients
Licorice Legs
- 15 licorice wheels
Oreos
- 1 package Oreo cookies (14oz regular or 15oz double Stuf)
Chocolate Coating
- 12 oz dark chocolate for melting (or dark candy melts, melted and slightly cooled)
Decorations
- 60 edible candy eyes
- 1 cup chocolate sprinkles
Instructions
- Prepare the licorice: Cut each licorice wheel in half. Peel off 4 strands from each half, then cut each strand lengthwise down the middle to create two long, skinny spider legs per strand.
- Add legs to cookie: Carefully split an Oreo cookie into two halves. Place one half on a sheet of baking parchment. Dip the end of each licorice leg into the melted chocolate, then arrange them on the exposed side of the Oreo half to resemble spider legs. Sandwich the other half of the Oreo back on top to close.
- Decorate the cookie: Using a spoon, spread a layer of melted chocolate over the top and slightly down the sides of the assembled Oreo. Place two edible candy eyes on top to form the spider’s eyes, then generously sprinkle chocolate sprinkles over the entire surface to add texture and a hairy effect.
- Dry: After about 15 minutes, use an offset spatula to carefully transfer the decorated Oreos to a clean sheet of baking parchment. Allow them to dry completely for several hours or preferably overnight. Once set, store the cookies in a single layer inside cookie tins at room temperature for up to one week.
Notes
- You can substitute licorice wheels with different colored licorice to customize your spiders.
- If you don’t have an offset spatula, a regular spatula or butter knife can be used carefully to transfer cookies.
- These treats require no baking and are great for a quick Halloween dessert.
- Store cookies in a single layer to prevent the legs from being crushed or broken.


