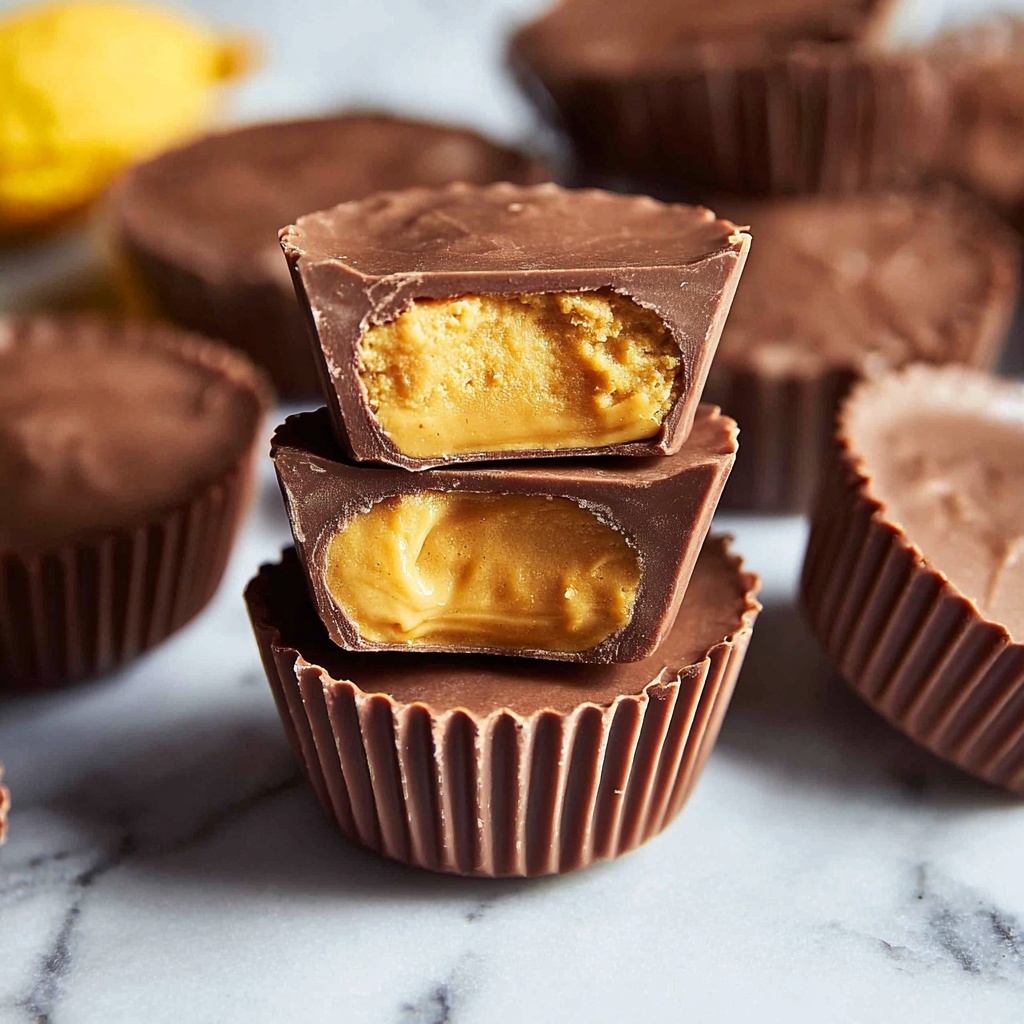
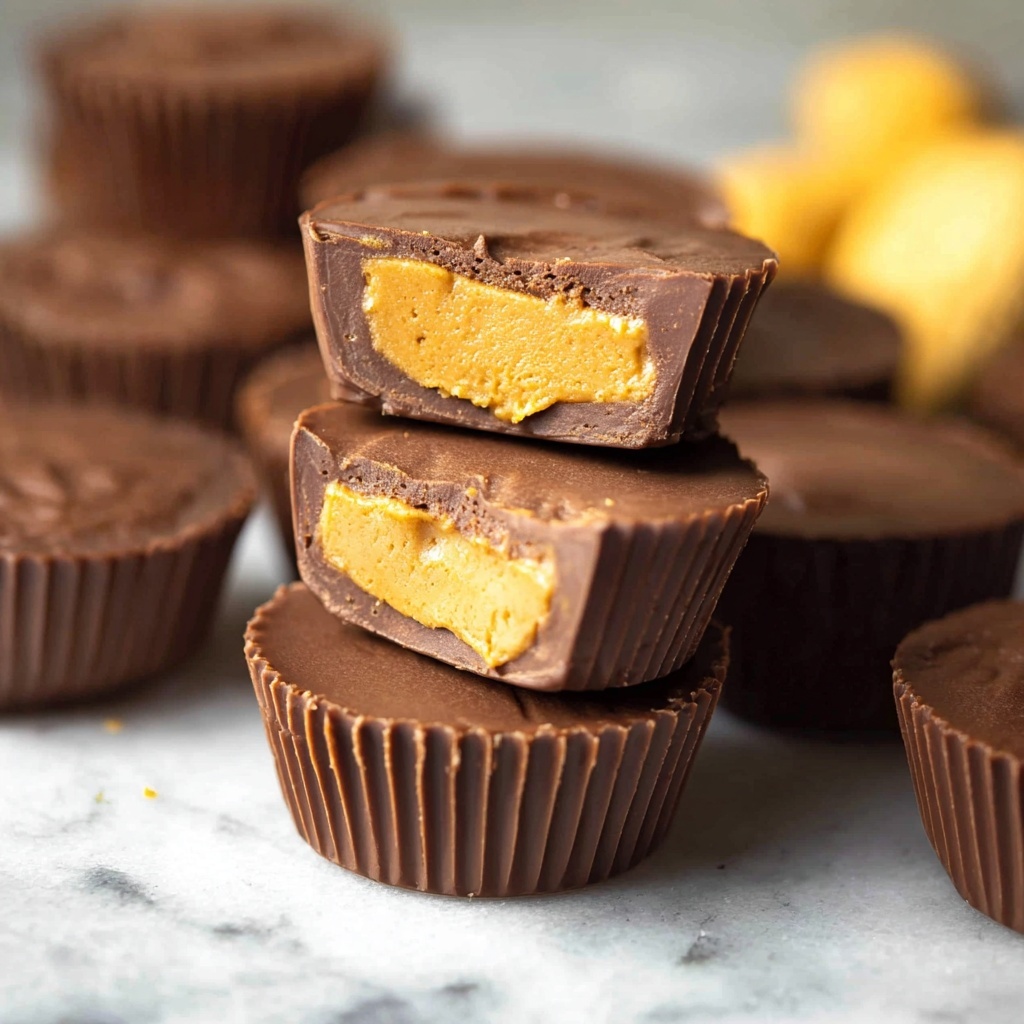
If you’ve ever bitten into a Reese’s peanut butter cup and thought, “I wish I could make these at home,” you are in for a treat! This Homemade Reese’s Peanut Butter Cups Recipe captures the perfect balance of creamy peanut butter and luscious chocolate all wrapped in one delicious bite. It’s a fun, simple project that transforms a classic candy into a fresh, personalized delight you can proudly share with friends and family. Once you try this, store-bought cups will feel a little less exciting.
Ingredients You’ll Need
The beauty of this recipe lies in its straightforward, pantry-friendly ingredients. Each one plays a vital role: the peanut butter lends creaminess, butter enhances richness, sugars provide sweetness and structure, while the chocolate works as a perfect shell that brings everything together.
- Smooth peanut butter: Use a creamy variety for the velvety texture that melts in your mouth.
- Unsalted butter: Adds richness without overpowering flavors, also helps with the filling’s consistency.
- Brown sugar: Introduces a subtle caramel note for depth in the filling.
- Icing sugar (powdered sugar): Sweetens and firms up the peanut butter mixture for easy shaping.
- Chocolate for melting: Choose good quality semi-sweet or milk chocolate for a smooth, glossy coat.
How to Make Homemade Reese’s Peanut Butter Cups Recipe
Step 1: Prepare Your Muffin Tins
Start by lining three mini muffin tins (each with 12 holes) with paper patties. These will hold your peanut butter cups, giving them shape and making them easy to remove once set.
Step 2: Make the Peanut Butter Filling
In a small saucepan, combine your smooth peanut butter, unsalted butter, and brown sugar over medium heat. Stir constantly until the mixture melts and begins to bubble gently. Off the heat, gradually stir in the icing sugar, adding it in quarters to help it fully dissolve and create a thick, pliable filling.
Step 3: Cool the Filling
Once mixed, set the filling aside to cool. Placing it in the refrigerator will speed things up and make it easier to handle in the next step.
Step 4: Melt Half the Chocolate
Gently melt half of your chocolate in the microwave in 30-second intervals, stirring between each, until smooth and shiny.
Step 5: Add the Chocolate Base
Fill each lined muffin cup with about 1 1/2 to 2 teaspoons of the melted chocolate. This creates the chocolate base that will cradle your peanut butter filling perfectly.
Step 6: Shape the Peanut Butter Filling
Scoop a heaping teaspoon of the cooled peanut butter mixture and roll it into a ball before flattening it slightly. Ensure these discs are smaller than the muffin cups so that chocolate can wrap around the sides for a seamless shell. Place each disc smack dab in the center of the chocolate base.
Step 7: Chill to Set
Pop the muffin tins into the fridge for about 20 minutes so the chocolate base and peanut butter discs firm up nicely.
Step 8: Melt Remaining Chocolate
While waiting, melt the remaining chocolate the same way you did earlier – in 30-second bursts for a glossy finish.
Step 9: Cover the Peanut Butter Filling
Pour 1 1/2 to 2 teaspoons of melted chocolate over each peanut butter disc to fully enrobe it. Give the muffin tin a gentle tap on the counter to smooth out the tops and eliminate any air pockets.
Step 10: Final Chill
Refrigerate again for 20 minutes to allow the top chocolate layer to set completely, locking in that luscious filling.
Step 11: Unwrap and Enjoy
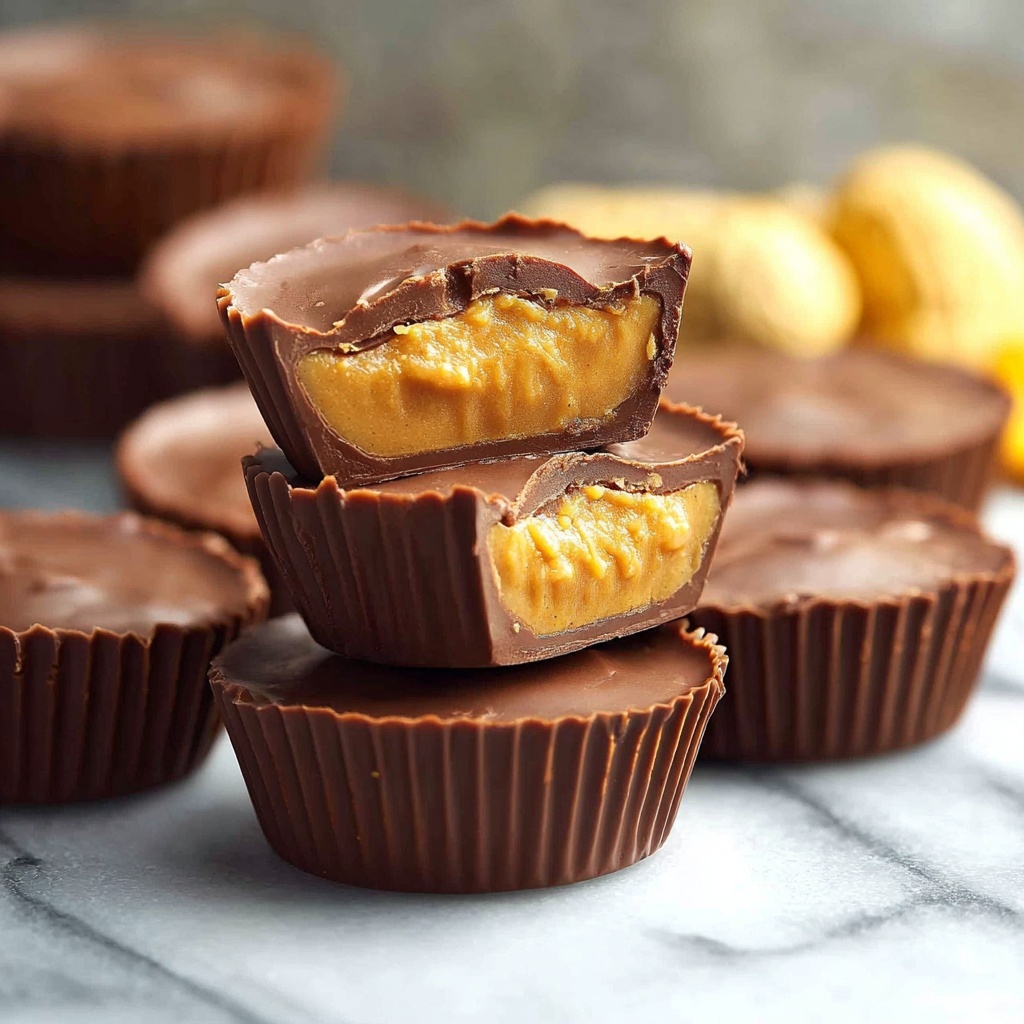
Once set, carefully peel away the paper patties and take a bite of this irresistible homemade version. Enjoy every rich, creamy moment!
How to Serve Homemade Reese’s Peanut Butter Cups Recipe
Garnishes
Add a sprinkle of flaky sea salt on top of each peanut butter cup just before the chocolate sets for a sophisticated twist that highlights the sweet and salty contrast.
Side Dishes
Pair your peanut butter cups with a glass of cold milk or a rich cup of coffee or hot chocolate for a cozy treat that elevates your snack time.
Creative Ways to Present
Arrange your homemade cups on a decorative platter lined with parchment paper and add a little bowl of mixed nuts or fresh berries nearby. Wrapping them individually in colorful foil also makes for a cute gift presentation perfect for parties or holidays.
Make Ahead and Storage
Storing Leftovers
Keep leftover peanut butter cups in an airtight container in the refrigerator for up to two weeks. This preserves the chocolate’s shine and keeps the peanut butter filling fresh.
Freezing
You can freeze these treats in a sealed container for up to three months. Just thaw them in the fridge overnight before serving to maintain their perfect texture and flavor.
Reheating
Since these cups are best enjoyed cold or at room temperature, avoid reheating. Simply let them sit out for a few minutes if too cold, and they’ll be ready to savor.
FAQs
Can I use crunchy peanut butter instead of smooth?
While smooth peanut butter works best for the creamy filling, crunchy peanut butter can add a nice texture contrast if that’s your preference. Just be aware it may change the mouthfeel slightly.
Is it possible to make these cups dairy-free?
Absolutely! Use dairy-free butter substitutes and choose a suitable non-dairy chocolate to make this recipe vegan-friendly without compromising taste.
What type of chocolate works best?
Semi-sweet or milk chocolate are traditional choices, offering a great balance to the sweet peanut butter. Avoid very dark chocolate if you want to keep the classic flavor.
How long does it take to make this recipe?
The actual prep is about 15 minutes, but include chilling time, and expect roughly an hour before these cups are ready to enjoy. It’s mostly waiting time, so you can multitask or prepare other dishes.
Can I double the recipe?
Yes, this recipe scales well. Just use additional muffin tins and ensure you have enough paper liners and mixing bowls to accommodate the larger batch.
Final Thoughts
Making your own Homemade Reese’s Peanut Butter Cups Recipe is not just rewarding, it’s downright joyful. It’s a wonderful way to craft something nostalgic with your own hands, letting you enjoy that perfect peanut butter and chocolate combo anytime. So grab your ingredients, get cozy in the kitchen, and prepare to be amazed by how delicious homemade treats can be!
Print
Homemade Reese’s Peanut Butter Cups Recipe
- Prep Time: 15 minutes
- Cook Time: 0 minutes
- Total Time: 35 minutes
- Yield: 30 peanut butter cups
- Category: Dessert
- Method: No-Cook
- Cuisine: American
Description
Delicious homemade Reese’s Peanut Butter Cups made with a creamy peanut butter filling encased in rich, melted chocolate. Perfect for satisfying your sweet and salty cravings with a simple, no-bake recipe that yields about 30 peanut butter cups.
Ingredients
Peanut Butter Filling
- 1 cup / 250g smooth peanut butter
- 60g / 4 tbsp unsalted butter
- 1/4 cup / 55g brown sugar
- 1 cup / 120g icing sugar (powdered sugar)
Chocolate Coating
- 500g / 16 oz chocolate (for melting, not eating chocolate)
Instructions
- Prepare muffin tins: Line 3 x 12 hole mini muffin tins with paper patties to create molds for your peanut butter cups.
- Make peanut butter filling: In a small saucepan over medium heat, combine peanut butter, butter, and brown sugar. Heat, stirring constantly, until everything is melted and it starts to gently bubble. Remove from heat and add the powdered sugar gradually, about 1/4 cup at a time, stirring vigorously to incorporate fully.
- Cool the filling: Set the peanut butter mixture aside to cool, refrigerating if you want to speed up the process and make it easier to handle.
- Melt half the chocolate: Use the microwave in 30-second intervals, stirring between each until smooth and fully melted.
- Add chocolate base to cups: Pour about 1 1/2 to 2 teaspoons of melted chocolate into each lined muffin cup to form the bottom layer.
- Shape peanut butter discs: Scoop a slightly heaped teaspoon of the peanut butter filling, roll it into a ball and flatten slightly to form a disc smaller than the muffin cup diameter so the chocolate can cover the sides.
- Place filling in cups: Center each peanut butter disc on top of the chocolate layer in the muffin tin. Repeat for all cups.
- Set initial chocolate layer: Refrigerate the muffin tins for 20 minutes until the chocolate has solidified around the filling.
- Melt remaining chocolate: Again microwave the remaining chocolate in 30-second intervals, stirring well until smooth.
- Cover peanut butter filling: Pour 1 1/2 to 2 teaspoons of melted chocolate over each peanut butter disc, ensuring they are completely covered. Gently tap the muffin tin on the countertop to level the chocolate.
- Final set: Refrigerate for another 20 minutes until the outer chocolate layer is set and firm.
- Serve: Remove the paper patties carefully and enjoy your homemade Reese’s Peanut Butter Cups.
Notes
- Using icing sugar rather than granulated sugar ensures a smooth and creamy peanut butter filling.
- Choose high-quality melting chocolate rather than eating chocolate for best results and smooth consistency.
- Refrigerate both after adding chocolate layers to speed up setting and to keep the cups firm.
- Adjust sugar quantities slightly to adjust sweetness to taste if desired.


