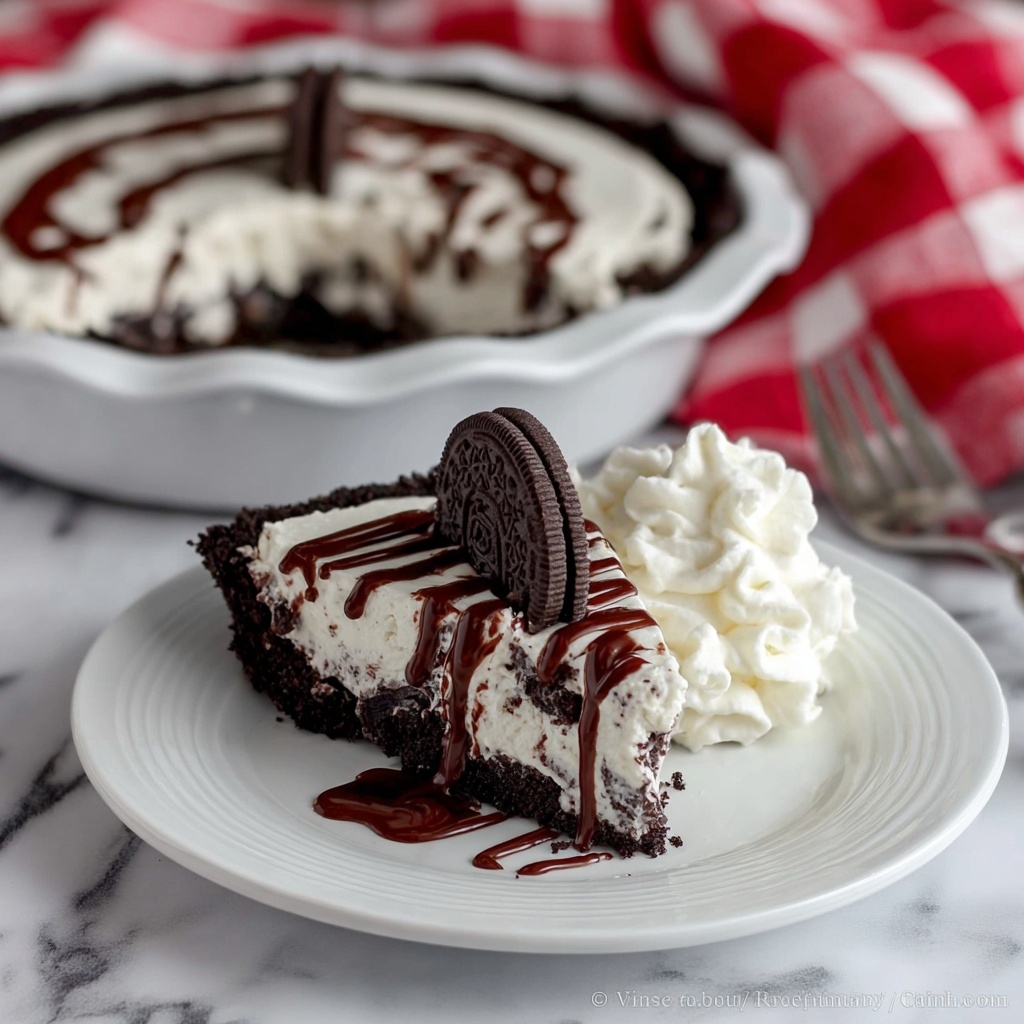
If you have a sweet tooth and a soft spot for cookies and cream, you are going to fall head over heels for this No Bake Oreo Pie Recipe. It is a luscious, creamy dessert that comes together in no time, without needing the oven, which means more time enjoying and less time fussing. The star of the show, Oreos, provide the perfect crunch and chocolaty goodness, while the smooth cream cheese and fluffy whipped topping make every bite melt in your mouth. Whether you’re planning a casual get-together or a special occasion, this pie offers a crowd-pleasing charm that’s irresistible.
Ingredients You’ll Need
The beauty of this No Bake Oreo Pie Recipe lies in its simplicity. Each ingredient plays a crucial role in building layers of flavor and texture that blend perfectly. From the crunchy Oreo crust to the silky cream cheese filling, every item is essential for achieving that dreamy dessert we all crave.
- Oreo cookies (25): These form the buttery, chocolatey crust that’s the foundation of the pie.
- Butter (5 tablespoons, melted): Binds the crushed Oreos together, providing richness and stability to the crust.
- Cream cheese (8 ounces): Adds tangy creaminess and helps achieve that luscious filling texture.
- Powdered sugar (3/4 cup): Sweetens the filling smoothly without graininess.
- Whipped topping (2 cups, thawed): Lightens the filling with airy fluff, making the pie irresistibly soft.
- Oreo cookies (10, chopped): Stirred into the filling for fun bursts of crunch throughout the pie.
How to Make No Bake Oreo Pie Recipe
Step 1: Prepare the Oreo Crust
Start by crushing 25 Oreo cookies into fine crumbs — you can do this by placing them in a zip-top bag and giving them a good smash with a rolling pin or pulse a few times in a food processor. Mix these crumbs with the melted butter until the mixture resembles wet sand. Press this mixture firmly into the base and up the sides of a 9-inch pie plate to form an even crust. Pop it into the fridge to chill while you prepare the filling, so it sets nicely.
Step 2: Make the Creamy Filling
In a large bowl, beat together the cream cheese and powdered sugar until completely smooth and creamy — no lumps allowed! Then gently fold in the whipped topping until the mixture becomes light and airy. Finally, fold in the chopped Oreos so you get those delightful cookie pieces scattered throughout the filling. This step gives the filling both richness and that signature Oreo crunch.
Step 3: Assemble and Chill
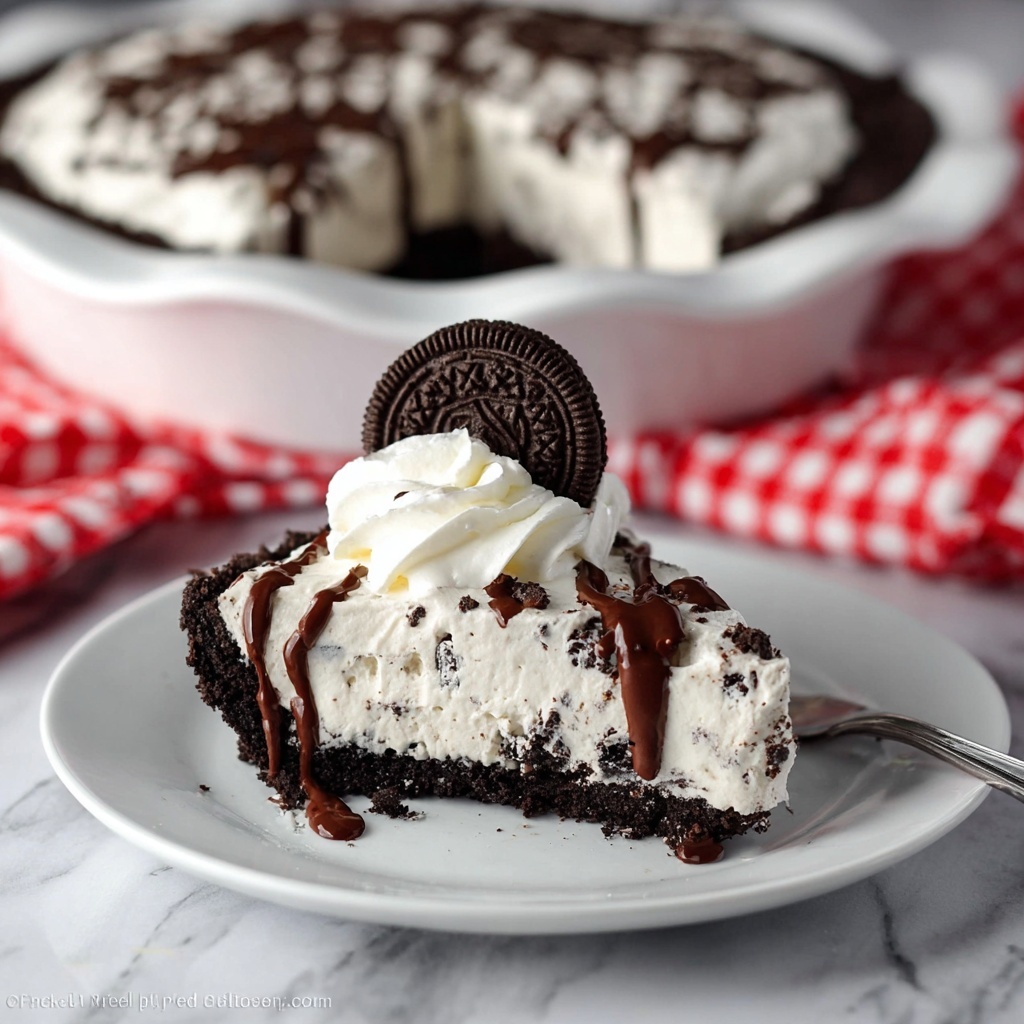
Pour the filling into your chilled Oreo crust, smoothing the top with a spatula to make it nice and even. Refrigerate the whole pie for at least 4 hours, or preferably overnight. This chilling time allows the filling to set completely so when you slice it, each piece holds its shape beautifully and tastes like a little slice of heaven.
How to Serve No Bake Oreo Pie Recipe
Garnishes
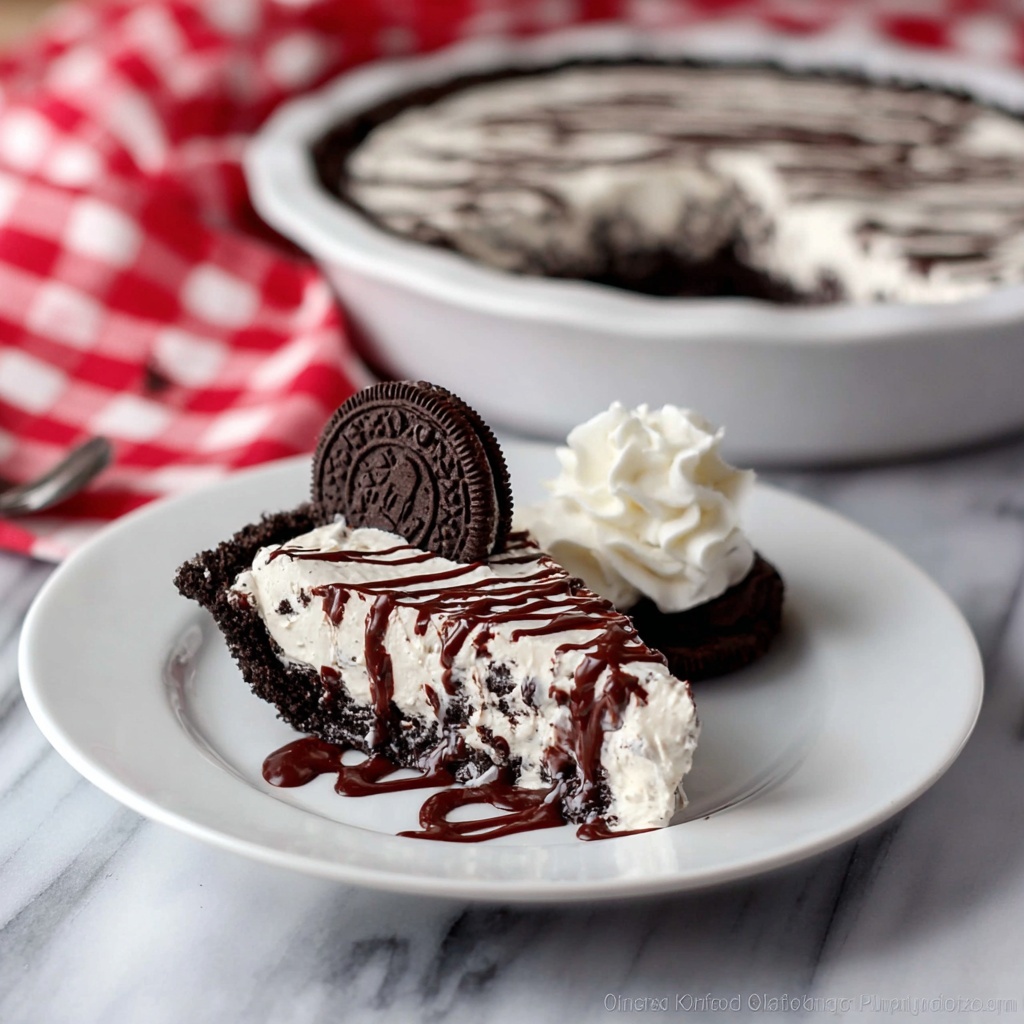
When it comes to garnishing this pie, less is more but with a playful touch. Sprinkle a few crushed Oreos on top for added crunch and visual appeal. If you’re feeling fancy, drizzle some chocolate syrup or add dollops of extra whipped topping. Fresh mint leaves can add a nice color pop and a hint of freshness that contrasts nicely with the sweet richness.
Side Dishes
This No Bake Oreo Pie Recipe is rich and indulgent all on its own, so it pairs beautifully with something light and refreshing. Think fresh berries or a small scoop of vanilla ice cream to complement the creamy texture and balance the chocolate notes. Even a simple cup of freshly brewed coffee or a cold glass of milk will elevate the whole experience.
Creative Ways to Present
For special occasions or to impress guests, try serving the pie in individual jars or clear dessert cups to showcase the layers. You can also create mini versions using a muffin tin with Oreo crust cups and bite-sized fillings. Another fun idea is to add a layer of chocolate ganache or caramel on top before chilling for an extra decadent twist.
Make Ahead and Storage
Storing Leftovers
Leftover No Bake Oreo Pie will keep well when tightly covered and stored in the refrigerator. It’s best enjoyed within 3 to 4 days to maintain that fresh taste and perfect texture. Just remember to keep it chilled and avoid leaving it out at room temperature for long periods.
Freezing
If you want to keep the pie for longer, freezing is an option. Wrap it tightly with plastic wrap and then aluminum foil to protect it from freezer burn. It can be frozen for up to a month. When ready to enjoy, thaw it overnight in the fridge rather than microwaving, so the texture remains creamy and smooth.
Reheating
No reheating is necessary for this No Bake Oreo Pie Recipe — it’s meant to be enjoyed cold and creamy. If thawed from frozen, a little time in the fridge is all you need to bring it back to perfect serving temperature.
FAQs
Can I use a different cookie for the crust besides Oreos?
Absolutely! While Oreos are classic for this recipe, you can substitute with any chocolate sandwich cookies or even chocolate graham crackers for a slightly different flavor and texture. Just make sure to crush them finely for a good crust.
Is there a way to make this pie vegan or dairy-free?
Yes, you can try using vegan cream cheese alternatives and dairy-free whipped topping options. Also, check for vegan-friendly cookie brands for the crust and mix-ins. The texture might be slightly different but still super delicious.
How long should I chill the pie before serving?
To get the best consistency and allow the flavors to meld, it’s ideal to chill the pie for at least 4 hours. Overnight chilling works even better for firm slicing and enhanced taste.
Can I add other mix-ins to the filling?
Certainly! Chopped nuts, mini chocolate chips, or even a swirl of peanut butter can be delicious additions. Just fold them gently into the filling along with the chopped Oreos to add more texture and flavor.
Will this pie hold up well in warm weather?
Because it’s a creamy, no-bake dessert, it’s best served chilled and kept refrigerated until just before serving. In warm weather, be mindful that it softens quickly, so keep it cold as long as possible for the best experience.
Final Thoughts
There’s something truly magical about a dessert that combines simplicity and indulgence in every bite, and this No Bake Oreo Pie Recipe does just that. It’s one of those crowd-pleasers that feels like a special treat but doesn’t require hours in the kitchen. I hope you give it a try soon to share with friends and family – once you do, it’ll quickly become a favorite you’ll reach for again and again.
Print
No Bake Oreo Pie Recipe
- Prep Time: 25 minutes
- Cook Time: 0 minutes
- Total Time: 4 hours 25 minutes (including chilling time)
- Yield: 8 servings
- Category: Dessert
- Method: No-Cook
- Cuisine: American
Description
A delicious and easy No Bake Oreo Pie featuring a crunchy Oreo crust, creamy cream cheese filling, and topped with whipped topping and extra Oreo pieces. Perfect for a quick dessert without the need for an oven.
Ingredients
Crust
- 25 Oreo cookies
- 5 tablespoons butter, melted
Filling
- 8 ounces cream cheese, softened
- 3/4 cup powdered sugar
- 2 cups whipped topping, thawed
- 10 Oreo cookies, chopped
Instructions
- Prepare the crust: Crush 25 Oreo cookies into fine crumbs using a food processor or by placing them in a sealed bag and crushing with a rolling pin. Mix the crumbs thoroughly with 5 tablespoons of melted butter until the mixture resembles wet sand. Press the mixture firmly into the bottom and up the sides of a 9-inch pie dish to form an even crust. Place in the refrigerator to chill while preparing the filling.
- Make the filling: In a mixing bowl, beat 8 ounces of softened cream cheese until smooth. Gradually add 3/4 cup powdered sugar and continue beating until combined and creamy. Gently fold in 2 cups of thawed whipped topping until fully incorporated. Chop 10 Oreo cookies into small pieces and fold them into the filling mixture.
- Assemble the pie: Pour the Oreo cream cheese filling into the chilled crust and spread evenly. Optionally, garnish the top with extra chopped Oreo pieces for decoration. Refrigerate the pie for at least 4 hours or until set before serving for the best texture and flavor.
Notes
- For softer cream cheese, leave it out at room temperature for 30 minutes before using.
- You can substitute the whipped topping with homemade whipped cream if preferred.
- This pie can be stored in the refrigerator for up to 3 days.
- For a firmer crust, press the crumb mixture firmly and chill well before adding the filling.


