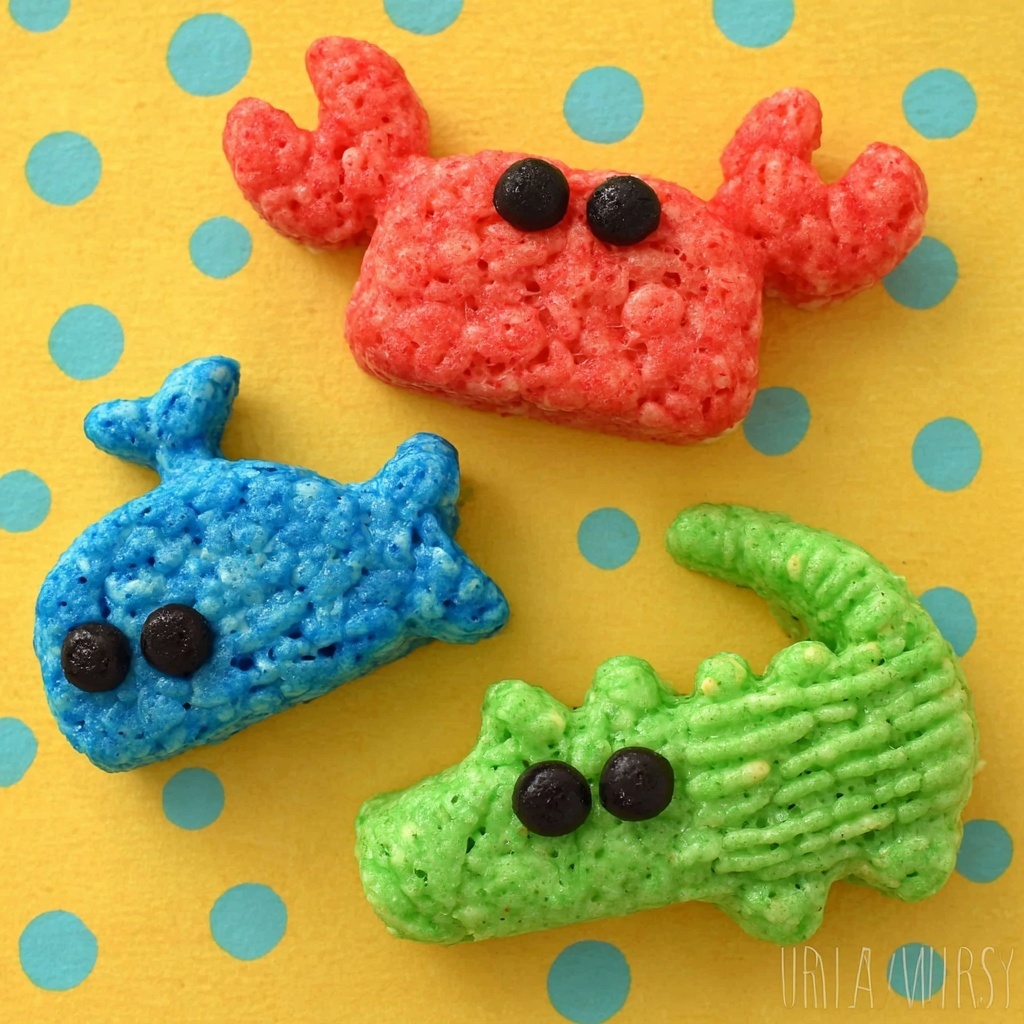
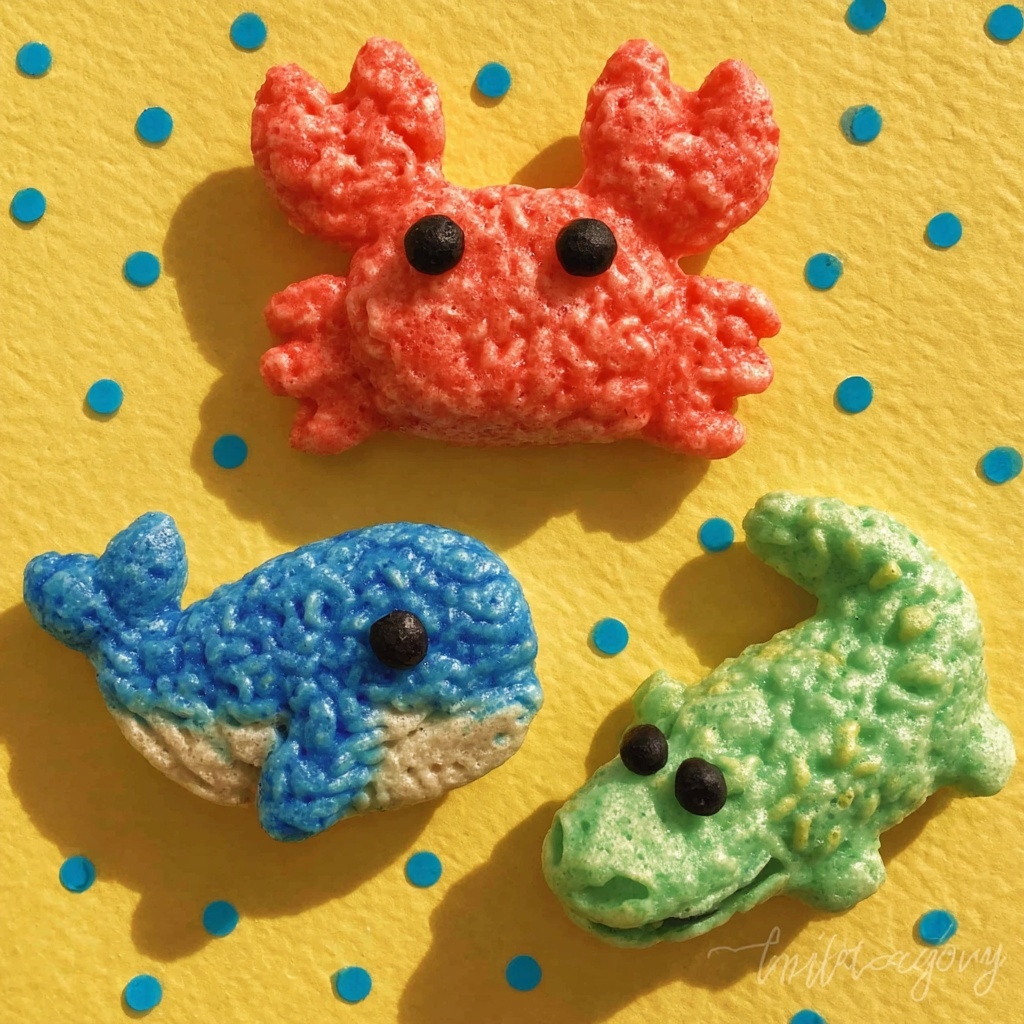
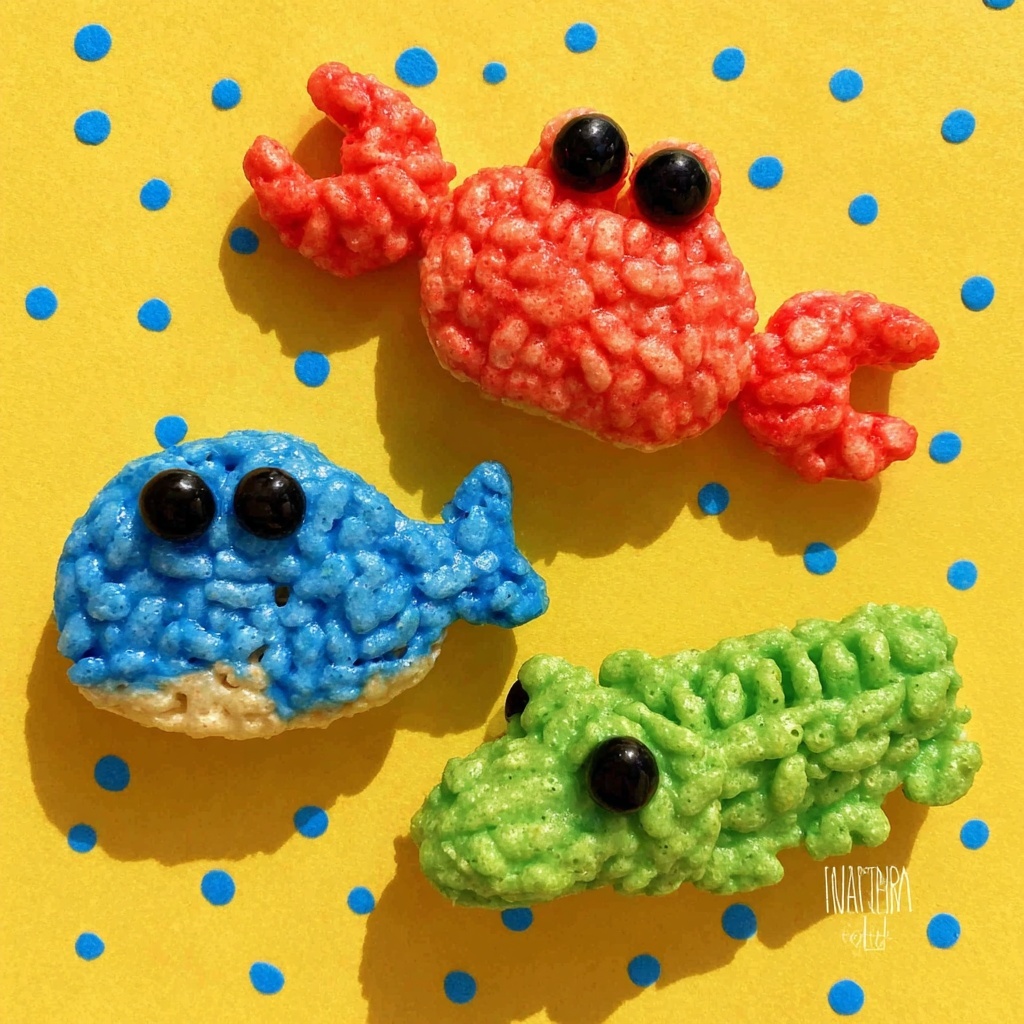
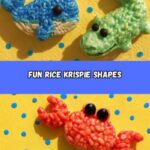
Get ready to dive into a super fun and delicious crafting adventure with the Rice Krispie Animals & Sea Life Creatures Recipe. This recipe transforms the classic Rice Krispie treat into charming shapes inspired by animals and ocean friends, making snack time irresistibly playful and tasty. Whether you’re preparing for a kids’ party, a themed gathering, or just a cheerful afternoon activity, this recipe has everything you need to wow your guests with colorful, crispy, and melt-in-your-mouth treats that look as delightful as they taste.
Ingredients You’ll Need
The magic of the Rice Krispie Animals & Sea Life Creatures Recipe comes from a handful of simple ingredients that each play a vital role. From the creamy sweetness of white chocolate to the irresistible chewiness of marshmallows, every element contributes to the taste, texture, and vibrant appearance of your creations.
- 3/4 cups white chocolate chips: Adds a smooth, rich flavor and helps bind the treats together beautifully.
- 3 tbsp butter (plus extra for greasing): Provides moisture and richness while preventing sticking during molding.
- 10 oz bag marshmallows (mini marshmallows for coloring batches): The sticky, gooey sweetness that holds everything in place and offers softness.
- 6 cups Rice Krispie cereal: The quintessential crispy base that delivers delightful crunch and iconic texture.
How to Make Rice Krispie Animals & Sea Life Creatures Recipe
Step 1: Prepare Your Tools and Molds
Start by lining your animal and sea life molds with plastic wrap. This step is crucial because it makes removing the treats a breeze later on. Don’t forget to butter your hands and all utensils to prevent sticking – it will save you from countless sticky moments and keep your creatures looking neat and perfect.
Step 2: Melt the White Chocolate, Butter, and Marshmallows
In a microwave-safe bowl, combine the white chocolate chips, butter, and marshmallows. Heat them on high for 45 seconds, then stir well with a buttered spatula or spoon. Continue heating in 30-second increments, stirring between each, until everything is melted and smooth. If you prefer, you can melt these ingredients gently on the stove over low heat instead.
Step 3: Add Color and Combine with Rice Krispies
This is where your creativity shines. If you want one consistent color for your batch, simply add your food coloring to the melted mixture and stir until the shade is just right. For a rainbow effect, divide the mixture into smaller portions, coloring each separately before folding in the Rice Krispies cereal. This step ensures your animals and sea life creatures have vibrant, eye-catching hues without compromising the crisp texture.
Step 4: Press the Mixture into Molds
Ladle the colored or plain mixture into your plastic-lined molds. Use your buttered hands or gloves to firmly press the mixture into the molds, making sure to compact it well to hold the intricate shapes. Press flat on top and scrape off any excess that hangs over. This is key to achieving those crisp edges and beautiful contours that make your treats look professional.
Step 5: Unmold Your Sweet Masterpieces
Flip your molds upside down and carefully peel back the plastic wrap, particularly watching over delicate fins or paws, so nothing breaks. Once unmolded, your Rice Krispie animals and sea life creatures will be ready to delight everyone with their adorable shapes and scrumptious flavor!
How to Serve Rice Krispie Animals & Sea Life Creatures Recipe
Garnishes
Make your Rice Krispie creatures even more captivating by adding edible glitter, colorful sprinkles, or a drizzle of melted chocolate. Small candy eyes or edible markers can bring personality to your animals and sea life, turning them into mini works of edible art that are as fun to look at as they are to eat.
Side Dishes
Pair these treats with fresh fruit platters or a cool fruit punch for a perfectly balanced snack table. The light and fruity accompaniments contrast nicely with the sweet, crispy treats, keeping the spread refreshing and vibrant for any gathering.
Creative Ways to Present
Consider arranging your Rice Krispie animals and sea life creatures atop a “beach” made of crushed graham crackers or coconut flakes for a themed display. Wrapping each piece in cellophane tied with a ribbon makes for delightful party favors, or place them on colorful plates with matching napkins to bring an extra pop of fun to your table.
Make Ahead and Storage
Storing Leftovers
If you have any leftovers (which is rare), store them in an airtight container at room temperature. This keeps your Rice Krispie animals and sea life creatures fresh and crispy for up to 3 days, ensuring they stay just as delightful as when you first made them.
Freezing
These treats don’t freeze well because the texture might change and become slightly soggy when thawed. For the best experience, enjoy your Rice Krispie creatures fresh or within a couple of days of making.
Reheating
Reheating isn’t necessary or recommended for this recipe since the treats are best enjoyed cool or at room temperature. Heating might melt the chocolate and alter the texture, so savor them as they are for maximum crispness and flavor.
FAQs
Can I use regular marshmallows instead of mini marshmallows?
Absolutely! Regular marshmallows work just fine and provide the same sticky, chewy texture. Mini marshmallows are just handy for creating smaller colored batches without mixing shades.
What if I don’t have animal or sea life molds?
No worries! You can shape the mixture by hand or use cookie cutters to create fun shapes. Even simple squares or rectangles taste just as yummy and can be decorated with edible markers or candy for added personality.
How do I make multiple colors without mixing them?
Divide your melted marshmallow mixture into small bowls and add different food colorings to each bowl before stirring in the Rice Krispies cereal. This method prevents colors from blending and lets you create a vibrant variety for your creatures.
Can I substitute white chocolate chips with regular chocolate?
You can, but the flavor and color will change. White chocolate provides a creamy sweetness that complements the marshmallows and cereal perfectly, while regular chocolate adds a richer, deeper taste.
Is this recipe kid-friendly?
Definitely! Kids will love helping with mixing, coloring, and molding their favorite animals and sea creatures. Just make sure to supervise any hot handling steps like melting the marshmallows for safety.
Final Thoughts
You’re now equipped with everything you need to create delightful, colorful treats that bring smiles to faces young and old. The Rice Krispie Animals & Sea Life Creatures Recipe is as much a joy to make as it is to eat, turning a classic favorite into a creative, hands-on adventure. Gather your ingredients, invite friends or family to join the fun, and watch your snack table come alive with playful edible wonders that are impossible not to love!
Print
Rice Krispie Animals & Sea Life Creatures Recipe
- Prep Time: 15 minutes
- Cook Time: 0 minutes
- Total Time: 15 minutes
- Yield: 6 servings (small shaped treats)
- Category: Snack
- Method: No-Cook
- Cuisine: American
- Diet: Vegetarian
Description
Create fun and colorful Rice Krispie treats shaped like animals and sea life creatures using white chocolate, butter, marshmallows, and Rice Krispie cereal. Perfect for a creative snack or party treat, this no-bake recipe allows for easy customization with food coloring and mold shapes.
Ingredients
Main Ingredients
- 3/4 cup white chocolate chips
- 3 tbsp butter (plus extra for buttering hands and supplies)
- 10 oz bag marshmallows (mini marshmallows recommended for multiple colors)
- 6 cups Rice Krispie cereal
- Food coloring (optional, for adding colors)
Instructions
- Prepare Molds and Tools: Line your sand molds with plastic wrap to prevent sticking. Butter your spatula or spoon lightly, and also butter your hands or use gloves that are buttered to make handling the sticky mixture easier.
- Melt Ingredients: In a microwave-safe bowl, combine white chocolate chips, butter, and marshmallows. Heat on high for 45 seconds, then stir well. Continue microwaving in 30-second and then 15-second increments as needed until the mixture is fully melted and smooth. Alternatively, melt these on low heat in a saucepan on the stove.
- Add Color and Mix Cereal: For a single batch with one color, add food coloring directly to the melted marshmallow mixture and mix until the desired shade is reached. Then, stir in the Rice Krispie cereal until the mixture is well blended. For multiple colors, melt smaller portions (1/4 cup white chocolate, 1 tablespoon butter, 2 cups mini marshmallows) in the microwave for 30 seconds, then add food coloring and stir. Heat in 10-second increments if needed until melted. Stir in 2 cups of cereal for each colored batch.
- Fill Molds: Spoon the natural or colored Rice Krispie mixture into the lined molds. Using your buttered hands or gloves, press the mixture firmly into the mold shapes. Add more mixture as necessary, pressing to compact evenly. Flatten the surface and remove any excess cereal hanging over the edges.
- Unmold Treats: Carefully turn the mold upside down and gently pull the plastic wrap away from the treats, taking care with smaller and detailed areas. Remove the plastic wrap entirely to reveal your shaped Rice Krispie animals and sea creatures.
Notes
- Butter your hands and tools thoroughly to keep the sticky mixture manageable and prevent it from sticking.
- Use mini marshmallows for easier melting and smoother mixture.
- You can create multiple colors by dividing the base mixture and adding different food colorings.
- Press the mixture firmly into molds to ensure the treats hold their shape well.
- This recipe requires no baking—only melting and molding.
- Adjust the cooking time when melting marshmallows and chocolate to avoid burning.
