“`html
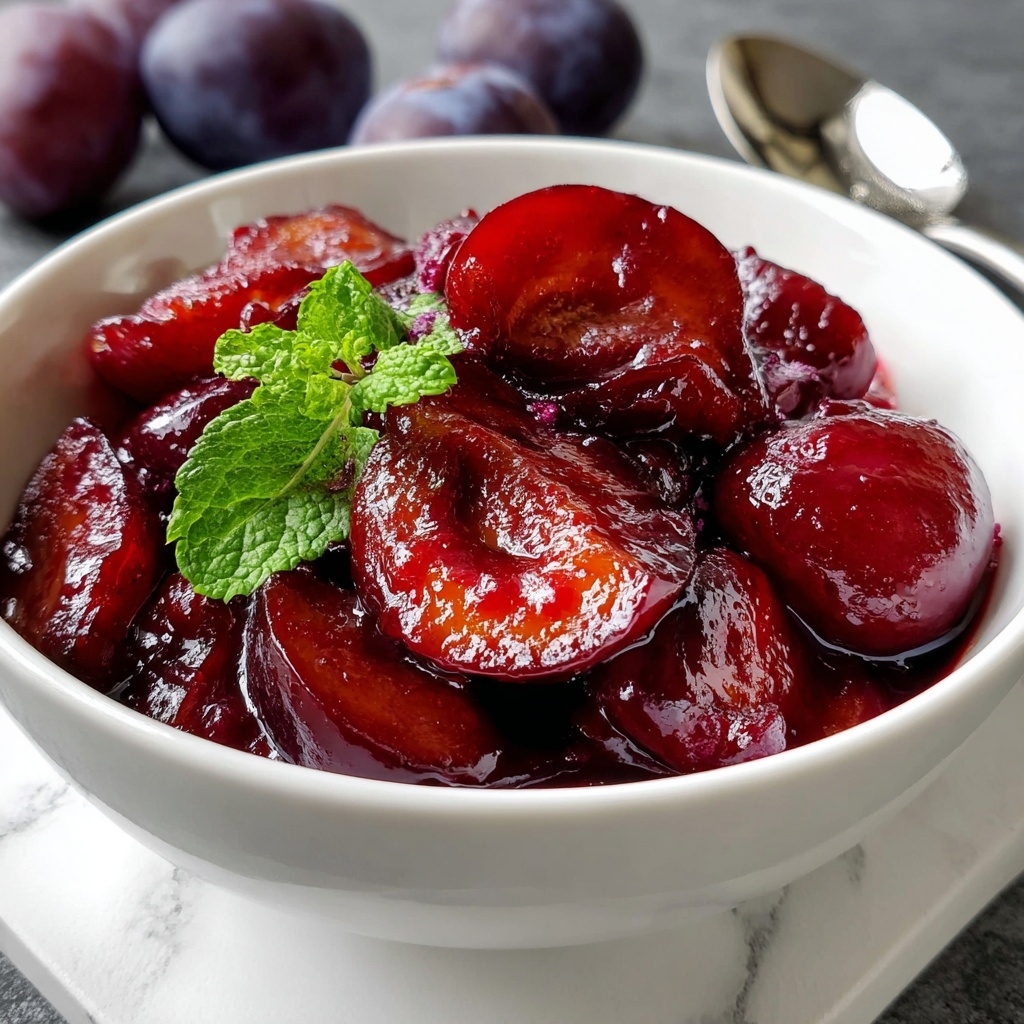
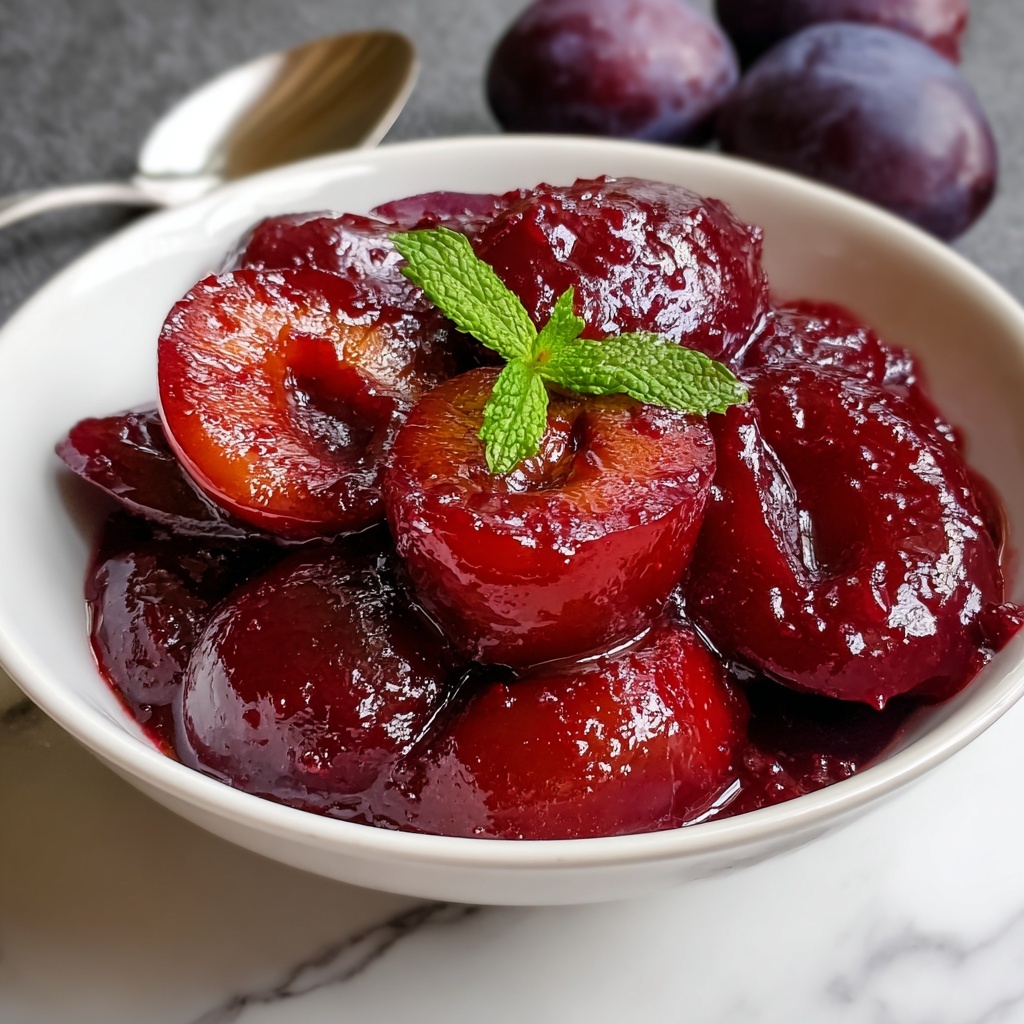
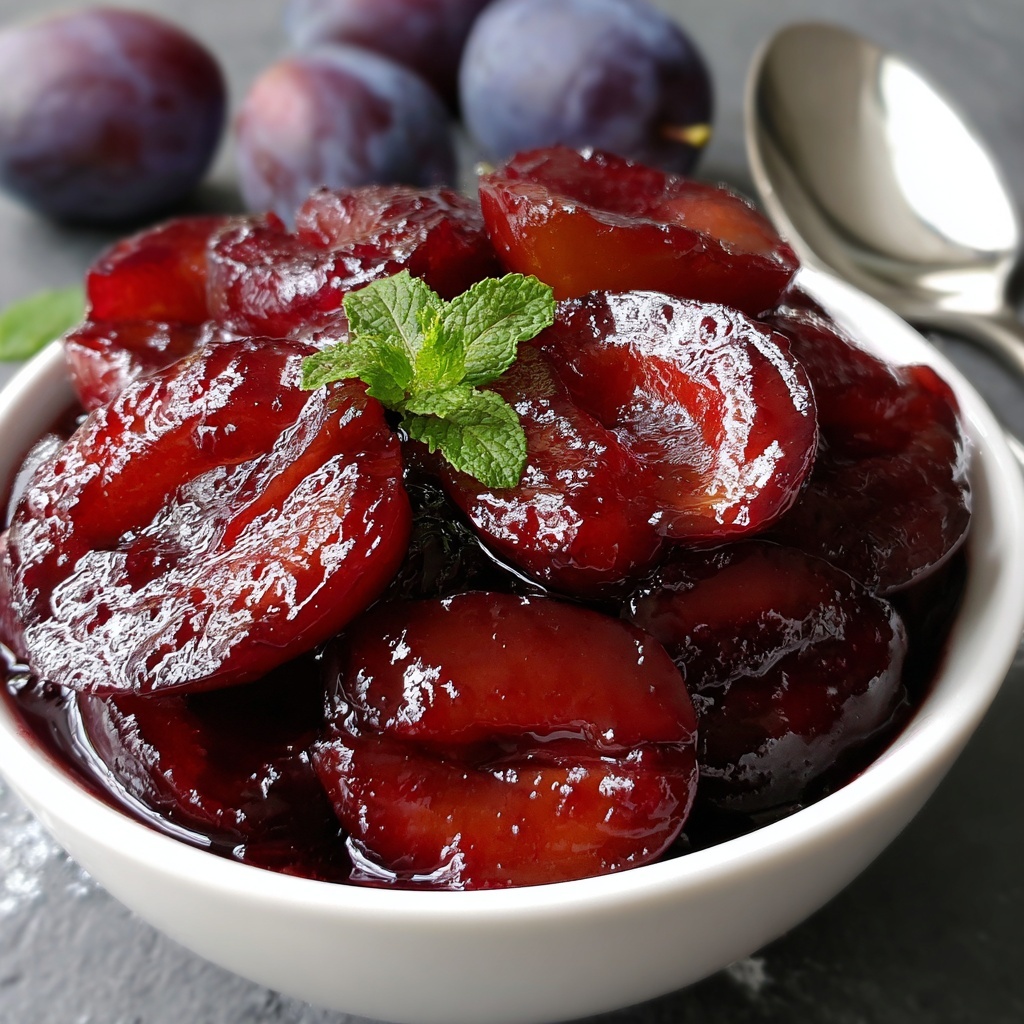
There is nothing quite like the comforting richness of a Sweet and Tangy Homemade Plum Jam Recipe that bursts with vibrant color and flavor in every spoonful. This jam combines the natural sweetness of ripe plums with a perfect hint of tartness from lemon and a subtle warm spice kick, creating a jam that feels like a warm hug with every bite. Whether you’re spreading it on morning toast, swirling it into yogurt, or gifting it to friends, this jam will quickly become a staple in your kitchen favorites.
Ingredients You’ll Need
Gathering the right ingredients is half the fun and ensures your jam turns out perfectly balanced and full of flavor. Each ingredient plays a pivotal role, from the juicy plums providing base sweetness and texture, to the lemon juice that brightens and preserves freshness.
- 4 cups ripe plums, pitted and chopped: The star of the recipe, providing natural sweetness and vibrant color.
- 3 cups granulated sugar: Essential for sweetness and helps the jam set properly.
- 1/4 cup lemon juice: Adds zestiness and acts as a natural preservative.
- 1 teaspoon lemon zest: Intensifies the fresh citrus aroma and flavor.
- 1/2 teaspoon ground cinnamon (optional): Offers a warm, subtle spice that elevates the jam’s complexity.
- 1/4 teaspoon ground ginger (optional): Adds a gentle heat and depth, complementing the sweetness.
- 1/4 teaspoon salt: Balances the sweetness and enhances overall flavor.
How to Make Sweet and Tangy Homemade Plum Jam Recipe
Step 1: Prepare Your Plums
Start by washing your plums thoroughly to remove any dust or residue. Remove the pits carefully, then chop the plums into small, uniform pieces. Measuring exactly 4 cups helps ensure the jam consistency turns out just right.
Step 2: Macerate the Plums with Sugar
Place the chopped plums into a large non-reactive pot and add the granulated sugar. Allow this mixture to sit for 30 minutes to draw out the luscious plum juice. This step is key to marrying flavors beautifully and getting a natural fruity syrup for your jam.
Step 3: Add Brightness and Spice
Now it’s time to infuse your jam with brightness and spice. Stir in the lemon juice, lemon zest, cinnamon, ground ginger, and salt. Each little addition layers more flavor and complexity, making your jam truly irresistible.
Step 4: Bring to a Boil
Turn the heat to medium-high and bring your mixture to a lively boil. Keep stirring frequently to prevent the jam from burning or sticking to the bottom of your pot. Watch carefully – it bubbles vigorously and smells heavenly!
Step 5: Simmer and Thicken
Reduce heat to medium-low and let your jam gently simmer for around 25 to 30 minutes, stirring occasionally. This slow simmer allows the jam to thicken into that luscious texture you love, concentrating the flavors as water evaporates.
Step 6: Test the Jam’s Set
To know when your jam is perfectly set, scoop a small amount onto a chilled plate. After a minute, press it with your finger. If it wrinkles slightly, it’s ready! If it’s too runny, keep simmering and test again after a few minutes.
Step 7: Jar the Jam
Once your jam has reached the perfect consistency, carefully ladle the hot jam into sterilized jars, leaving about 1/4-inch of headspace at the top. This space helps create a proper seal and prevents spills.
Step 8: Seal the Jars
Wipe the rims of the jars clean with a damp cloth to ensure no sticky residue interferes with sealing. Place lids and rings on securely, preparing your jars for preservation.
Step 9: Process for Long-Term Storage
If you want to keep your Sweet and Tangy Homemade Plum Jam Recipe fresh for months, process the jars in a boiling water bath for 10 minutes. This kills any lingering bacteria and ensures a tight seal.
Step 10: Cool and Store
Let the jars cool completely at room temperature. Check the seals; you should hear a satisfying pop indicating success. Store your jam in a cool, dark place until you’re ready to enjoy it. Once opened, remember to refrigerate for best quality.
How to Serve Sweet and Tangy Homemade Plum Jam Recipe
Garnishes
Enhance the presentation of your plum jam by adding fresh mint leaves or a light dusting of powdered sugar. These simple garnishes brighten the look and add a fresh aroma that invites everyone to dig in.
Side Dishes
This plum jam pairs wonderfully with warm buttered toast, creamy cheeses like brie or cream cheese, and even as a sweet companion to roasted meats or charcuterie boards. It’s that versatile friend in your kitchen.
Creative Ways to Present
Try dolloping your homemade plum jam over yogurt parfaits, swirling it into oatmeal, or using it as a glaze for baked goods. For a unique twist, spread it between layers of homemade cakes or incorporate it into savory sauces for an unexpected burst of flavor.
Make Ahead and Storage
Storing Leftovers
If you find yourself with leftover jam, no worries! Keep it stored in an airtight container in the refrigerator, where it will maintain its vibrant flavor and texture for up to 3 weeks.
Freezing
For longer preservation, you can freeze your Sweet and Tangy Homemade Plum Jam Recipe in freezer-safe containers. This method preserves the jam for several months without compromising taste or consistency.
Reheating
If your jam becomes too firm in the fridge or freezer, simply warm it gently in a saucepan over low heat or microwave it in short bursts, stirring frequently until it reaches your desired spreadable consistency.
FAQs
Can I use frozen plums for this jam recipe?
Absolutely! Frozen plums work well once thawed and drained. Just be aware there might be a bit more liquid, so adjust cooking time to reach the right thickness.
What if I don’t have lemon zest, can I skip it?
Lemon zest adds a lovely fresh brightness, but if you don’t have it, the lemon juice alone will still give a nice tangy balance to your jam.
How long does homemade plum jam last once opened?
Once opened, store the jam in the fridge and consume within 3 weeks for the best flavor and safety.
Can I make this plum jam without the spices?
Yes, the cinnamon and ginger are optional to add warmth, but skipping them will still result in a deliciously sweet and tangy jam spotlighting the plum’s natural flavor.
What’s the easiest way to sterilize jars?
Wash jars and lids in hot, soapy water, then boil them in water for 10 minutes or run them through a hot dishwasher cycle without detergent to ensure they are completely sterilized.
Final Thoughts
I can’t recommend enough that you try making this Sweet and Tangy Homemade Plum Jam Recipe—it’s a joyful way to bring seasonal fruit into your kitchen and brighten every breakfast table. Nothing beats spooning this vibrant, flavorful jam onto your favorite bread or sharing it with loved ones. Give it a go, and I promise you’ll cherish every fruity, tangy bite!
“`
Print
Sweet and Tangy Homemade Plum Jam Recipe
- Prep Time: 0h 30m
- Cook Time: 0h 30m
- Total Time: 1h 0m
- Yield: About 4 cups of plum jam
- Category: Preserves
- Method: Stovetop
- Cuisine: American
Description
This Sweet and Tangy Homemade Plum Jam recipe offers a delightful blend of ripe plums, sugar, and citrus notes, enhanced with warm spices like cinnamon and ginger. Perfect for spreading on toast, dolloping on yogurt, or gifting in charming jars, this jam is a delicious way to preserve the vibrant flavors of fresh plums.
Ingredients
Main Ingredients
- 4 cups ripe plums, pitted and chopped
- 3 cups granulated sugar
- 1/4 cup lemon juice
- 1 teaspoon lemon zest
- 1/2 teaspoon ground cinnamon (optional)
- 1/4 teaspoon ground ginger (optional)
- 1/4 teaspoon salt
Instructions
- Prepare the plums: Wash the plums thoroughly, remove the pits, and chop them into small pieces. Measure out 4 cups of chopped plums to ensure the right quantity.
- Combine plums and sugar: Place the chopped plums in a large non-reactive pot and add the granulated sugar. Let this mixture sit for about 30 minutes to help draw out the natural juices from the plums, creating a juicy base.
- Add flavorings: Mix in the lemon juice, lemon zest, ground cinnamon, ground ginger, and salt into the plum and sugar mixture. Stir well to combine all ingredients evenly.
- Bring to a boil: Place the pot over medium-high heat and bring the mixture to a boil. Stir frequently to prevent the jam from sticking to the bottom of the pot and watch carefully as it can bubble vigorously.
- Simmer the jam: Once boiling, reduce the heat to medium-low and allow the jam to simmer, stirring occasionally for about 25-30 minutes until it thickens to the desired consistency.
- Test the jam setting: To check if the jam is ready, place a small spoonful onto a chilled plate and let it sit for one minute. If it wrinkles when pushed with your finger, the jam has set. Otherwise, continue simmering and test again.
- Jar the hot jam: Remove the pot from heat and carefully ladle the hot jam into sterilized jars, leaving about 1/4-inch headspace to allow for expansion during processing.
- Seal the jars: Wipe the rims of the jars with a clean, damp cloth to remove any spills, then seal them with lids and rings to ensure airtight closure.
- Process in boiling water bath: For long-term storage, process the sealed jars in a boiling water bath for 10 minutes to ensure proper sealing and preservation.
- Cool and store: Allow the jars to cool completely at room temperature. Check the seals and store the jam in a cool, dark place. Once opened, keep refrigerated for freshness.
Notes
- Use ripe but firm plums for the best texture and flavor in your jam.
- The optional spices, cinnamon and ginger, add warmth and complexity but can be omitted if desired.
- Ensure all jars and lids are properly sterilized to prevent spoilage.
- Adjust sugar quantity slightly based on plum sweetness and personal preference.
- Cooling the jam on a chilled plate is a traditional and effective method to test readiness.
- Store opened jam refrigerated and consume within a few weeks.


